> ## Documentation Index
> Fetch the complete documentation index at: https://university.triggr-app.com/llms.txt
> Use this file to discover all available pages before exploring further.
# Airtable
> Connect Airtable to Triggr with an Airtable OAuth integration, authorised for your own account and each client's.
Triggr lists, reads, creates, updates and deletes Airtable records, and lists bases with their tables and fields.
## Set up Airtable
Register the integration in an Airtable account your team will keep. Whoever authorises it needs Owner or Creator permissions on the bases Triggr should use.
Go to [airtable.com/create/oauth](https://airtable.com/create/oauth), click **Register new OAuth integration**, enter a name users will recognise and this redirect URL, then click Register integration:
```text theme={null}
https://app.triggr-app.com/oauth/callback
```
Under Permission scopes, select all four: `data.records:read`, `data.records:write`, `schema.bases:read` and `schema.bases:write`.
Fill in Support email, Privacy policy URL and Terms of service URL, then click Save changes. Without them, only you can authorise the integration.
Click Generate client secret, then copy the secret and the client ID. Airtable shows the secret only once.
See Airtable's guide to [OAuth integrations](https://airtable.com/developers/web/guides/oauth-integrations).
## Connect it in Triggr
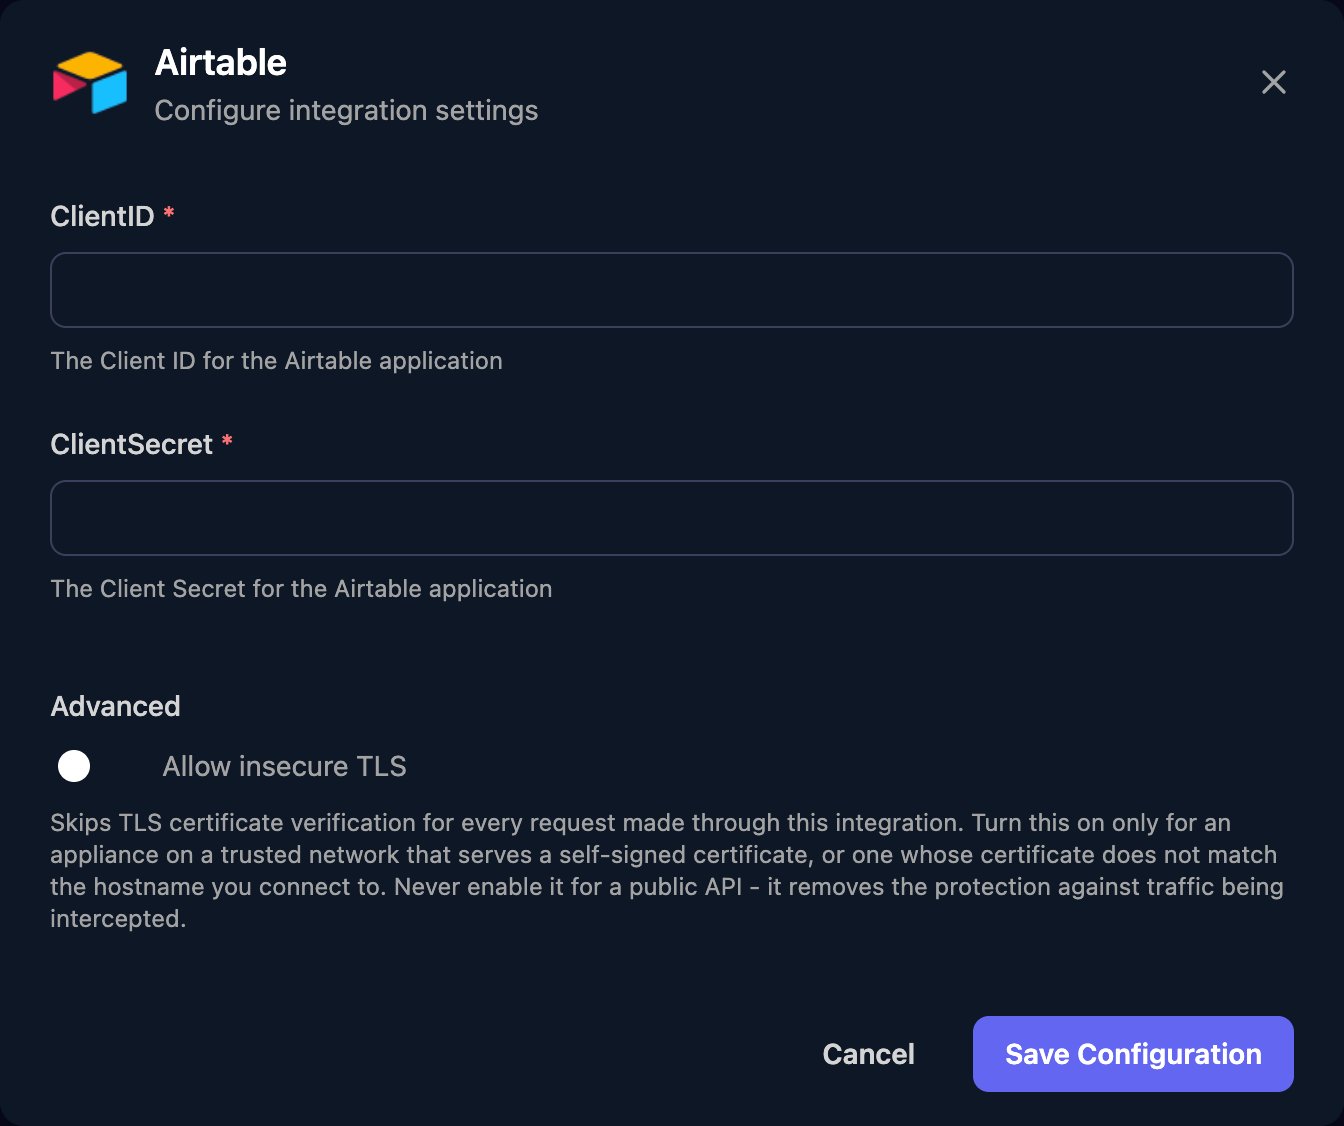
Go to **Integrations > Airtable** and click **Configure** on the Base Configuration card.
 Enter the ClientID and ClientSecret, then click **Save Configuration**. Every client uses these.
 For workflows that don't run for a client, click **Authorize** on the Base Configuration card. In Airtable, click Add a base, choose the bases or workspaces Triggr can reach, then click Authorize.
On the Per-Client Configuration card, click Configure on the client's row and click Save Configuration (there are no fields). Then click **Authorize** on the row and grant only that client's bases or workspaces.
For workflows that don't run for a client, click **Authorize** on the Base Configuration card. In Airtable, click Add a base, choose the bases or workspaces Triggr can reach, then click Authorize.
On the Per-Client Configuration card, click Configure on the client's row and click Save Configuration (there are no fields). Then click **Authorize** on the row and grant only that client's bases or workspaces.
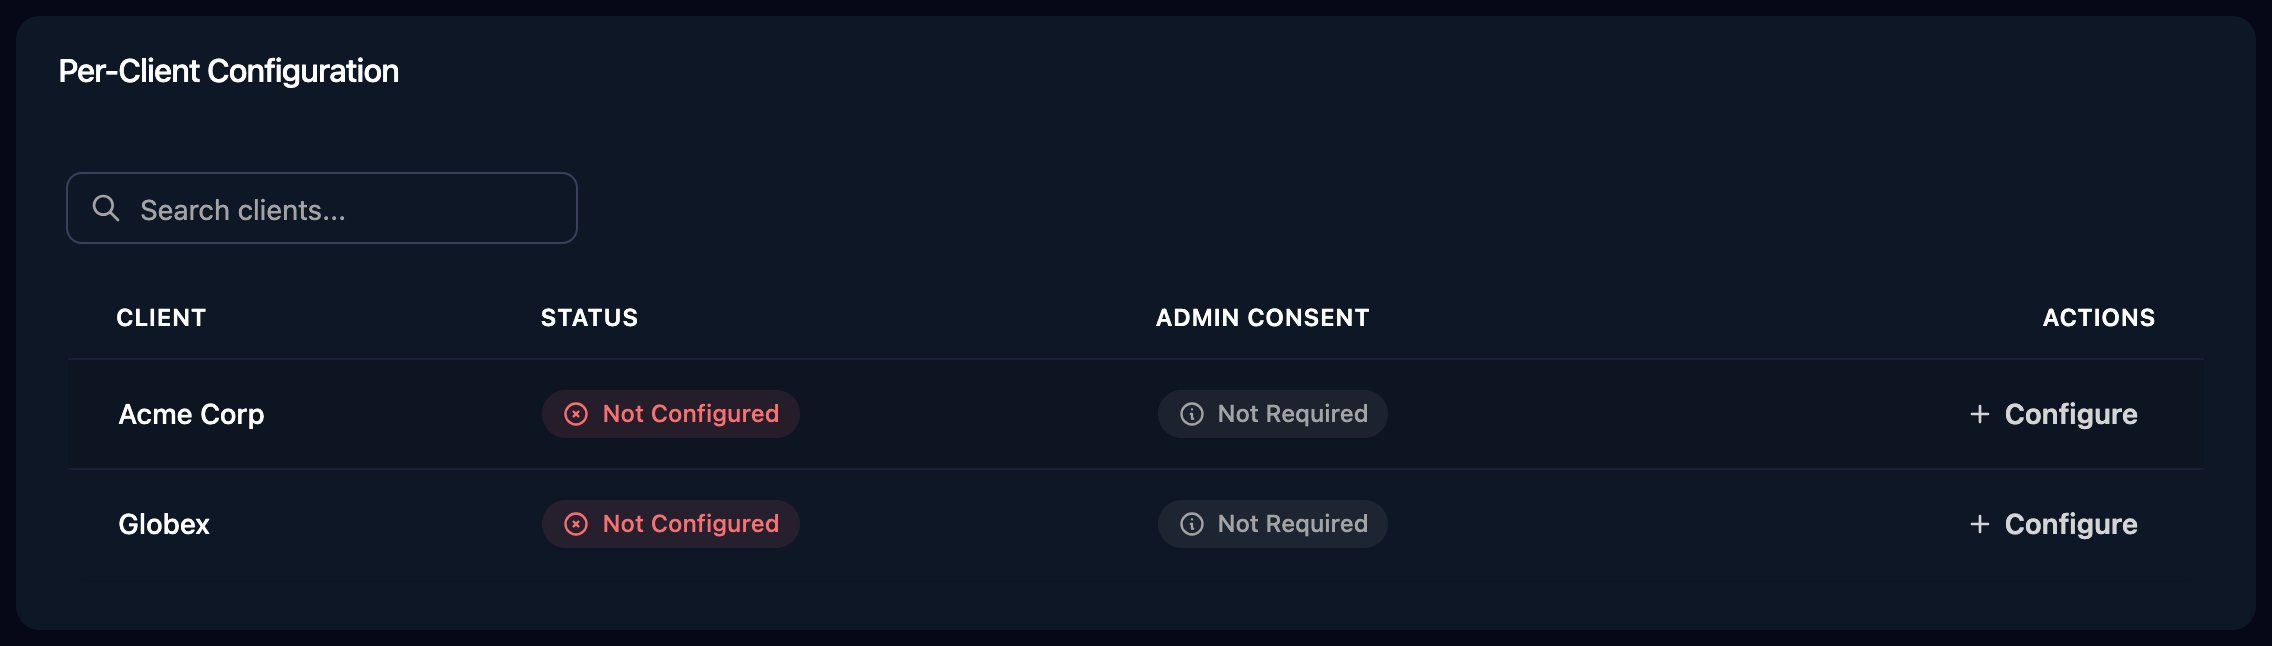 Airtable signs in as whoever your browser is signed in as, so sign out of Airtable first to authorise someone else. Per-client integrations never fall back to the Base Configuration, so each client needs its own authorised row.
## Use Airtable in workflows
The baseId (`app…`), tableIdOrName (`tbl…`) and recordId (`rec…`) are in the browser's address bar in Airtable. List Records returns up to 100 records; pass the returned `offset` for the next page. The update actions change only the fields you send; their (Destructive) versions clear every field you leave out.
## Troubleshooting
If Airtable shows an error, check OAuth redirect URI is exactly `https://app.triggr-app.com/oauth/callback`. If Triggr shows Missing required OAuth parameters with `invalid_scope`, select all four scopes; with `access_denied`, add your sharing details or ask the client's Airtable enterprise admin to allow the integration.
ClientID and ClientSecret don't match the Airtable integration, or the secret was regenerated. Paste the current values in via Edit on the Base Configuration card, then click Authorize and finish within 10 minutes.
Configure the client on the Per-Client Configuration card, then click Authorize on its row.
The authorisation was revoked in Airtable or went unused for 60 days. Click Authorize again.
Check the baseId and tableIdOrName, and that the base was granted. List Bases shows only the bases Triggr can reach; click Authorize again to add one.
This documentation is built and hosted on [Mintlify](https://mintlify.com), a developer documentation platform.
Airtable signs in as whoever your browser is signed in as, so sign out of Airtable first to authorise someone else. Per-client integrations never fall back to the Base Configuration, so each client needs its own authorised row.
## Use Airtable in workflows
The baseId (`app…`), tableIdOrName (`tbl…`) and recordId (`rec…`) are in the browser's address bar in Airtable. List Records returns up to 100 records; pass the returned `offset` for the next page. The update actions change only the fields you send; their (Destructive) versions clear every field you leave out.
## Troubleshooting
If Airtable shows an error, check OAuth redirect URI is exactly `https://app.triggr-app.com/oauth/callback`. If Triggr shows Missing required OAuth parameters with `invalid_scope`, select all four scopes; with `access_denied`, add your sharing details or ask the client's Airtable enterprise admin to allow the integration.
ClientID and ClientSecret don't match the Airtable integration, or the secret was regenerated. Paste the current values in via Edit on the Base Configuration card, then click Authorize and finish within 10 minutes.
Configure the client on the Per-Client Configuration card, then click Authorize on its row.
The authorisation was revoked in Airtable or went unused for 60 days. Click Authorize again.
Check the baseId and tableIdOrName, and that the base was granted. List Bases shows only the bases Triggr can reach; click Authorize again to add one.
This documentation is built and hosted on [Mintlify](https://mintlify.com), a developer documentation platform.