> ## Documentation Index
> Fetch the complete documentation index at: https://university.triggr-app.com/llms.txt
> Use this file to discover all available pages before exploring further.
# Cove Data Protection
> Connect N-able Cove Data Protection to Triggr with a Cove API user and its token.
Triggr reads Cove device statistics, devices, customers and backup job records, and changes or removes devices. Cove deletes a removed device's backed-up data with it.
## Set up Cove
Sign in to the Cove Management Console as a SuperUser or Administrator, go to **Management > Users > API Users** and click Add API user.
Set Customer to your top-level customer, usually your own company, so it contains every customer your workflows use, and note its name exactly. Enter a Requested login name such as `triggr` (Cove adds a suffix, such as `-ab12c34d`). Any Role can view devices and customers; to change or remove devices, choose one that can edit and delete them, such as Manager or SuperUser.
Click Save and continue, then Copy token to clipboard. Cove shows the token only once. Note the full login name, including the suffix.
See N-able's guide to [adding users](https://documentation.n-able.com/covedataprotection/USERGUIDE/documentation/Content/service-management/console-new/user-management/add-user.htm).
## Connect it in Triggr
Go to **Integrations > Cove Data Protection** and click **Configure** on the Base Configuration card.
 Enter your top-level customer's name as Partner (customer) name, the token as API user token and the full login name as API user login name, then click **Save Configuration**.
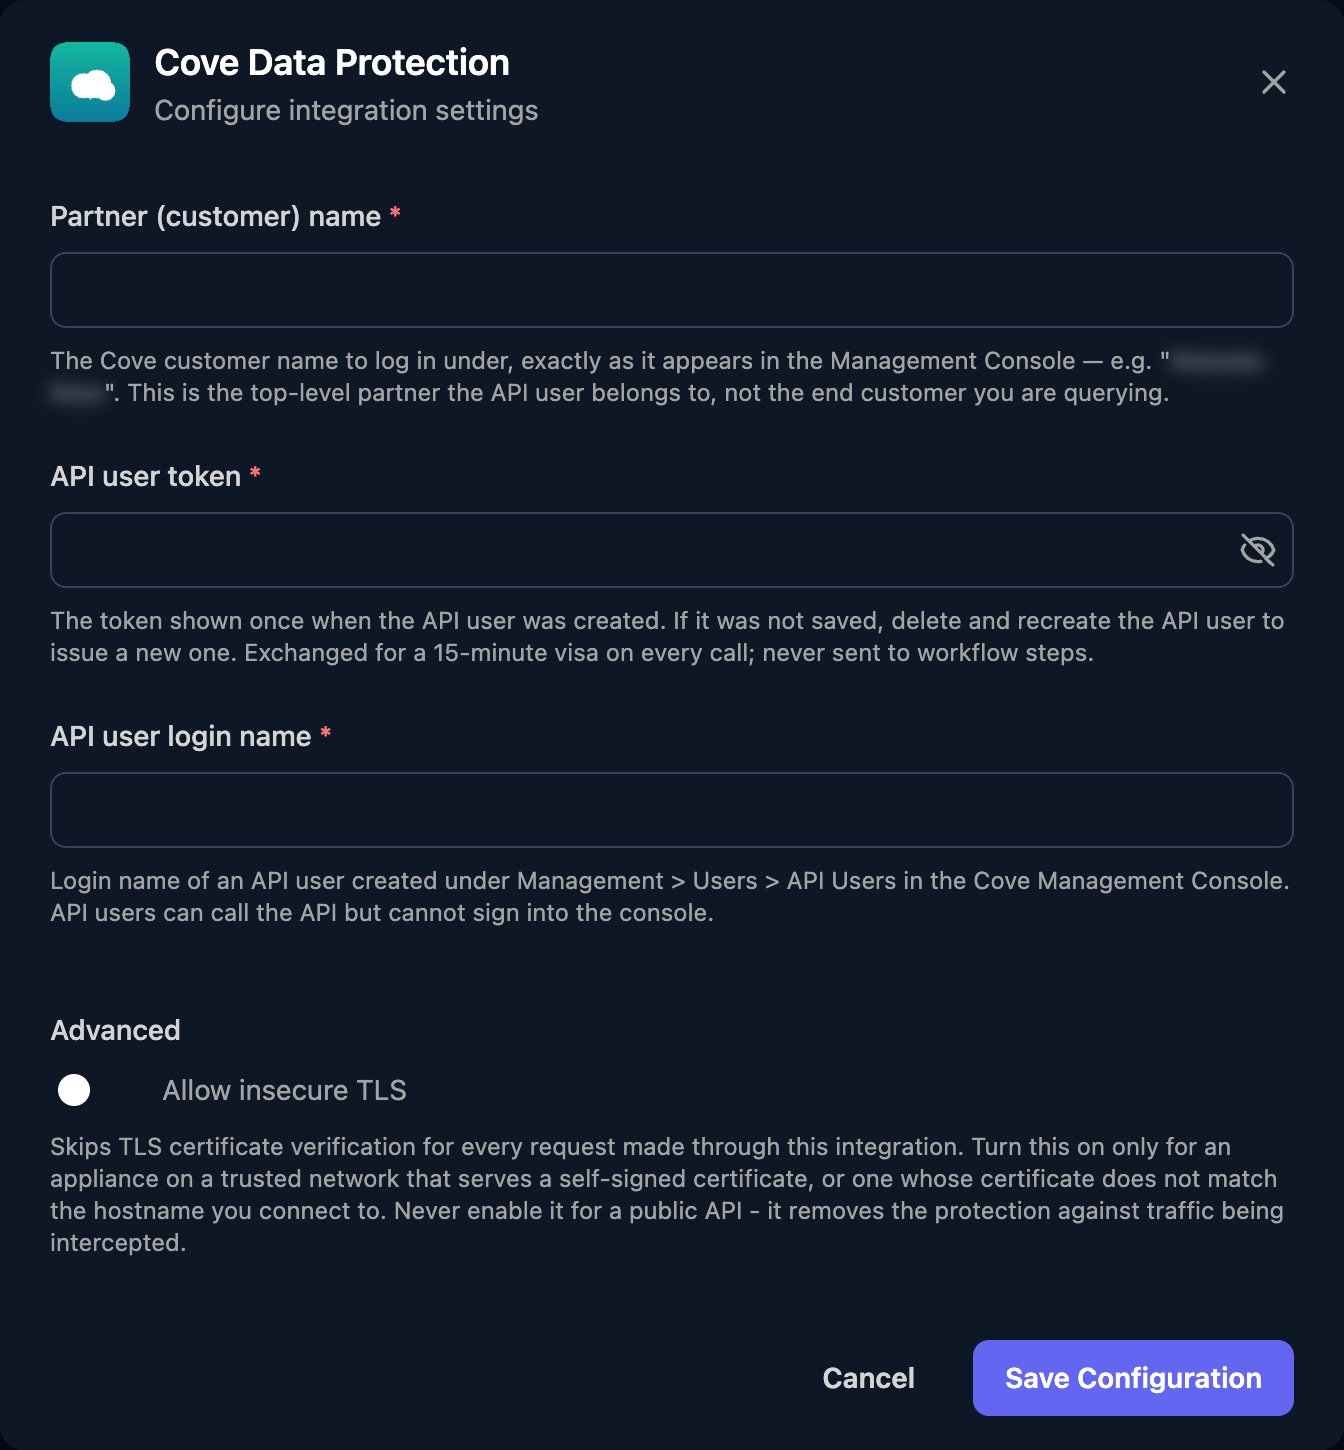 One configuration covers every customer the API user can reach, with no client mapping. Workflows pass the customer's numeric ID from Management > Customers (not the UID) as `partnerId` or `PartnerId`.
## Troubleshooting
Partner (customer) name must match exactly, and API user login name must include the suffix. If you've lost the token, delete the API user and create a new one.
The API user only works within its own customer. Create one under your top-level customer.
Cove can report failures in the body with status 200. Method and parameter names are case-sensitive, and changing devices needs a role that can edit and delete them.
This documentation is built and hosted on [Mintlify](https://mintlify.com), a developer documentation platform.
One configuration covers every customer the API user can reach, with no client mapping. Workflows pass the customer's numeric ID from Management > Customers (not the UID) as `partnerId` or `PartnerId`.
## Troubleshooting
Partner (customer) name must match exactly, and API user login name must include the suffix. If you've lost the token, delete the API user and create a new one.
The API user only works within its own customer. Create one under your top-level customer.
Cove can report failures in the body with status 200. Method and parameter names are case-sensitive, and changing devices needs a role that can edit and delete them.
This documentation is built and hosted on [Mintlify](https://mintlify.com), a developer documentation platform.