> ## Documentation Index
> Fetch the complete documentation index at: https://university.triggr-app.com/llms.txt
> Use this file to discover all available pages before exploring further.
# Heimdal Security
> Connect Heimdal Security to Triggr with a personal API key from the Heimdal Dashboard.
Triggr works with Heimdal customers and licences, devices, DNS and threat detections, patching, privileged access requests and Remote Desktop.
## Set up Heimdal
Heimdal only accepts API requests from the key account's IP List, which also controls where it can sign in from, so give Triggr its own account. In Accounts, click **Create New Account**, using your own organisation as the customer and a mailbox you can read.
* Roles: Reseller if you're an MSP (you need a reseller account yourself), otherwise empty.
* IP List: both of [Triggr's IP addresses](/security/ip-allowlist), plus the public address you'll sign in from.
Check Account Activated is ticked and the Access Control tab has Manage API key, then click Create Account.
Signed in as the Triggr account, go to **Guide > Your Heimdal API Key**, generate a key and copy the Personal API Key. Note your own customer ID shown there for reseller-wide actions.
See Heimdal's [Creating a new HEIMDAL Dashboard account](https://support.heimdalsecurity.com/hc/en-us/articles/360020061117-Creating-a-new-HEIMDAL-Dashboard-account) and [API 2.0](https://support.heimdalsecurity.com/hc/en-us/articles/360001462138-HEIMDAL-Security-API-2-0) articles.
## Connect it in Triggr
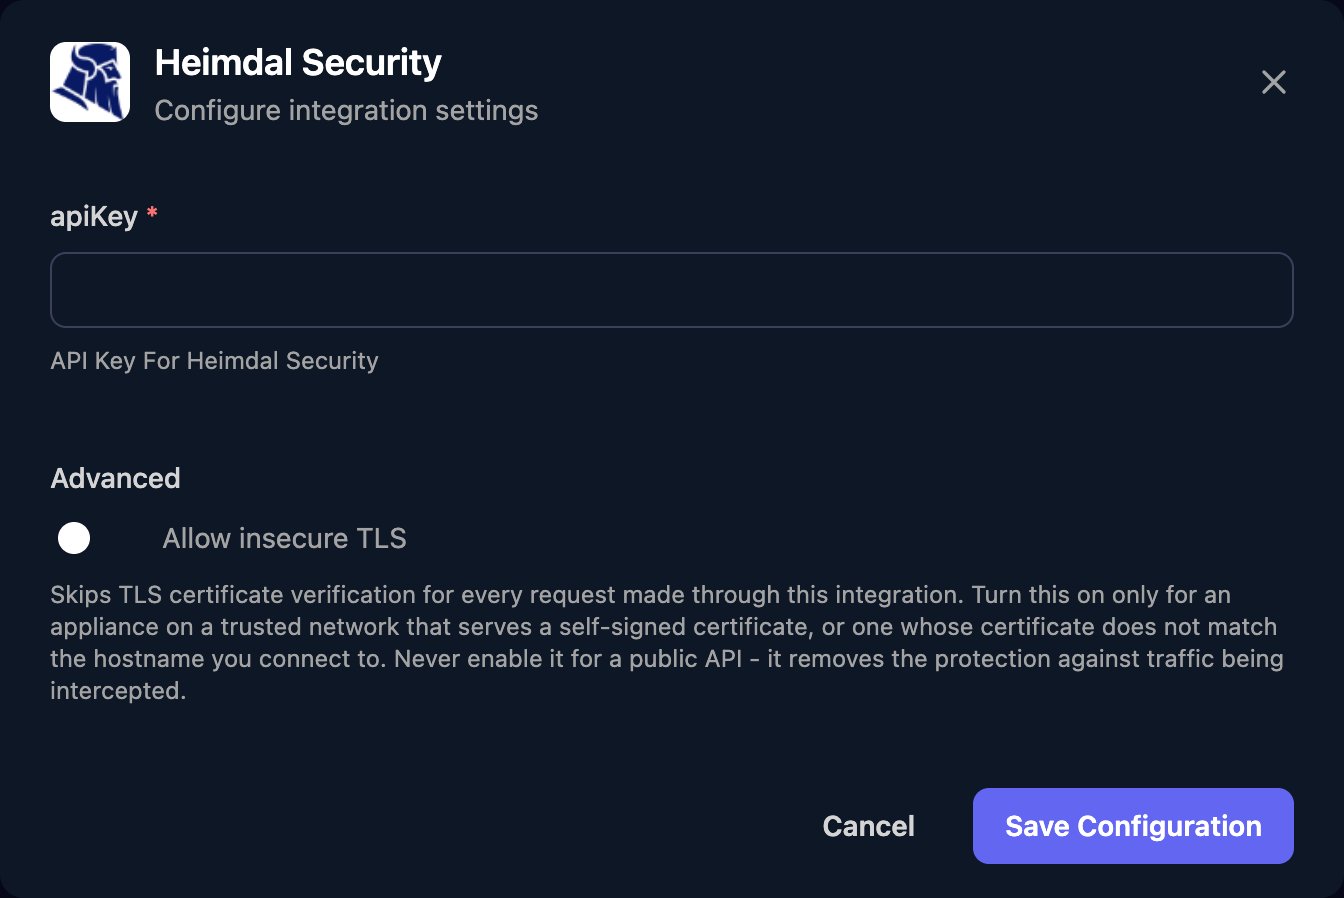
Go to **Integrations > Heimdal Security** and click Configure on the Base Configuration card.
 Paste the key into apiKey without `Bearer` in front, then click Save Configuration.
 There's no client mapping, so actions take the Heimdal customer ID in `customerId`. Find it under Admin > Customers, or run Get Customers with your own customer ID. Dates use the form `2026-10-01T00:00`.
## Troubleshooting
Check apiKey has the current key with no `Bearer` or spaces, and both Triggr IP addresses are in the account's IP List.
Create Customer, Update Customer, Get Customers (for all customers), Get Active Clients Per Module and Get Active Clients Total need the Reseller role.
Check `customerId` is that customer's ID, not your own, and the customer sits under your reseller.
Several endpoints return at most 1,000 entries (Group Policy change logs, 10,000). Narrow the date range or page through results.
This documentation is built and hosted on [Mintlify](https://mintlify.com), a developer documentation platform.
There's no client mapping, so actions take the Heimdal customer ID in `customerId`. Find it under Admin > Customers, or run Get Customers with your own customer ID. Dates use the form `2026-10-01T00:00`.
## Troubleshooting
Check apiKey has the current key with no `Bearer` or spaces, and both Triggr IP addresses are in the account's IP List.
Create Customer, Update Customer, Get Customers (for all customers), Get Active Clients Per Module and Get Active Clients Total need the Reseller role.
Check `customerId` is that customer's ID, not your own, and the customer sits under your reseller.
Several endpoints return at most 1,000 entries (Group Policy change logs, 10,000). Narrow the date range or page through results.
This documentation is built and hosted on [Mintlify](https://mintlify.com), a developer documentation platform.