> ## Documentation Index
> Fetch the complete documentation index at: https://university.triggr-app.com/llms.txt
> Use this file to discover all available pages before exploring further.
# Liongard
> Connect Liongard to Triggr with a Liongard access key ID and secret.
Triggr works with Liongard environments, launchpoints (including on-demand inspections), detections, timeline entries and your team's Liongard users.
## Set up Liongard
You need the Admin or User Admin role in Liongard.
Go to **Admin > Access Management**, select Add User, enter a Username such as `triggr` and an E-Mail you can receive, select Admin under Roles and click Save, then finish setting up the account from Liongard's email. Admin covers every action; Manager and Reader only see assigned environments. See Liongard's [User Permission Roles](https://docs.liongard.com/docs/user-accounts-best-practices).
Signed in as the Triggr user, open the profile menu, click Account Settings and, on Access Tokens, click **Generate New Token**. Choose the API token type (not Agent Install Token) and how long it lasts, up to Unlimited.
Copy the Access Key ID and Access Key Secret before you leave the page.
## Connect it in Triggr
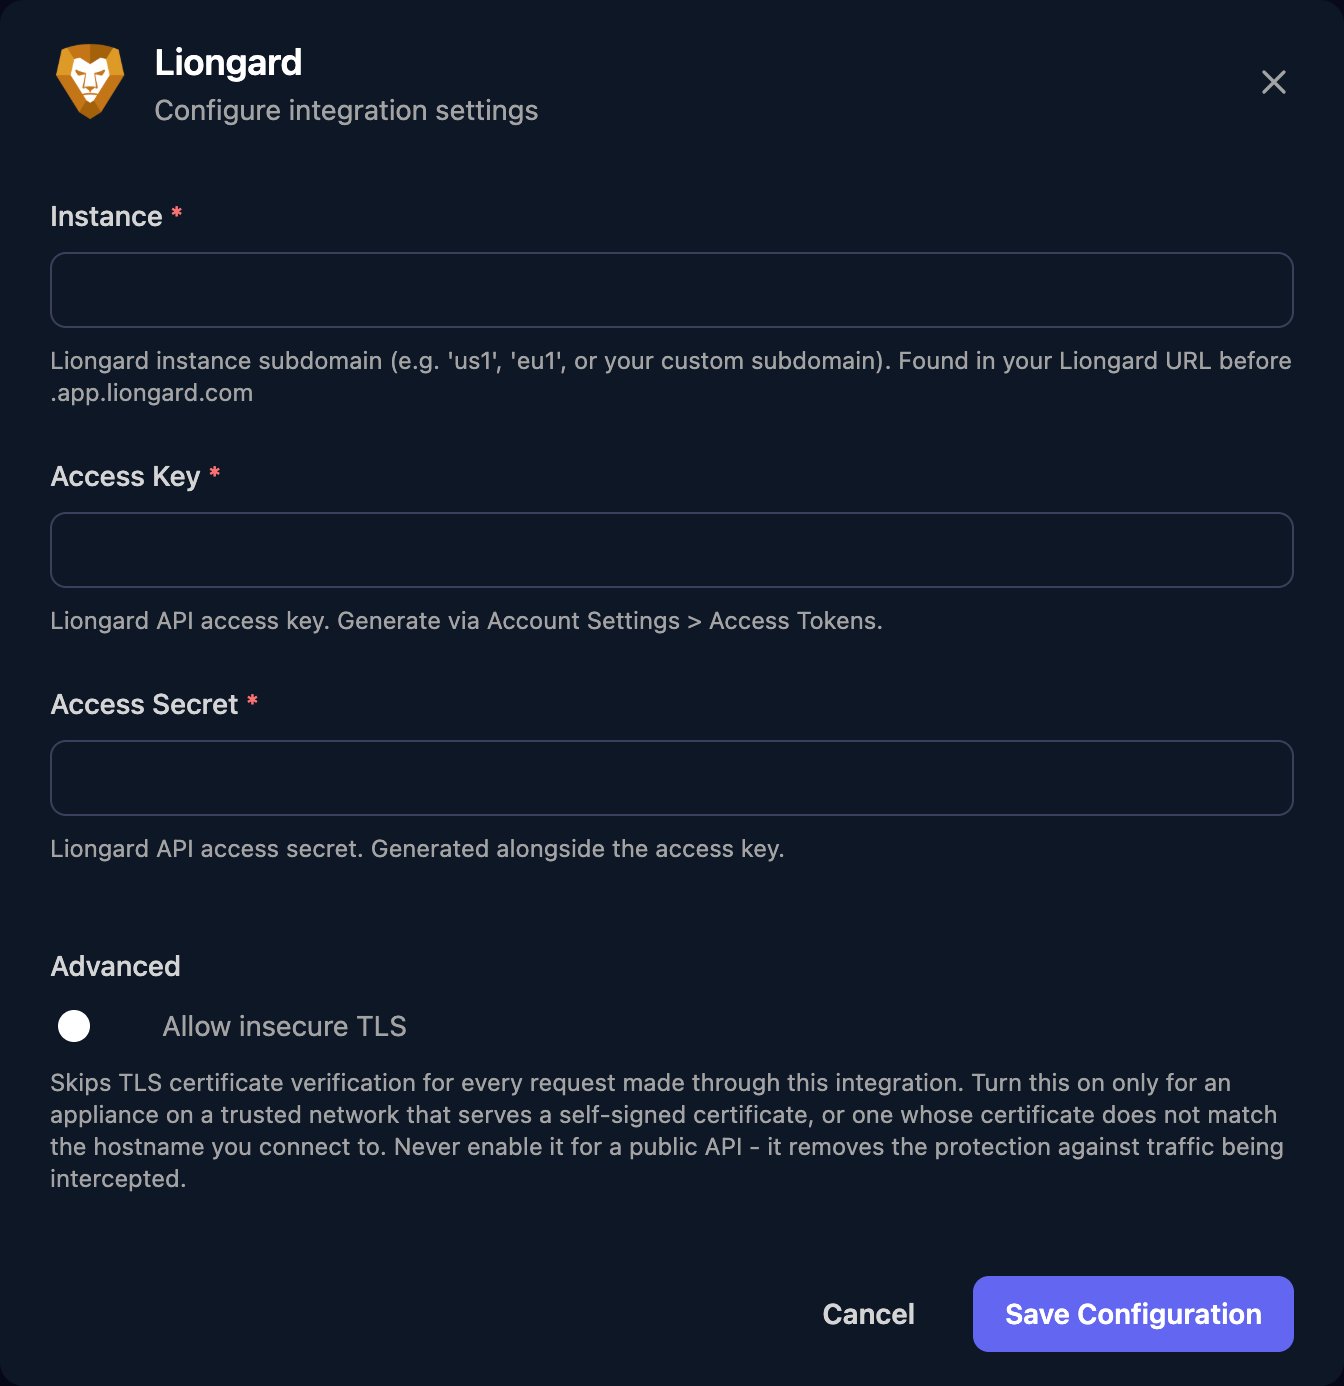
Go to **Integrations > Liongard** and click Configure on the Base Configuration card.
 For Instance, enter only the part of your Liongard address before `.app.liongard.com`, such as `yourcompany` or `us1`. Enter the Access Key ID as Access Key and the Access Key Secret as Access Secret, then click Save Configuration.
 One configuration covers all your clients, each of which is a Liongard environment. Actions on one record take its Liongard ID, which list actions such as List Environments return.
## Troubleshooting
Instance must be only the subdomain, without `https://` or `.app.liongard.com`.
Check the key and secret aren't swapped and the token hasn't expired. If it has, or you've lost the secret, generate a new token and update both fields.
Give the Triggr user a role that allows the action, such as Admin, or assign it the missing environments. An Agent Install Token can only add agents.
Liongard allows 2,000 requests in five minutes. Spread large workflows out or run them in smaller batches.
This documentation is built and hosted on [Mintlify](https://mintlify.com), a developer documentation platform.
One configuration covers all your clients, each of which is a Liongard environment. Actions on one record take its Liongard ID, which list actions such as List Environments return.
## Troubleshooting
Instance must be only the subdomain, without `https://` or `.app.liongard.com`.
Check the key and secret aren't swapped and the token hasn't expired. If it has, or you've lost the secret, generate a new token and update both fields.
Give the Triggr user a role that allows the action, such as Admin, or assign it the missing environments. An Agent Install Token can only add agents.
Liongard allows 2,000 requests in five minutes. Spread large workflows out or run them in smaller batches.
This documentation is built and hosted on [Mintlify](https://mintlify.com), a developer documentation platform.