> ## Documentation Index
> Fetch the complete documentation index at: https://university.triggr-app.com/llms.txt
> Use this file to discover all available pages before exploring further.
# NinjaOne
> Connect NinjaOne to Triggr with an API Services (machine-to-machine) client app.
Triggr works with NinjaOne organisations, locations, devices, patches, scripts, users, tickets and documentation. Triggr connects to NinjaOne at `app.ninjarmm.com`.
## Set up NinjaOne
In NinjaOne, go to **Administration > Apps > API**, open Client App IDs and click Add. Set Application Platform to **API Services (machine-to-machine)** and Name to `Triggr`, and leave Redirect URIs empty.
Under Scopes, tick Monitoring (read-only) and Management (changing devices and organisations, and running scripts); add Control only for remote access. Under Allowed Grant Types, tick **Client Credentials**.
Save the app and copy the client secret from the confirmation dialog, the only place NinjaOne shows it. Then copy the Client ID from Client App IDs.
See NinjaOne's [Register Machine-to-Machine Applications](https://app.ninjarmm.com/apidocs-beta/authorization/create-applications/machine-to-machine-apps).
## Connect it in Triggr
Go to **Integrations > NinjaOne 2.0** and click Configure on the Base Configuration card.
 Enter the ClientID and ClientSecret, and the scopes you ticked in Scopes, in lower case and separated by spaces (for example `monitoring management`), then click Save Configuration.
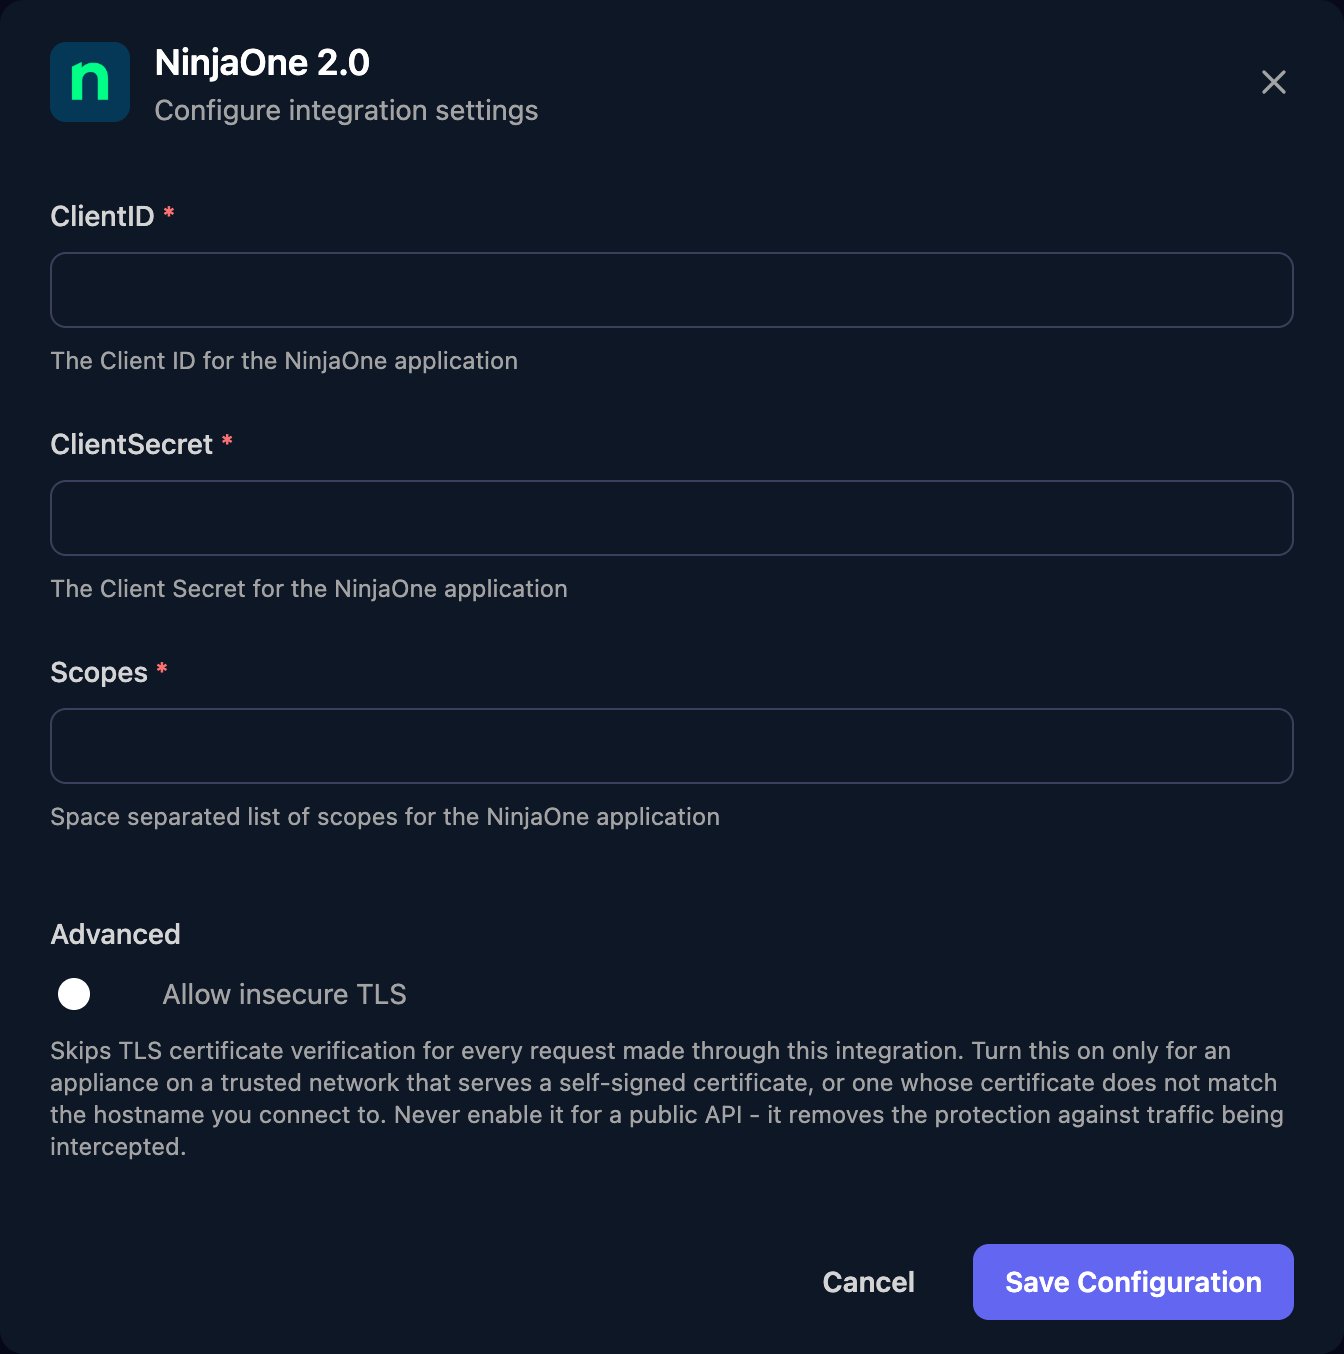 One app covers every NinjaOne organisation. Actions take the ID of the organisation, location or device they work on.
## Troubleshooting
Often with `no access token in response`. Check ClientID and ClientSecret have no extra spaces, the app still has Client Credentials ticked, Scopes uses spaces (not commas) and only `monitoring`, `management` or `control`, and the app was created in the NinjaOne account you sign in to at `app.ninjarmm.com`.
Tick Management on the app in NinjaOne, then add `management` to Scopes in Triggr.
Create a new client app, enter its details with Edit on the Base Configuration card, then delete the old app.
This documentation is built and hosted on [Mintlify](https://mintlify.com), a developer documentation platform.
One app covers every NinjaOne organisation. Actions take the ID of the organisation, location or device they work on.
## Troubleshooting
Often with `no access token in response`. Check ClientID and ClientSecret have no extra spaces, the app still has Client Credentials ticked, Scopes uses spaces (not commas) and only `monitoring`, `management` or `control`, and the app was created in the NinjaOne account you sign in to at `app.ninjarmm.com`.
Tick Management on the app in NinjaOne, then add `management` to Scopes in Triggr.
Create a new client app, enter its details with Edit on the Base Configuration card, then delete the old app.
This documentation is built and hosted on [Mintlify](https://mintlify.com), a developer documentation platform.