> ## Documentation Index
> Fetch the complete documentation index at: https://university.triggr-app.com/llms.txt
> Use this file to discover all available pages before exploring further.
# PRTG (API v1)
> Connect PRTG to Triggr through PRTG's classic HTTP API with a PRTG API key.
Triggr reads PRTG tables such as sensors, devices and messages, and acknowledges alarms, through PRTG's classic HTTP API. Use it for PRTG Hosted Monitor, a cluster, or a PRTG without API v2; otherwise use [PRTG](/integrations/prtg/prtg).
## Set up PRTG
In **Setup > System Administration > User Accounts**, add a user (Invite User on Hosted Monitor). Set User Type to Read-only user, with Allow user to acknowledge alarms if workflows acknowledge alarms, and a Primary Group that can see the objects your workflows read.
Signed in as that user, go to **Setup > Account Settings > API Keys** and select Add API Key (not the MultiBoard option). Set Access Level to Read access, or Acknowledge access to acknowledge alarms. Copy the key before you click OK; PRTG shows it only once.
A self-hosted PRTG needs its HTTPS port reachable at a public address, with [Triggr's IP addresses](/security/ip-allowlist) allowed through any firewall.
See Paessler's [user accounts](https://www.paessler.com/manuals/prtg/user_accounts) and [API keys](https://www.paessler.com/manuals/prtg/api_keys) pages.
## Connect it in Triggr
The Base Configuration serves workflows that run without a client.
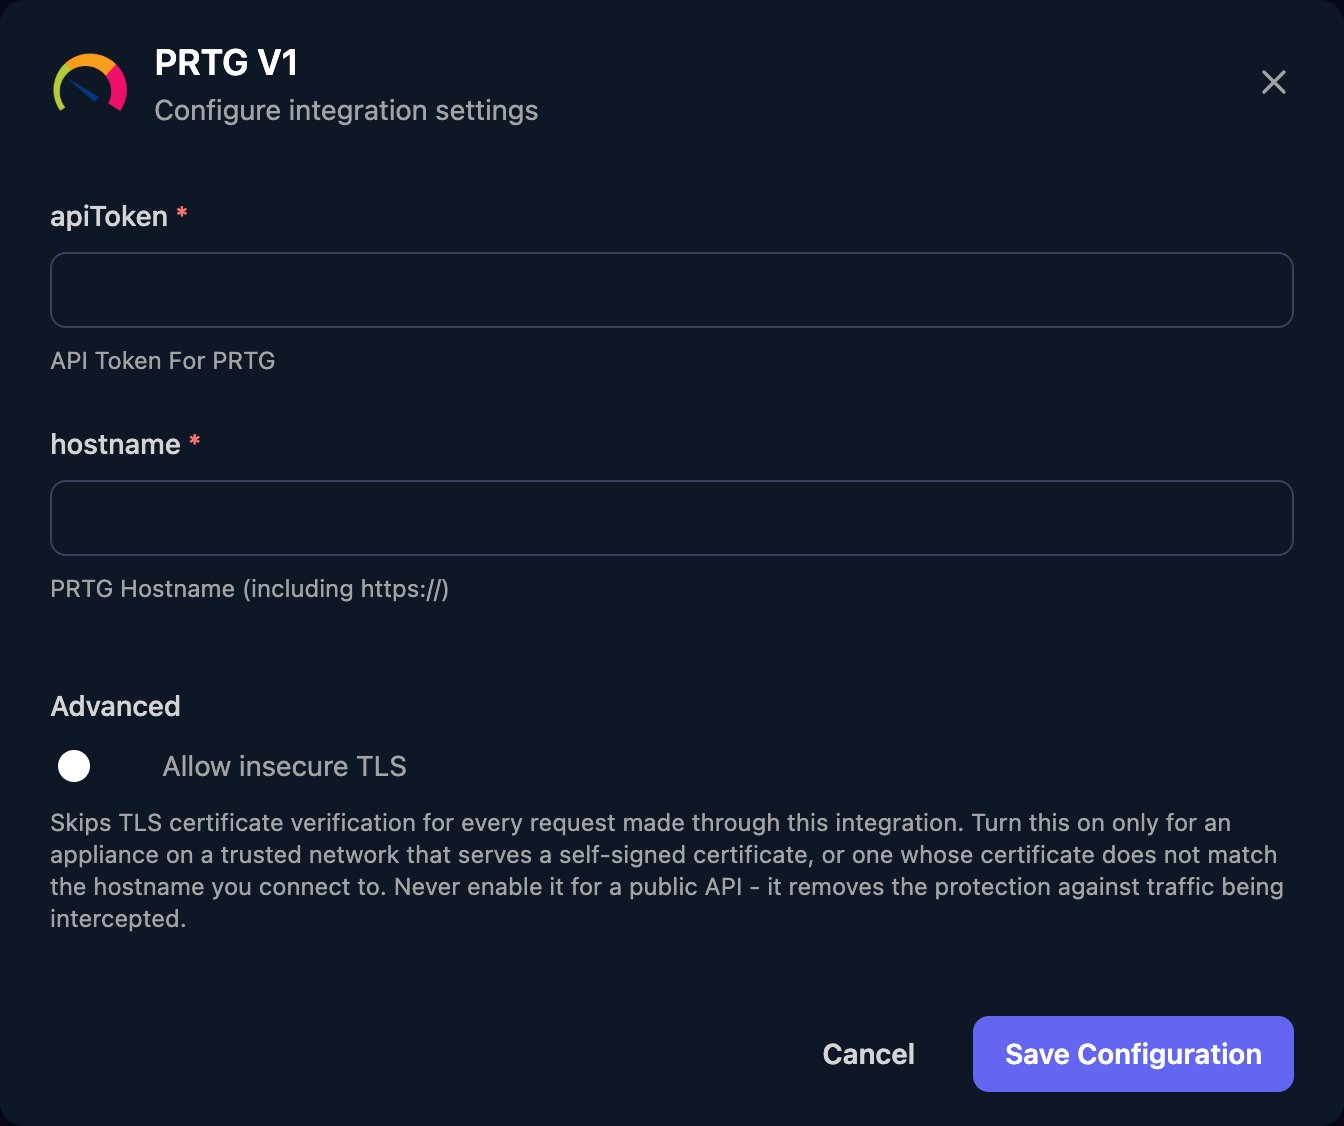
Go to **Integrations > PRTG V1** and click **Configure** on the Base Configuration card.
 Paste the key into apiToken. In hostname, enter the web interface address with `https://` and any non-443 port, such as `https://prtg.example.com` or `https://yourcompany.my-prtg.com`, with no path. Turn on Allow insecure TLS if PRTG uses its self-signed certificate, then click Save Configuration.
 To test it, run Get JSON with `content` set to `sensors` and `columns` set to `objid,sensor,status`.
## Set up each client
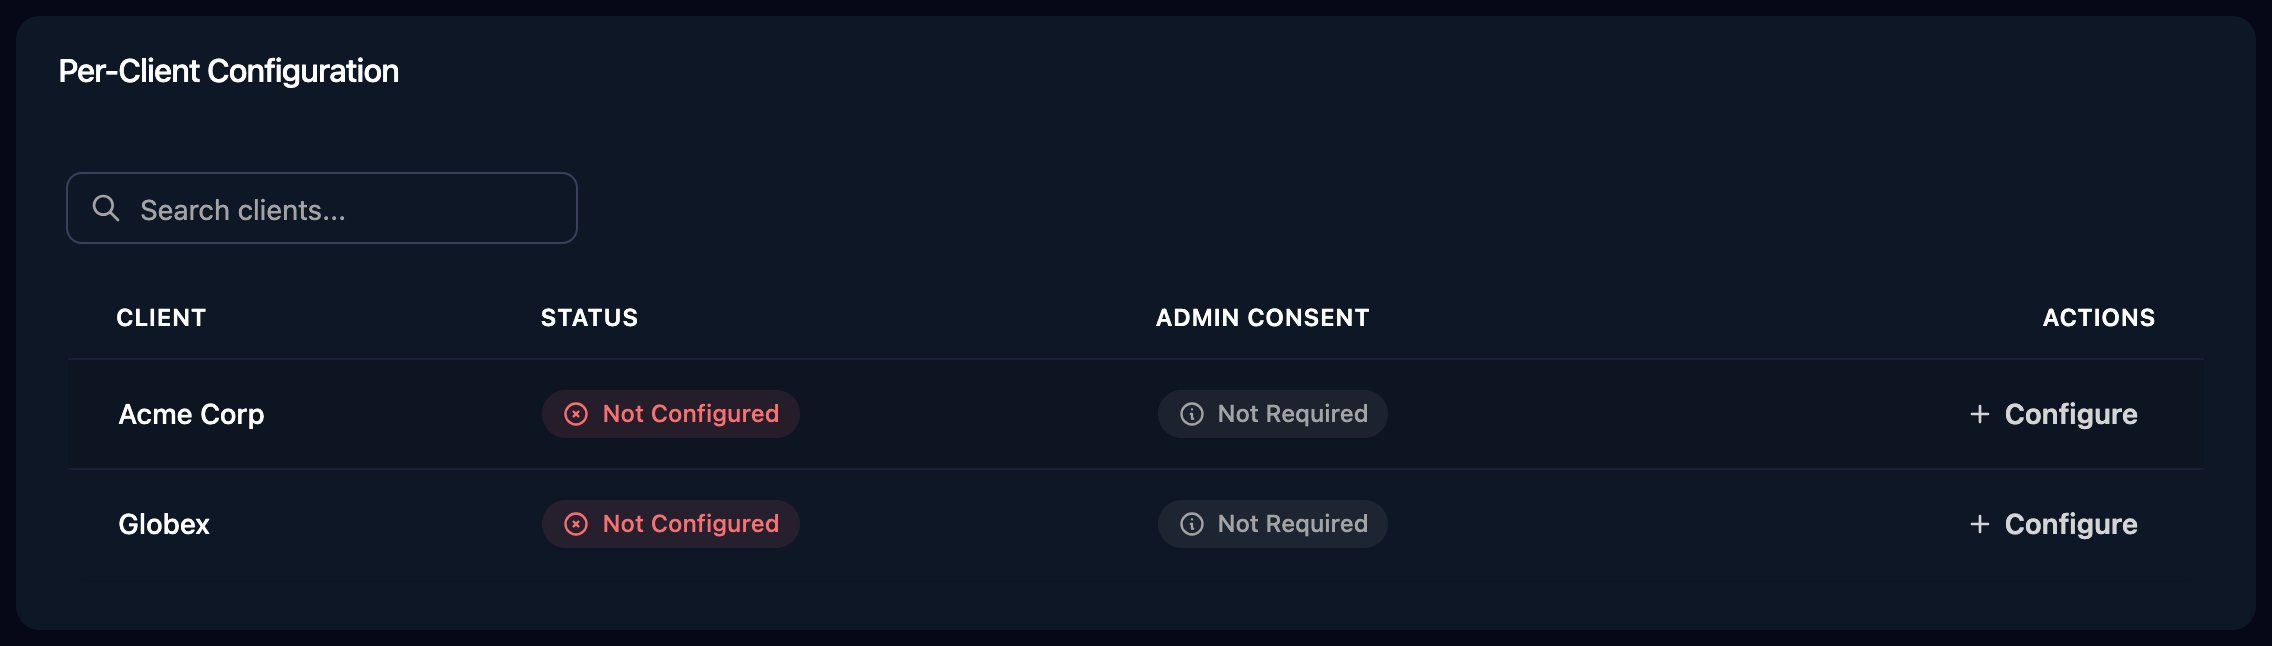
Per-client integrations never fall back to the Base Configuration, so click **Configure** on each client's row and enter its own hostname, apiToken and Allow insecure TLS. Triggr saves the hostname as the client's `prtgHostname` variable. If one server monitors several clients, give each client its own PRTG user whose group sees only its part of the device tree.
To test it, run Get JSON with `content` set to `sensors` and `columns` set to `objid,sensor,status`.
## Set up each client
Per-client integrations never fall back to the Base Configuration, so click **Configure** on each client's row and enter its own hostname, apiToken and Allow insecure TLS. Triggr saves the hostname as the client's `prtgHostname` variable. If one server monitors several clients, give each client its own PRTG user whose group sees only its part of the device tree.
 ## Use the actions
* Get JSON and Get XML: `content` picks the table (`sensors`, `devices`, `messages`) and `columns` lists fields separated by commas, such as `objid,group,device,sensor,status,message`. See Paessler's [table reference](https://www.paessler.com/manuals/prtg/multiple_object_property_or_status).
* Acknowledge Alarm: `objectId` is the sensor's `objid` and `acknowledgeMessage` is the text PRTG shows.
## Troubleshooting
Configure the client on the Per-Client Configuration card.
Check the configuration the workflow used (the client's, if it ran for one) has the full key, and the key still exists under the Triggr user's API Keys.
Set the key's Access Level to Acknowledge access or higher, and check the user may acknowledge alarms.
Check hostname is a public address with `https://`, any non-443 port and no path, and your firewall allows [Triggr's IP addresses](/security/ip-allowlist). For certificate errors, turn on Allow insecure TLS or [install a trusted certificate](https://manuals.paessler.com/using_your_own_ssl_certificate.htm).
This documentation is built and hosted on [Mintlify](https://mintlify.com), a developer documentation platform.
## Use the actions
* Get JSON and Get XML: `content` picks the table (`sensors`, `devices`, `messages`) and `columns` lists fields separated by commas, such as `objid,group,device,sensor,status,message`. See Paessler's [table reference](https://www.paessler.com/manuals/prtg/multiple_object_property_or_status).
* Acknowledge Alarm: `objectId` is the sensor's `objid` and `acknowledgeMessage` is the text PRTG shows.
## Troubleshooting
Configure the client on the Per-Client Configuration card.
Check the configuration the workflow used (the client's, if it ran for one) has the full key, and the key still exists under the Triggr user's API Keys.
Set the key's Access Level to Acknowledge access or higher, and check the user may acknowledge alarms.
Check hostname is a public address with `https://`, any non-443 port and no path, and your firewall allows [Triggr's IP addresses](/security/ip-allowlist). For certificate errors, turn on Allow insecure TLS or [install a trusted certificate](https://manuals.paessler.com/using_your_own_ssl_certificate.htm).
This documentation is built and hosted on [Mintlify](https://mintlify.com), a developer documentation platform.