> ## Documentation Index
> Fetch the complete documentation index at: https://university.triggr-app.com/llms.txt
> Use this file to discover all available pages before exploring further.
# QuickBooks Online
> Connect QuickBooks Online to Triggr with an Intuit Developer app that a QuickBooks admin authorizes for each company.
Triggr works with QuickBooks Online customers, invoices, payments, bills, items, accounts and vendors, and can query any type of record. Each configuration connects to one company: the Base Configuration is usually your own, and each client's configuration is that client's company.
## Set up QuickBooks Online
In the [Intuit Developer Portal](https://developer.intuit.com), go to **My Hub > App dashboard**, select the card with a +, name the app `Triggr` and select the `com.intuit.quickbooks.accounting` scope.
In **Keys and credentials > Production**, fill in App Details and complete the Compliance questionnaire. Intuit releases the keys once it approves the questionnaire.
In **Settings > Redirect URIs**, select Production, click Add URI and enter `https://app.triggr-app.com/oauth/callback` exactly.
In Keys and credentials > Production, turn on Show credentials and copy the Client ID and Client secret.
In each company, select the Settings gear, then **Additional info**, and copy the company ID (digits only).
See Intuit's guides to [creating an app](https://developer.intuit.com/app/developer/qbo/docs/get-started/start-developing-your-app), [going live](https://developer.intuit.com/app/developer/qbo/docs/go-live/publish-app), [redirect URIs](https://developer.intuit.com/app/developer/qbo/docs/develop/authentication-and-authorization/set-redirect-uri) and [finding your company ID](https://quickbooks.intuit.com/learn-support/en-global/help-article/customer-company-settings/find-quickbooks-online-company-id/L7lp8O9yU_ROW_en).
## Connect it in Triggr
Go to **Integrations > QuickBooks Online** and click **Configure** on the Base Configuration card.
 Enter the production Client ID and Client Secret and the Company ID (realm ID), then click Save Configuration.
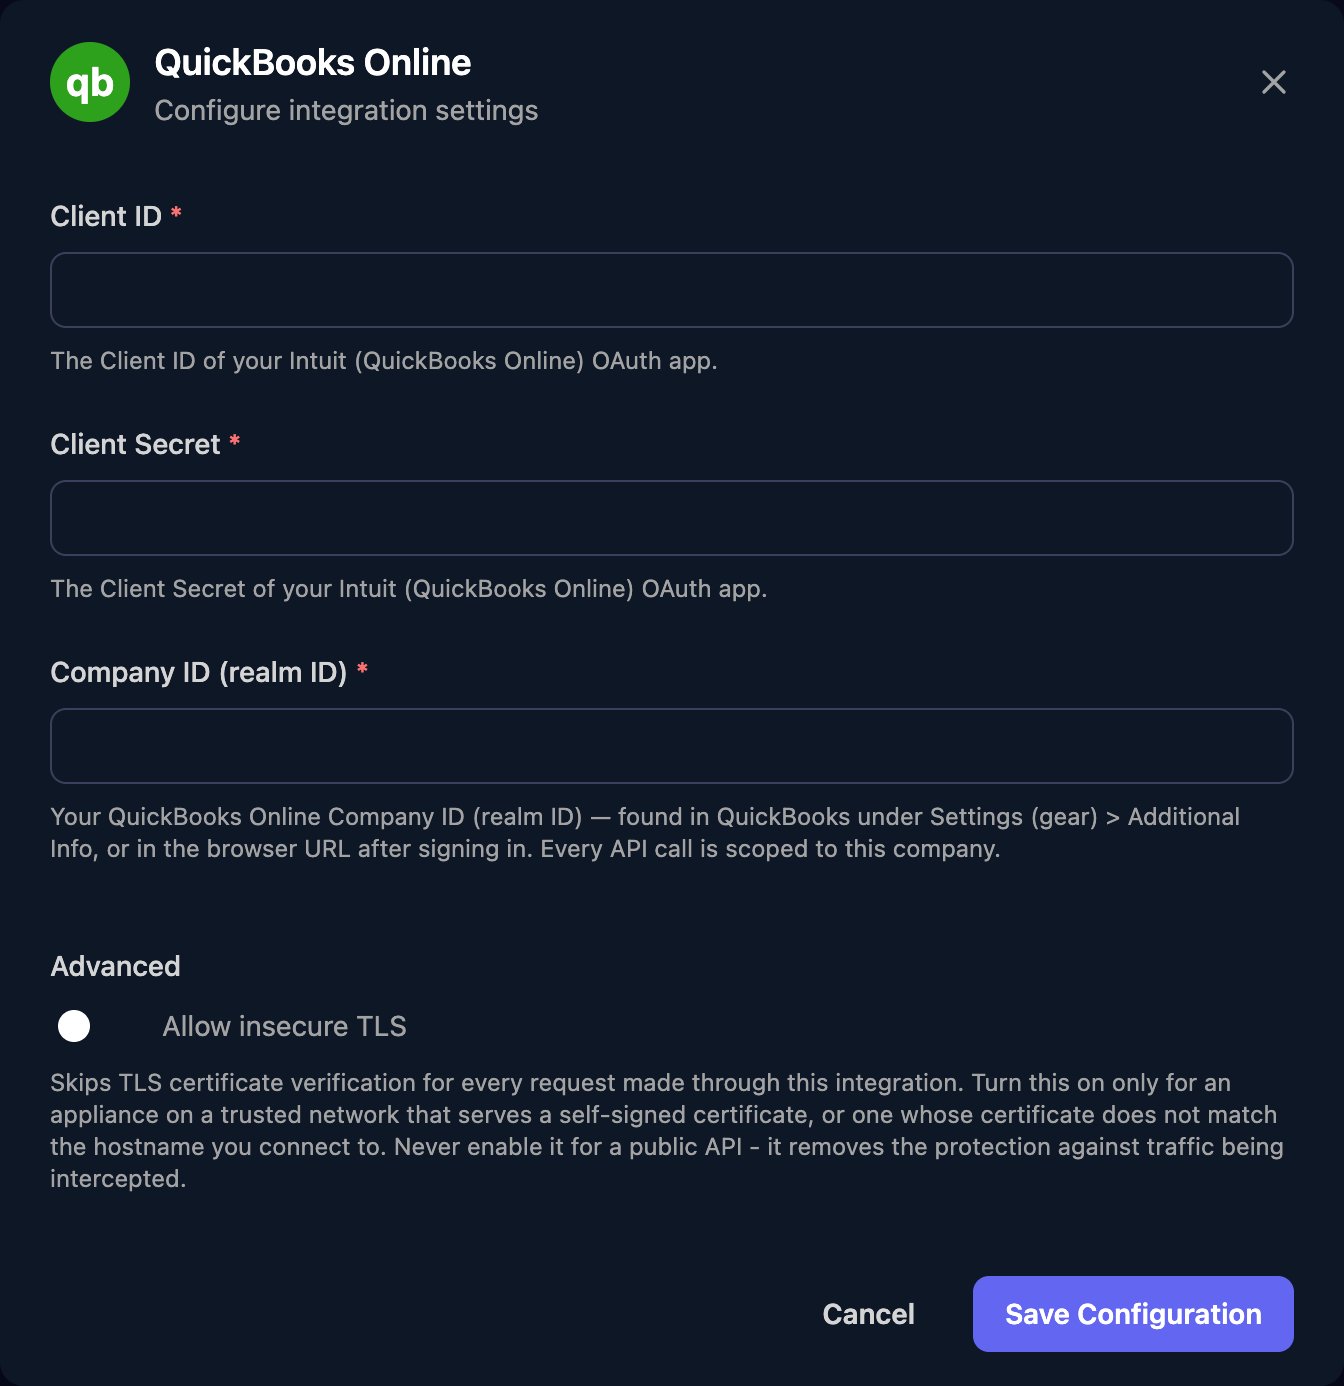 Click **Authorize**, sign in to Intuit as a primary admin or company admin, choose the company whose ID you entered and approve.
Authorize again if someone disconnects the app in QuickBooks, or you change the credentials or company ID.
## Set up each client
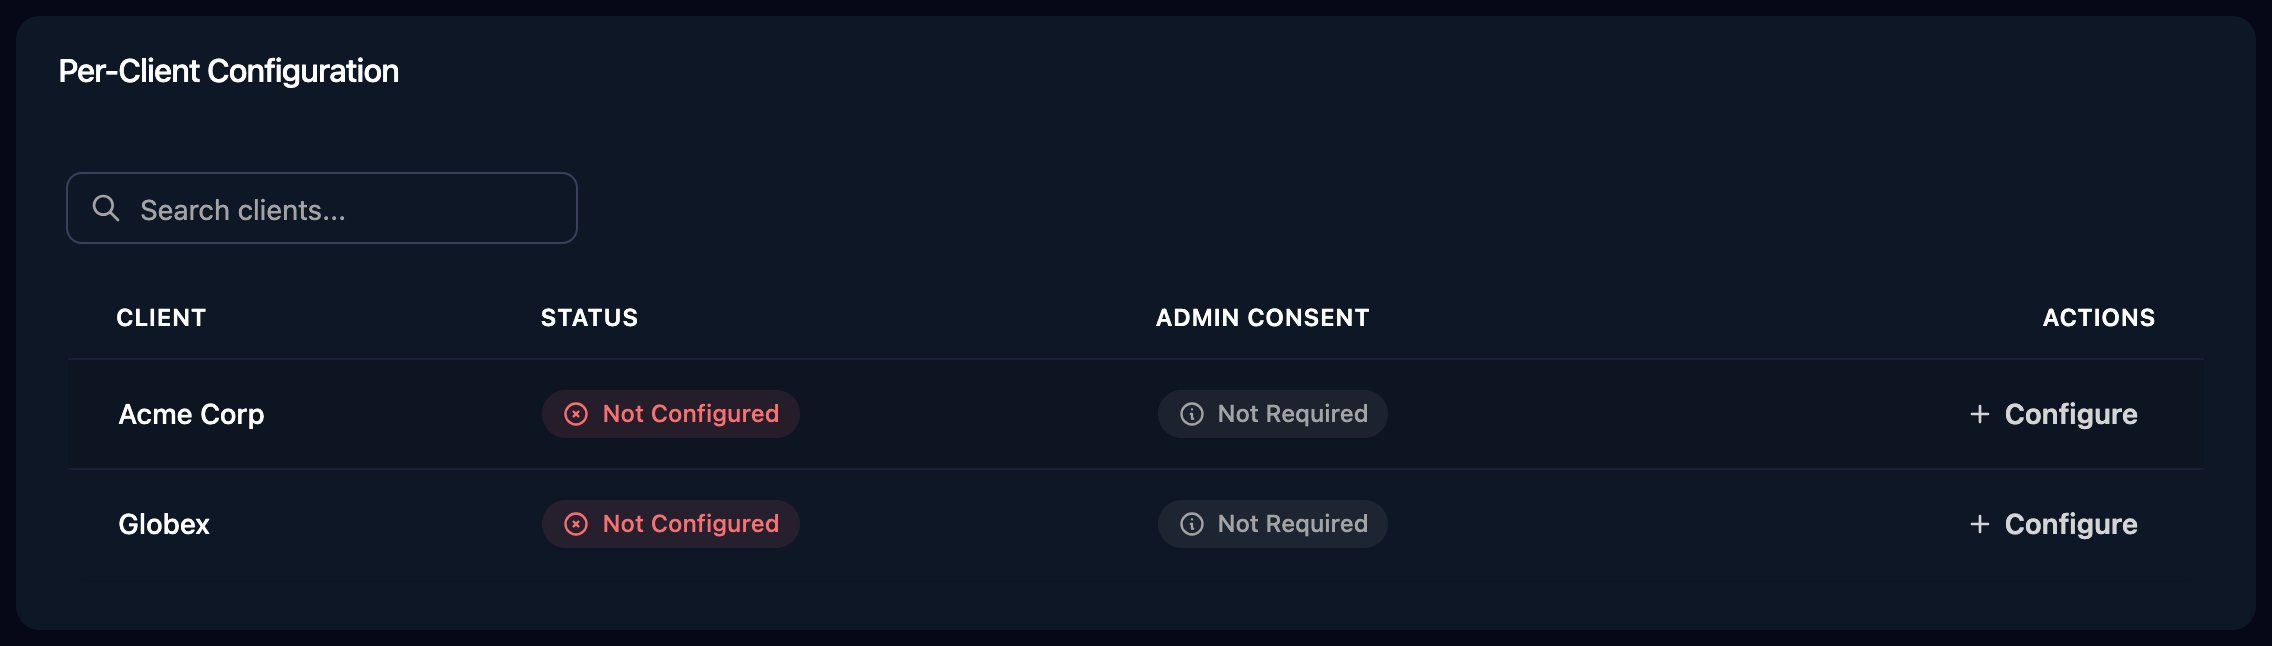
Per-client integrations never fall back to the Base Configuration. On the Per-Client Configuration card, click **Configure** on the client's row, enter the same app credentials with that client's company ID, save, then click Authorize on the row.
Click **Authorize**, sign in to Intuit as a primary admin or company admin, choose the company whose ID you entered and approve.
Authorize again if someone disconnects the app in QuickBooks, or you change the credentials or company ID.
## Set up each client
Per-client integrations never fall back to the Base Configuration. On the Per-Client Configuration card, click **Configure** on the client's row, enter the same app credentials with that client's company ID, save, then click Authorize on the row.
 ## Use it in workflows
* Run Query lists any type of record with a QuickBooks query, such as `select * from Customer where Active = true`.
* Update Customer and Update Invoice need the record's `Id`, its current `SyncToken` and `"sparse": true` in `jsonBody`. Read the record first with Get Customer or Get Invoice.
## Troubleshooting
Add `https://app.triggr-app.com/oauth/callback` under Production in Settings > Redirect URIs, exactly as shown, then click Authorize again.
Use the app's Production credentials, not its Development keys. Check the app is still connected in QuickBooks and the company ID matches the company you chose, then click Authorize again.
Configure and authorize the client on the Per-Client Configuration card.
Run Get Customer or Get Invoice again and use the `SyncToken` it returns.
This documentation is built and hosted on [Mintlify](https://mintlify.com), a developer documentation platform.
## Use it in workflows
* Run Query lists any type of record with a QuickBooks query, such as `select * from Customer where Active = true`.
* Update Customer and Update Invoice need the record's `Id`, its current `SyncToken` and `"sparse": true` in `jsonBody`. Read the record first with Get Customer or Get Invoice.
## Troubleshooting
Add `https://app.triggr-app.com/oauth/callback` under Production in Settings > Redirect URIs, exactly as shown, then click Authorize again.
Use the app's Production credentials, not its Development keys. Check the app is still connected in QuickBooks and the company ID matches the company you chose, then click Authorize again.
Configure and authorize the client on the Per-Client Configuration card.
Run Get Customer or Get Invoice again and use the `SyncToken` it returns.
This documentation is built and hosted on [Mintlify](https://mintlify.com), a developer documentation platform.