> ## Documentation Index
> Fetch the complete documentation index at: https://university.triggr-app.com/llms.txt
> Use this file to discover all available pages before exploring further.
# Introduction to workflows
> Build your first Studio workflow, start it from a form, test it and read its runs.
A workflow is a chain of steps that a trigger starts. Each step acts in a connected tool, waits for someone or decides what happens next.
 ## Build a new starter workflow
This workflow emails your service desk when someone submits the New starter request form from [Introduction to forms](/studio/forms/introduction).
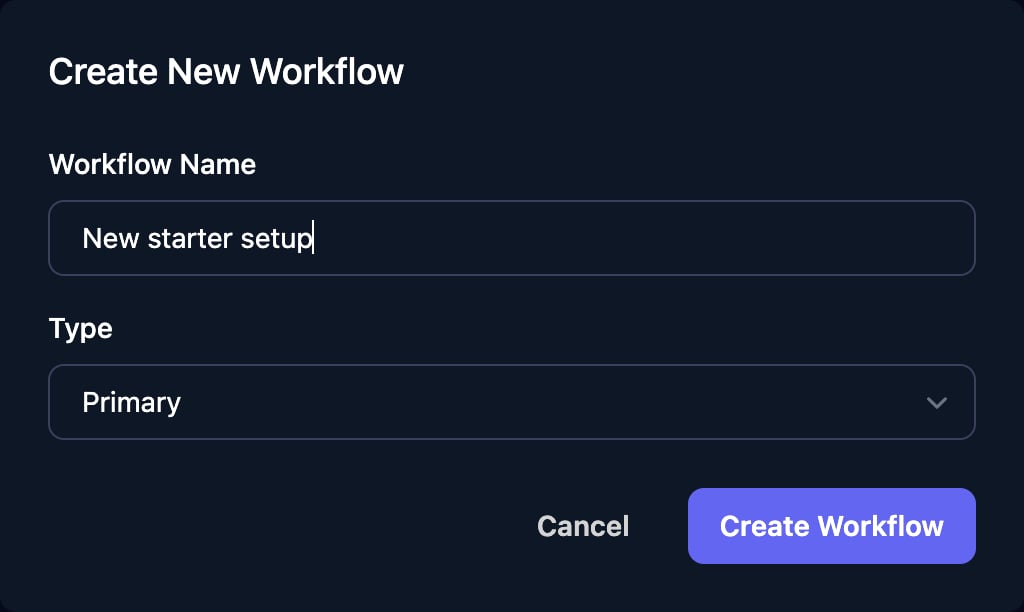
In Workflows, click **New Workflow**, name it `New starter setup` and click Create Workflow.
## Build a new starter workflow
This workflow emails your service desk when someone submits the New starter request form from [Introduction to forms](/studio/forms/introduction).
In Workflows, click **New Workflow**, name it `New starter setup` and click Create Workflow.
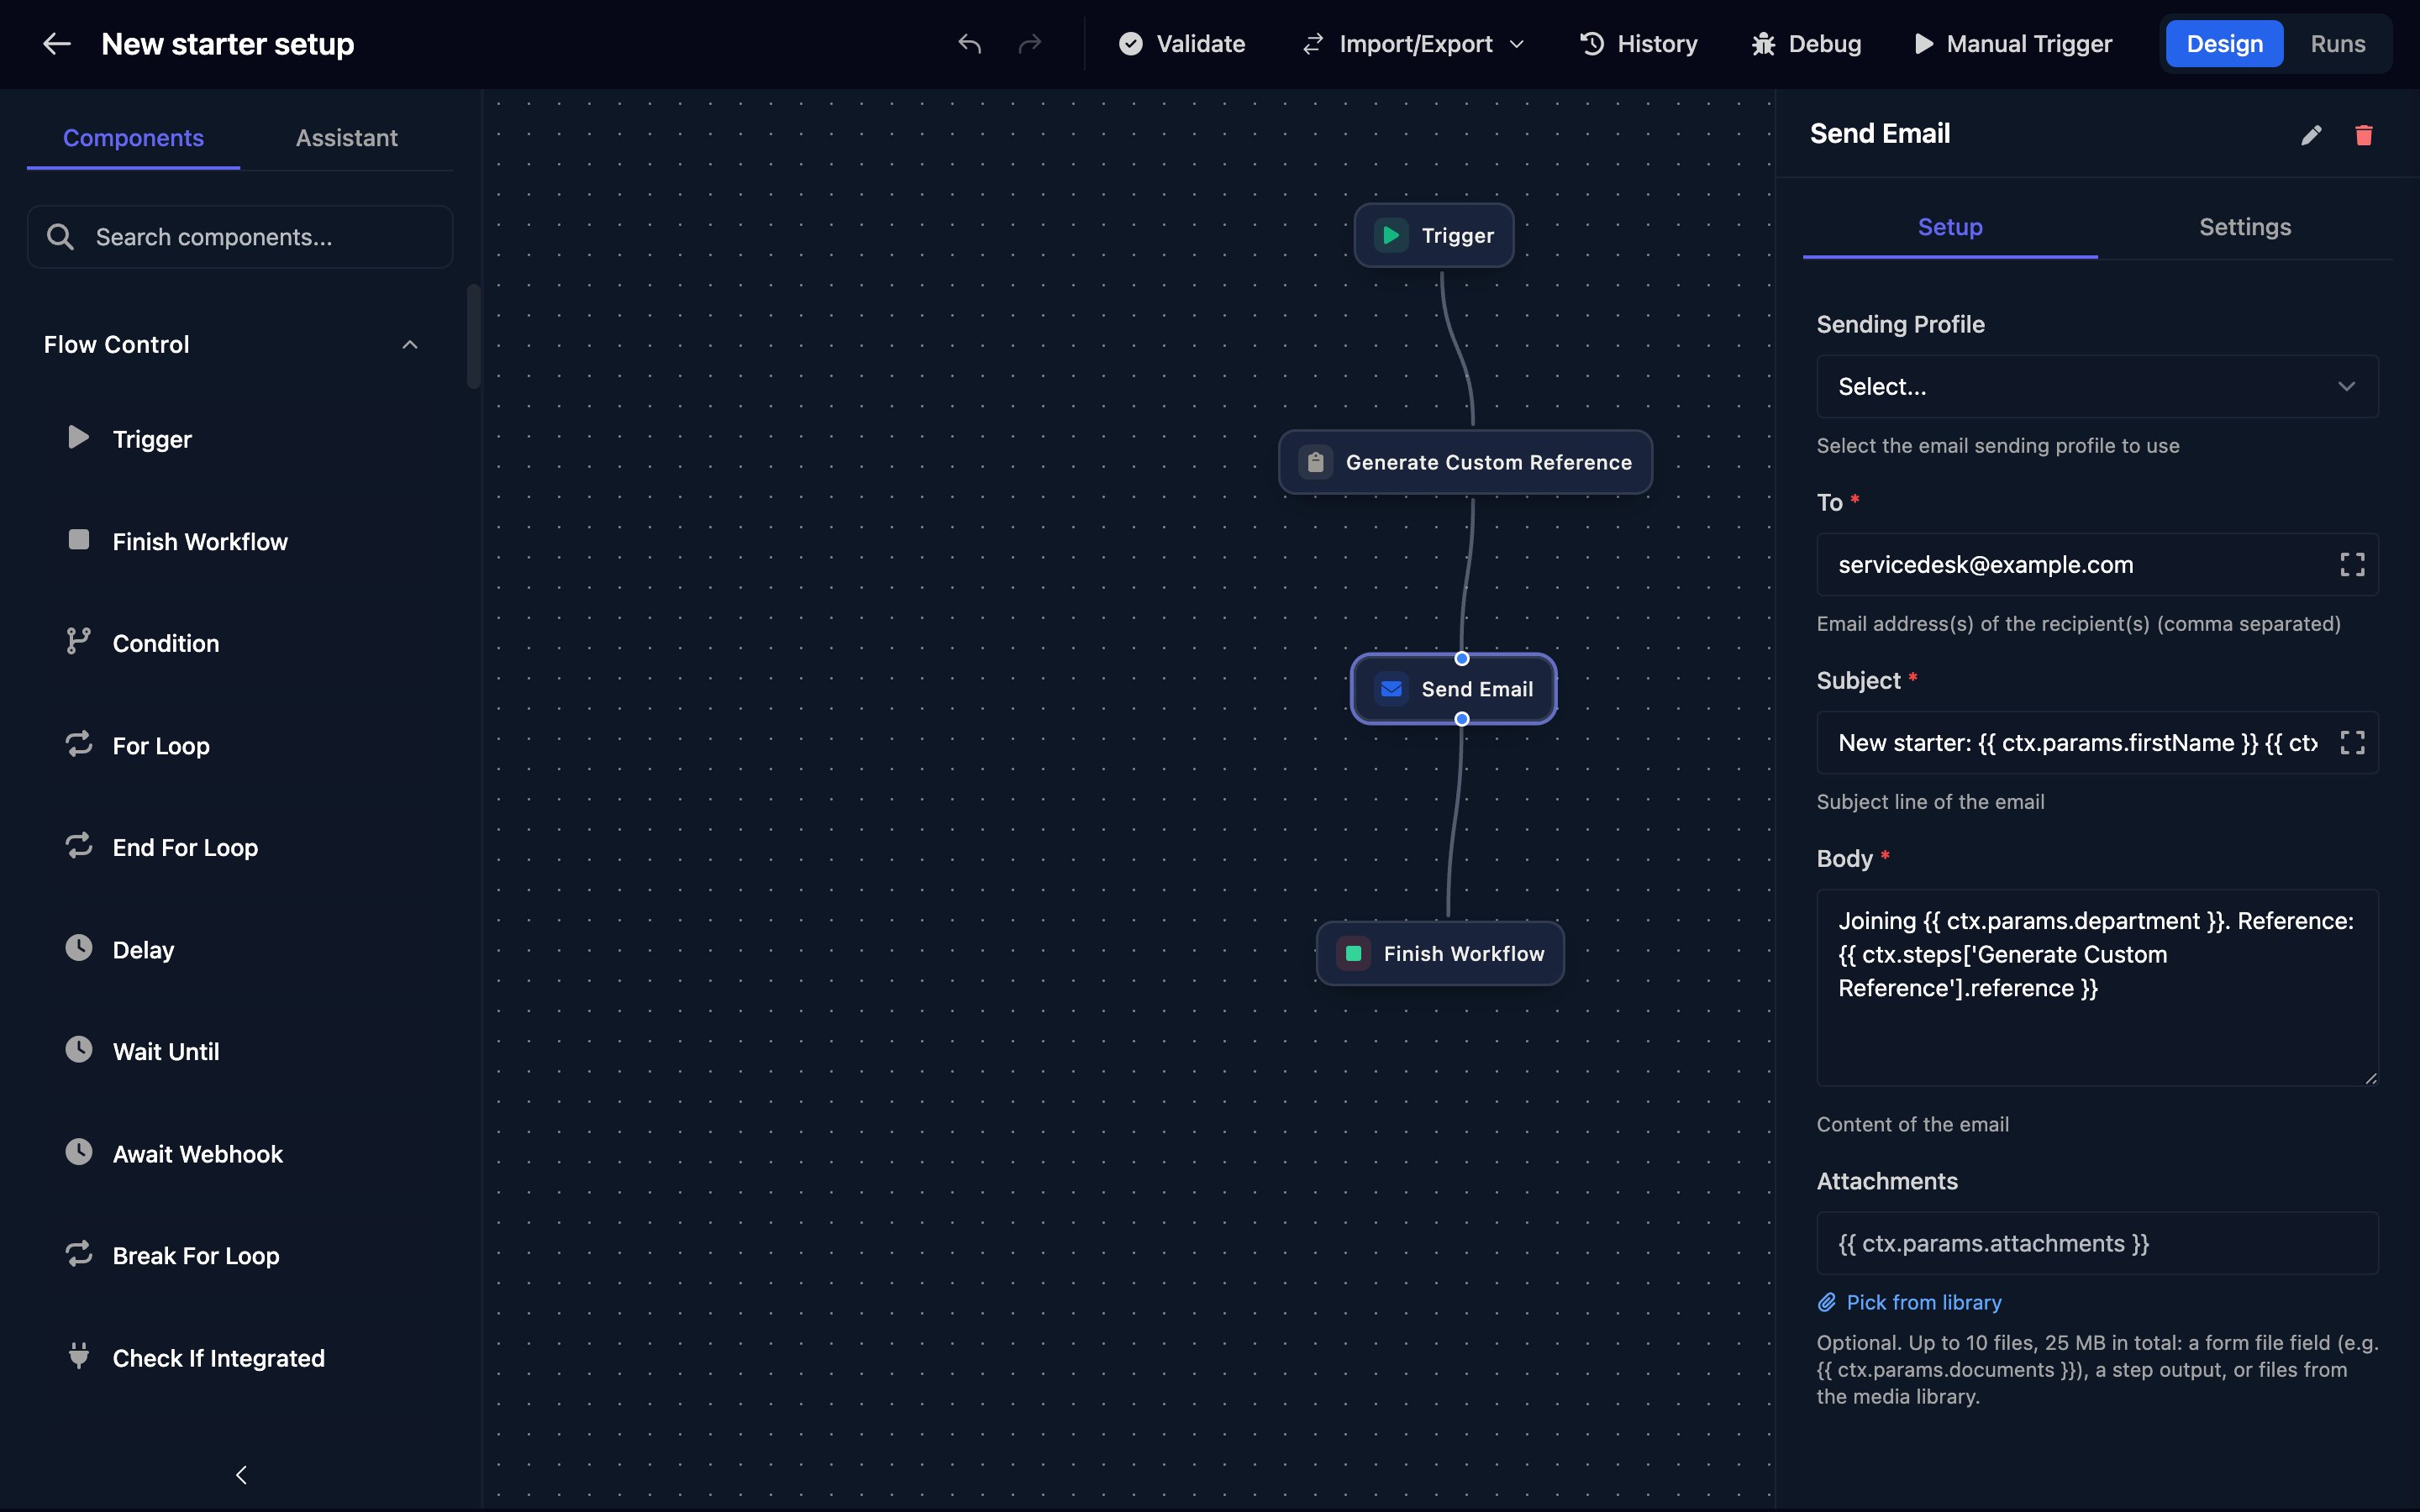
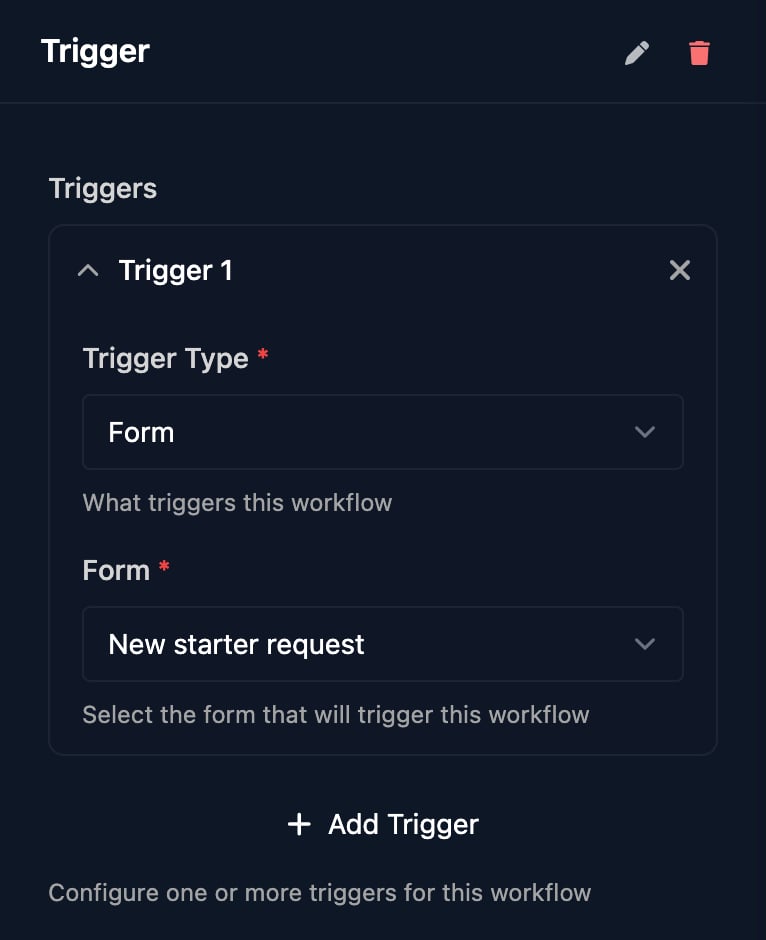
 Drag **Trigger** from Flow Control onto the canvas. Click **Add Trigger** and choose New starter request as the Form. A new trigger's type is already Form.
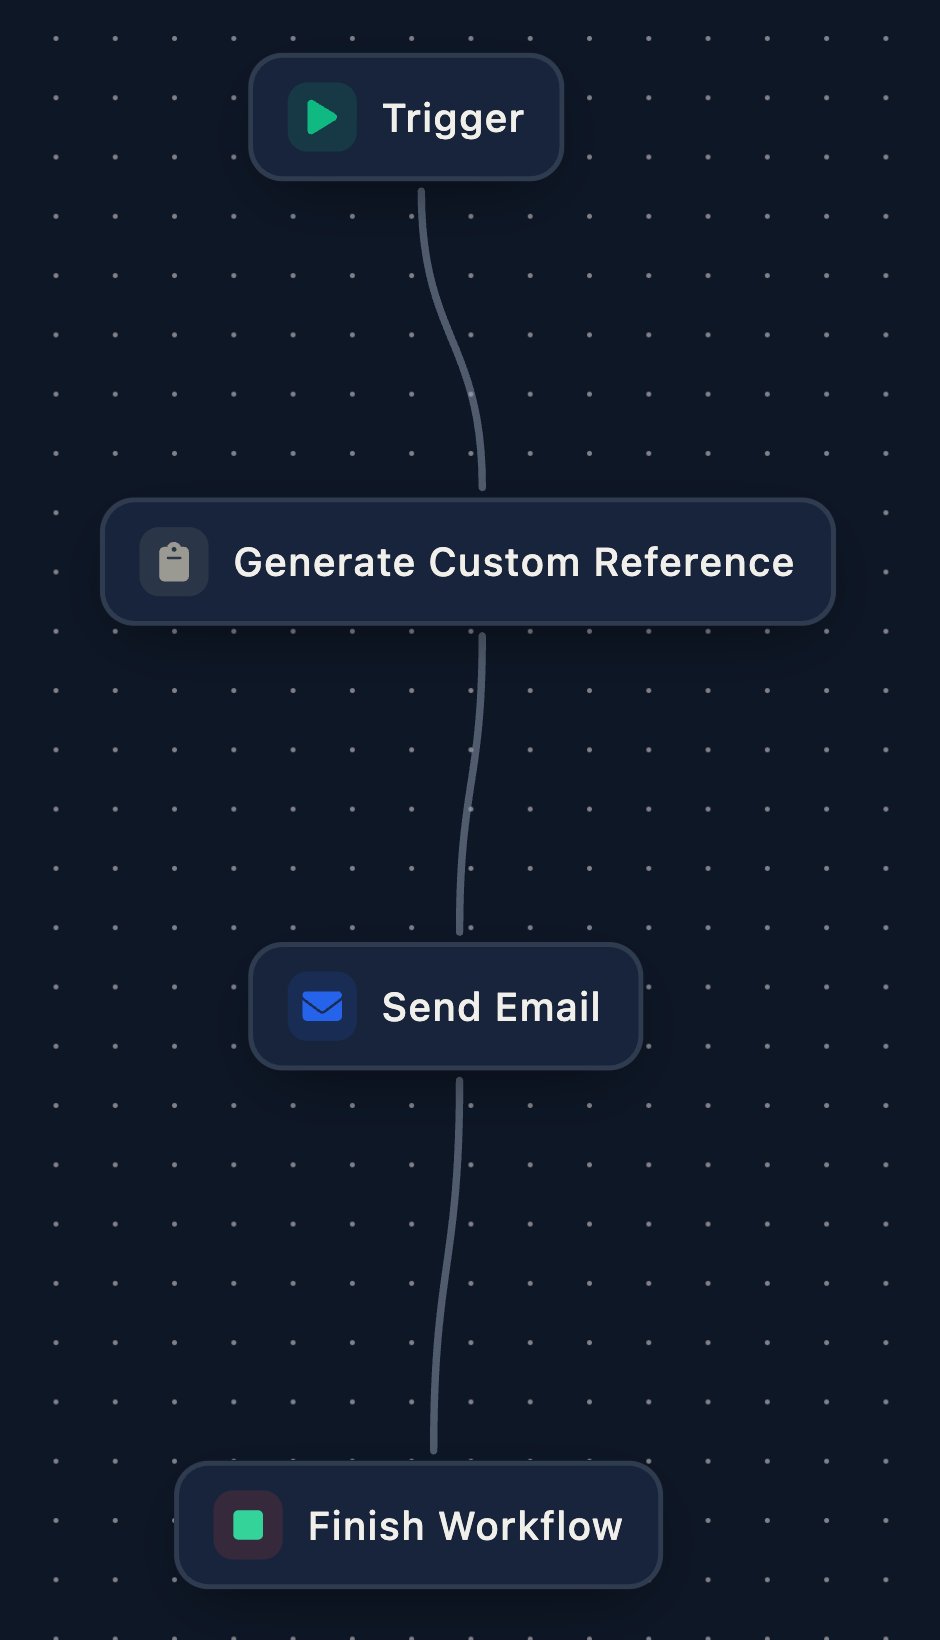
 Drag Generate Custom Reference (Utilities), Send Email (Communication) and Finish Workflow (Flow Control) below it, then drag from the dot under each step to the dot on top of the next. To find a step, type its name in Search components.
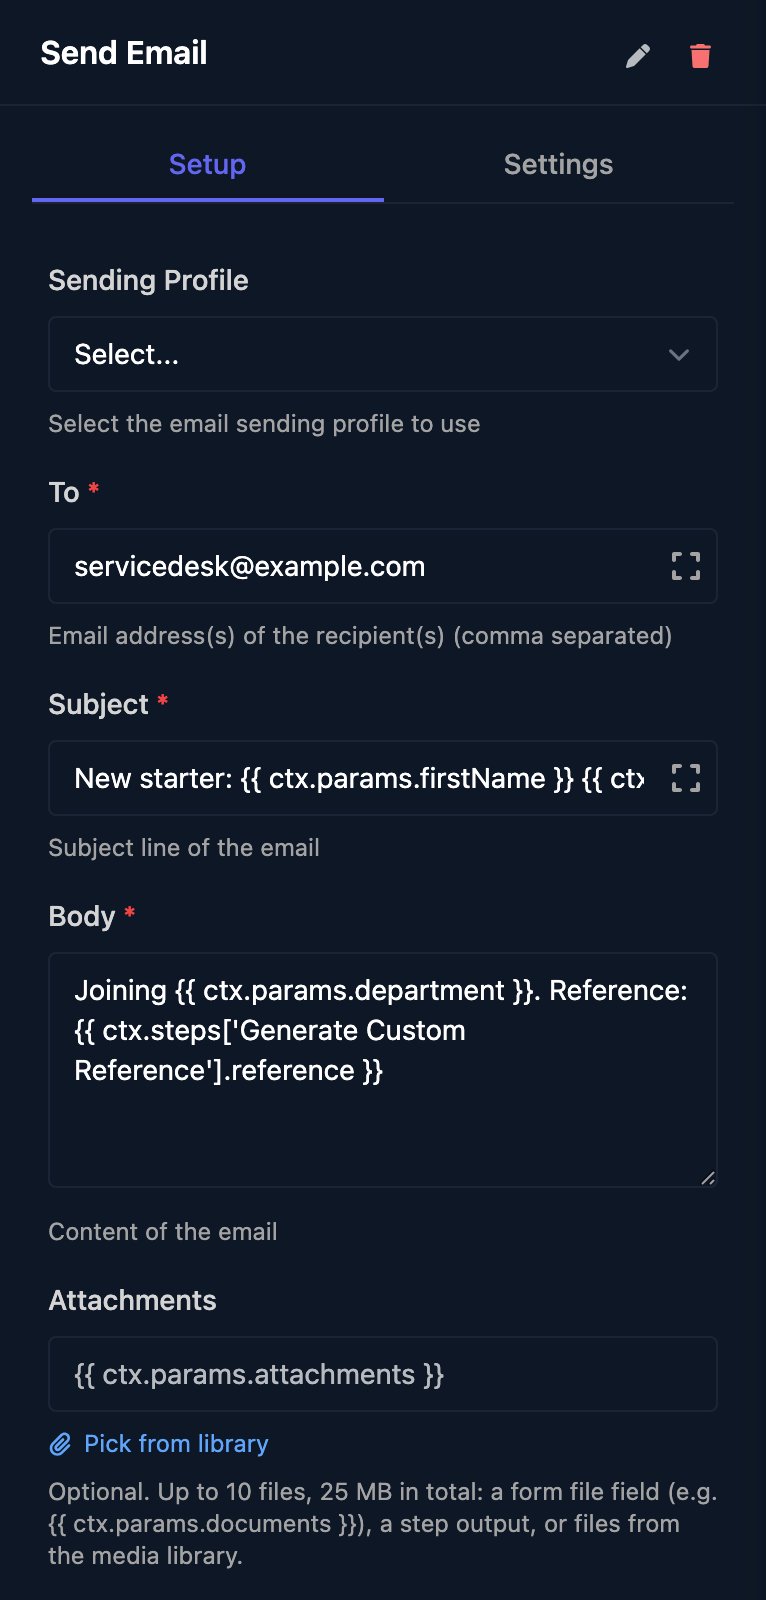
 Click **Send Email** and fill in Setup, leaving Sending Profile empty to send from Triggr:
* To: your service desk's address
* Subject: `New starter: {{ ctx.params.firstName }} {{ ctx.params.lastName }}`
* Body: `Joining {{ ctx.params.department }}. Reference: {{ ctx.steps['Generate Custom Reference'].reference }}`
Click **Send Email** and fill in Setup, leaving Sending Profile empty to send from Triggr:
* To: your service desk's address
* Subject: `New starter: {{ ctx.params.firstName }} {{ ctx.params.lastName }}`
* Body: `Joining {{ ctx.params.department }}. Reference: {{ ctx.steps['Generate Custom Reference'].reference }}`
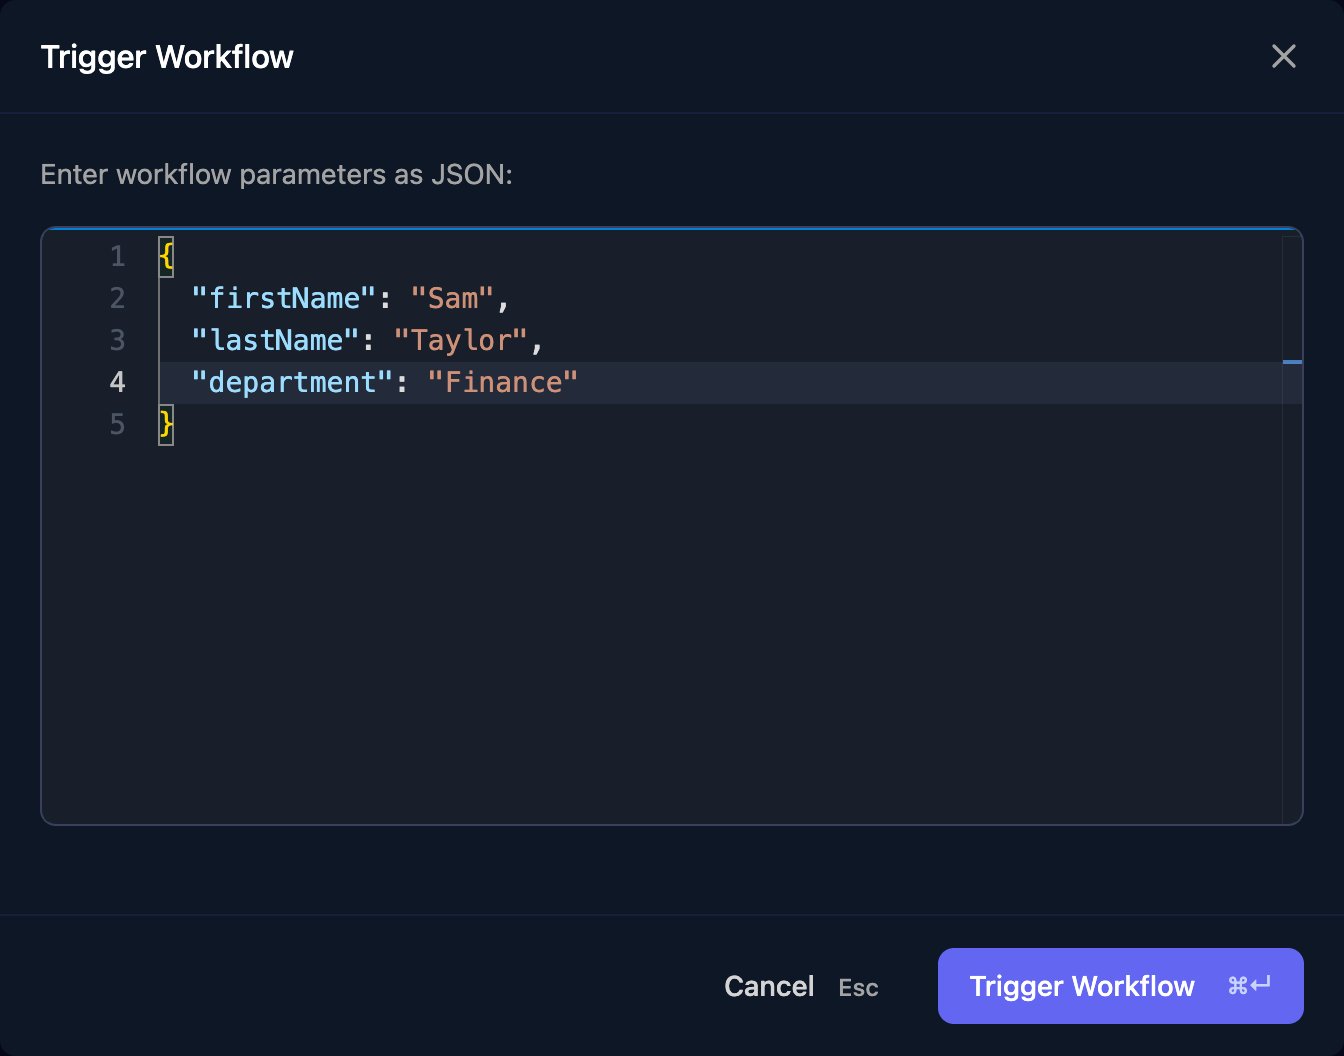
 Click **Save** at the bottom of the canvas (or press ⌘S or Ctrl+S), then **Manual Trigger**. Enter test answers and click **Trigger Workflow**.
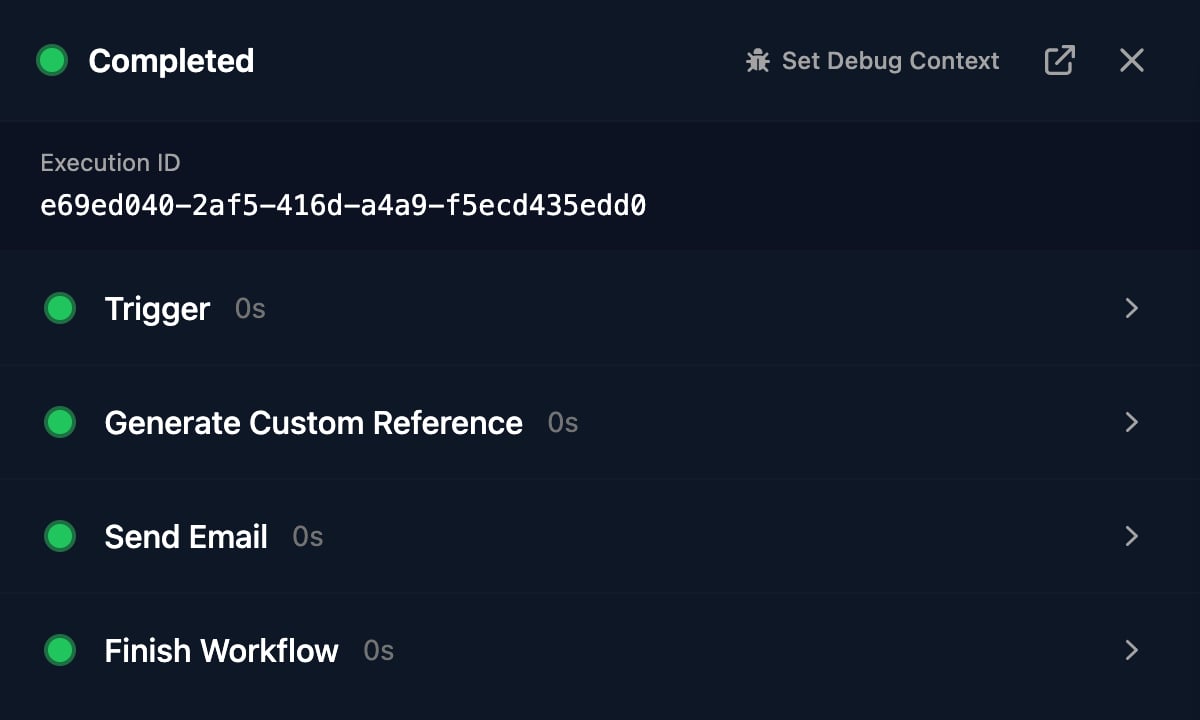
 The run opens on the right. Click a step to see its Output.
 ## Pass data between steps
`ctx.params` holds the trigger's data and `ctx.steps['Step name']` holds an earlier step's output. In a one-line field such as Subject, type `{{ ctx.params.` to pick one of the trigger form's fields, or `{{ ctx.steps['` to pick an earlier step. See [Data and expressions](/studio/workflows/expressions) for every value you can read, and [Step types](/studio/workflows/steps) for every step and its output fields.
## Triggers
A workflow starts from a Form submission, a Cron schedule in UTC, a Webhook POST, Manual Trigger, another workflow, an internal app or a PSA ticket. See [Workflow triggers](/studio/workflows/triggers).
## Runs
Runs in the designer header lists this workflow's runs, and Workflows > Executions lists every run. A run is Completed when it reaches Finish Workflow with Outcome Success, stays Running while it waits for an approval, a manual step or a delay, and is Failed when a step fails, it reaches Finish Workflow with Outcome Fail, or someone clicks Terminate Run. End every path with Finish Workflow: a path without one leaves the run Running. See [Debug a failed run](/studio/workflows/debugging) and [Approvals and manual steps](/studio/workflows/approvals-and-manual-steps).
## Troubleshooting
The run has no value at that path. Check it against the form's Field ID, your test JSON or the step's name, and click Validate to find other mistakes before you run.
Ask an admin for permission to edit and run workflows.
Next: [Introduction to internal apps](/studio/internal-apps/introduction).
This documentation is built and hosted on [Mintlify](https://mintlify.com), a developer documentation platform.
## Pass data between steps
`ctx.params` holds the trigger's data and `ctx.steps['Step name']` holds an earlier step's output. In a one-line field such as Subject, type `{{ ctx.params.` to pick one of the trigger form's fields, or `{{ ctx.steps['` to pick an earlier step. See [Data and expressions](/studio/workflows/expressions) for every value you can read, and [Step types](/studio/workflows/steps) for every step and its output fields.
## Triggers
A workflow starts from a Form submission, a Cron schedule in UTC, a Webhook POST, Manual Trigger, another workflow, an internal app or a PSA ticket. See [Workflow triggers](/studio/workflows/triggers).
## Runs
Runs in the designer header lists this workflow's runs, and Workflows > Executions lists every run. A run is Completed when it reaches Finish Workflow with Outcome Success, stays Running while it waits for an approval, a manual step or a delay, and is Failed when a step fails, it reaches Finish Workflow with Outcome Fail, or someone clicks Terminate Run. End every path with Finish Workflow: a path without one leaves the run Running. See [Debug a failed run](/studio/workflows/debugging) and [Approvals and manual steps](/studio/workflows/approvals-and-manual-steps).
## Troubleshooting
The run has no value at that path. Check it against the form's Field ID, your test JSON or the step's name, and click Validate to find other mistakes before you run.
Ask an admin for permission to edit and run workflows.
Next: [Introduction to internal apps](/studio/internal-apps/introduction).
This documentation is built and hosted on [Mintlify](https://mintlify.com), a developer documentation platform.