

Share your forms: make User Onboarding public, limit who can submit, share the link and see what your client does (1:23).
Publish a form
1
Make the workflow public
Open the workflow from Config, choose Public form only or Internal + public by its name, and tick List on homepage to show it on your requests homepage.
2
Limit who can submit (optional)
On Restrict access, turn on Restrict to group membership, click Add group and type a group’s display name; Core matches it in each client’s directory, nested membership included. To pick one client’s groups from a list, choose the client in the scope dropdown and click Override. Override starts with an empty list, so add that client’s groups before you save; with no groups, anyone at that client can submit.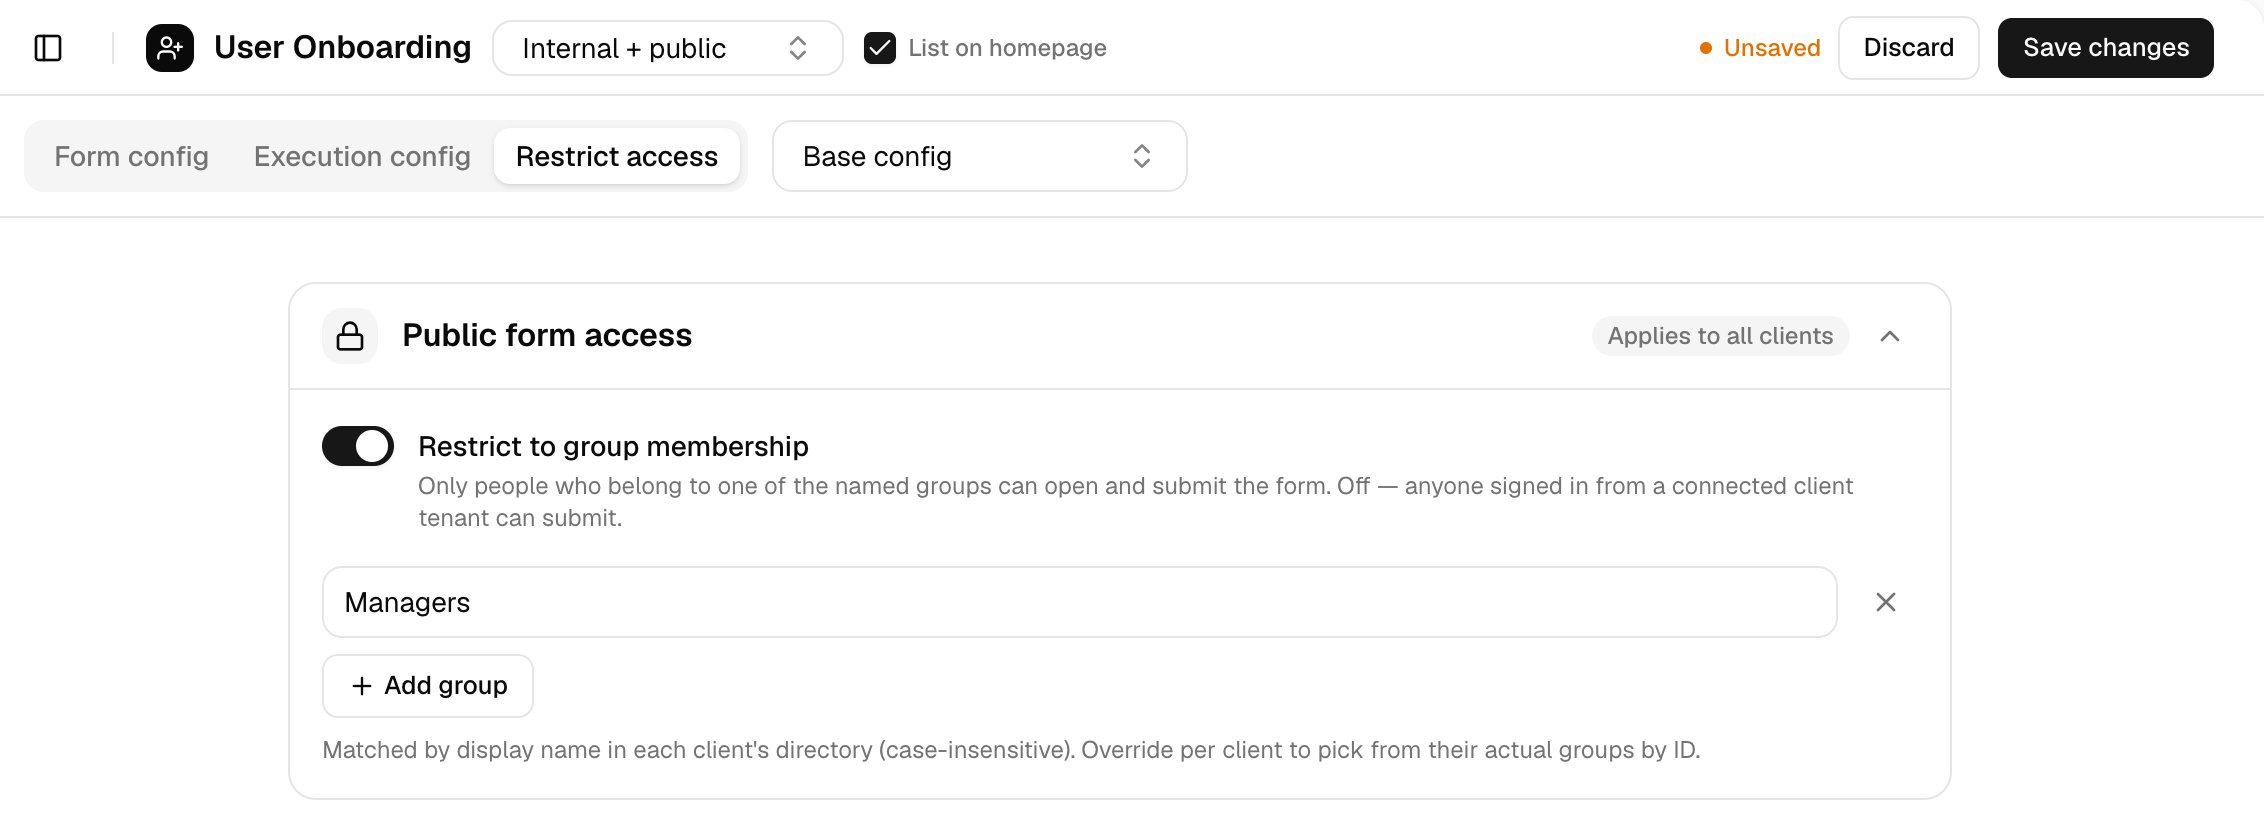
3
Save
Click Save changes.
Share the link
On Public forms, click Copy next to a form’s link. View homepage opens your requests homepage.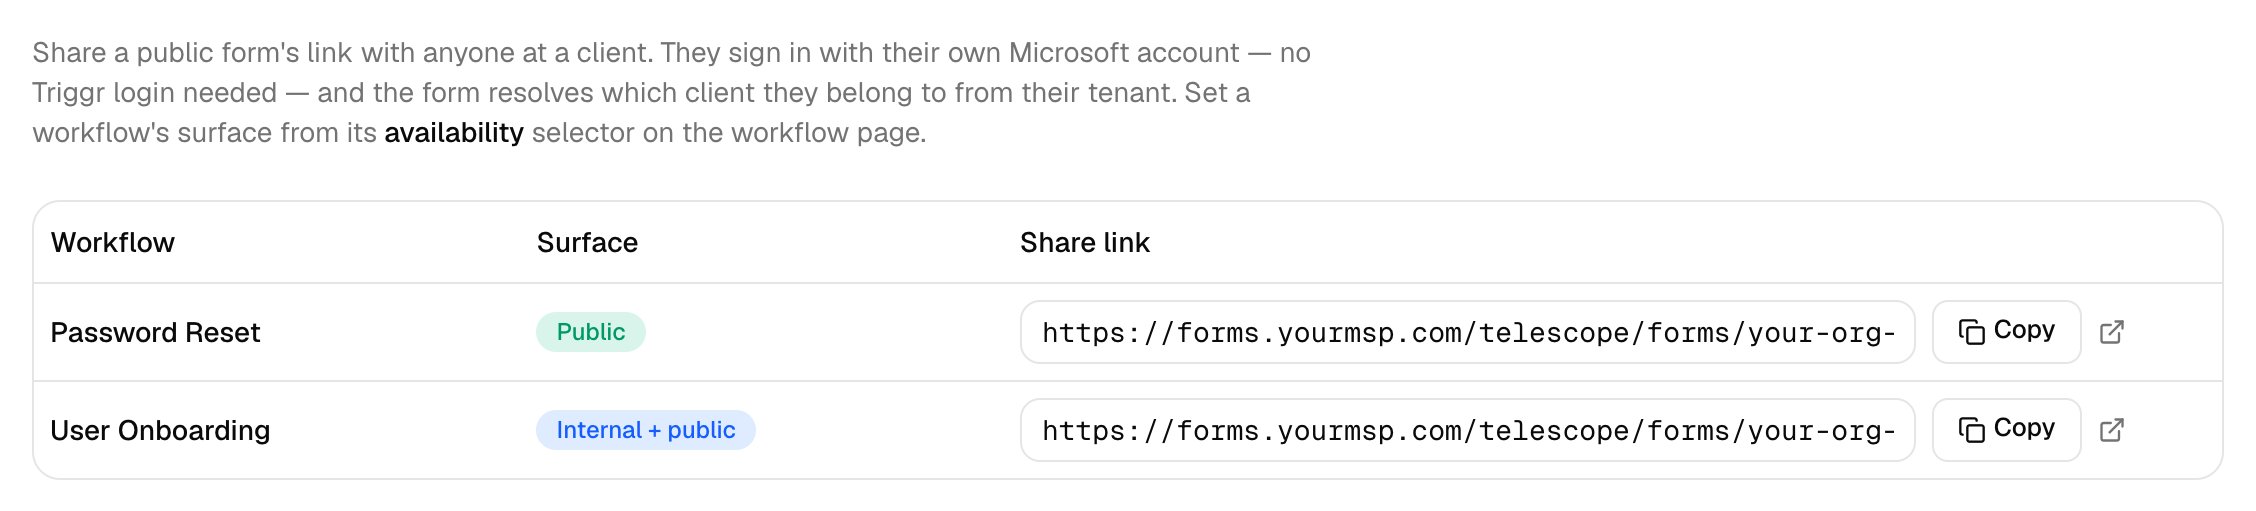
What your client sees
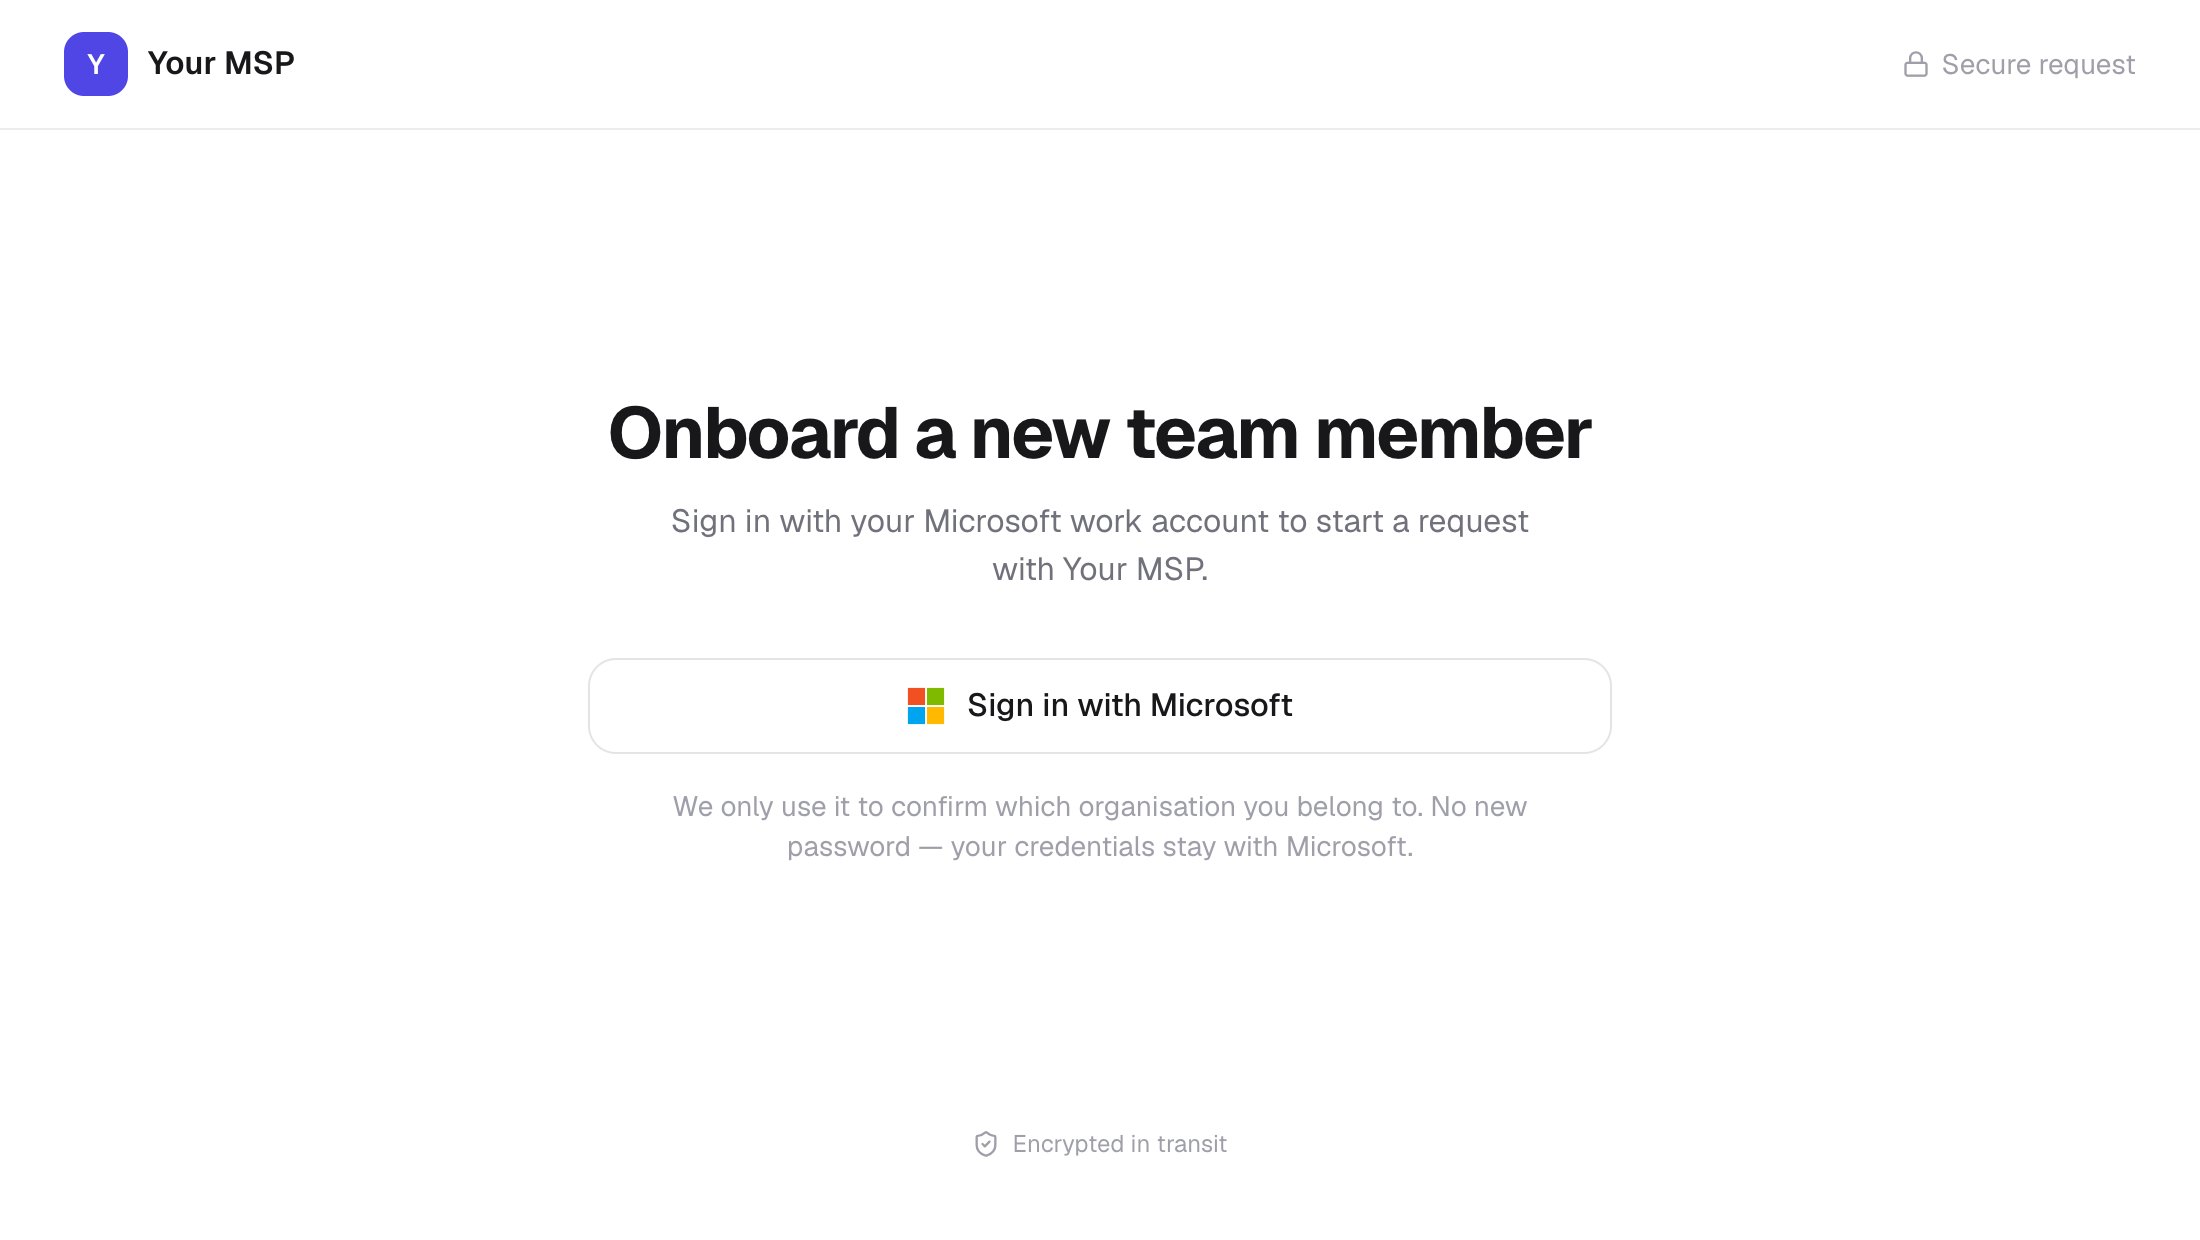
Clients click Sign in with Microsoft and see their own version of the form. After Submit request they get a Request received page with a reference such asREQ-4F2A9C; the homepage lists Available requests and Your recent requests. Their requests appear under Executions.
Troubleshooting
“Pop-up blocked. Please allow pop-ups for this site and try again.”
“Pop-up blocked. Please allow pop-ups for this site and try again.”
Allow pop-ups for the form’s domain, then click Sign in with Microsoft again.
“your Microsoft organisation isn't connected to this provider”
“your Microsoft organisation isn't connected to this provider”
No client in Core has this person’s tenant ID. Check it on Clients.
“this form isn't available”
“this form isn't available”
Set the workflow to Public form only or Internal + public and click Save changes.
“you don't have access to this form”
“you don't have access to this form”
Check the person is in a group on Restrict access, and the client’s Microsoft status on Clients.
“too many submissions — please try again shortly”
“too many submissions — please try again shortly”
A client can submit the same form 20 times in 20 minutes. Wait, then try again.
The homepage shows “No requests available yet”
The homepage shows “No requests available yet”
Tick List on homepage on a public workflow, and check its Restrict access groups include the person.