

Create an API key
1
Open Settings > API
Go to Settings > API and click Create key.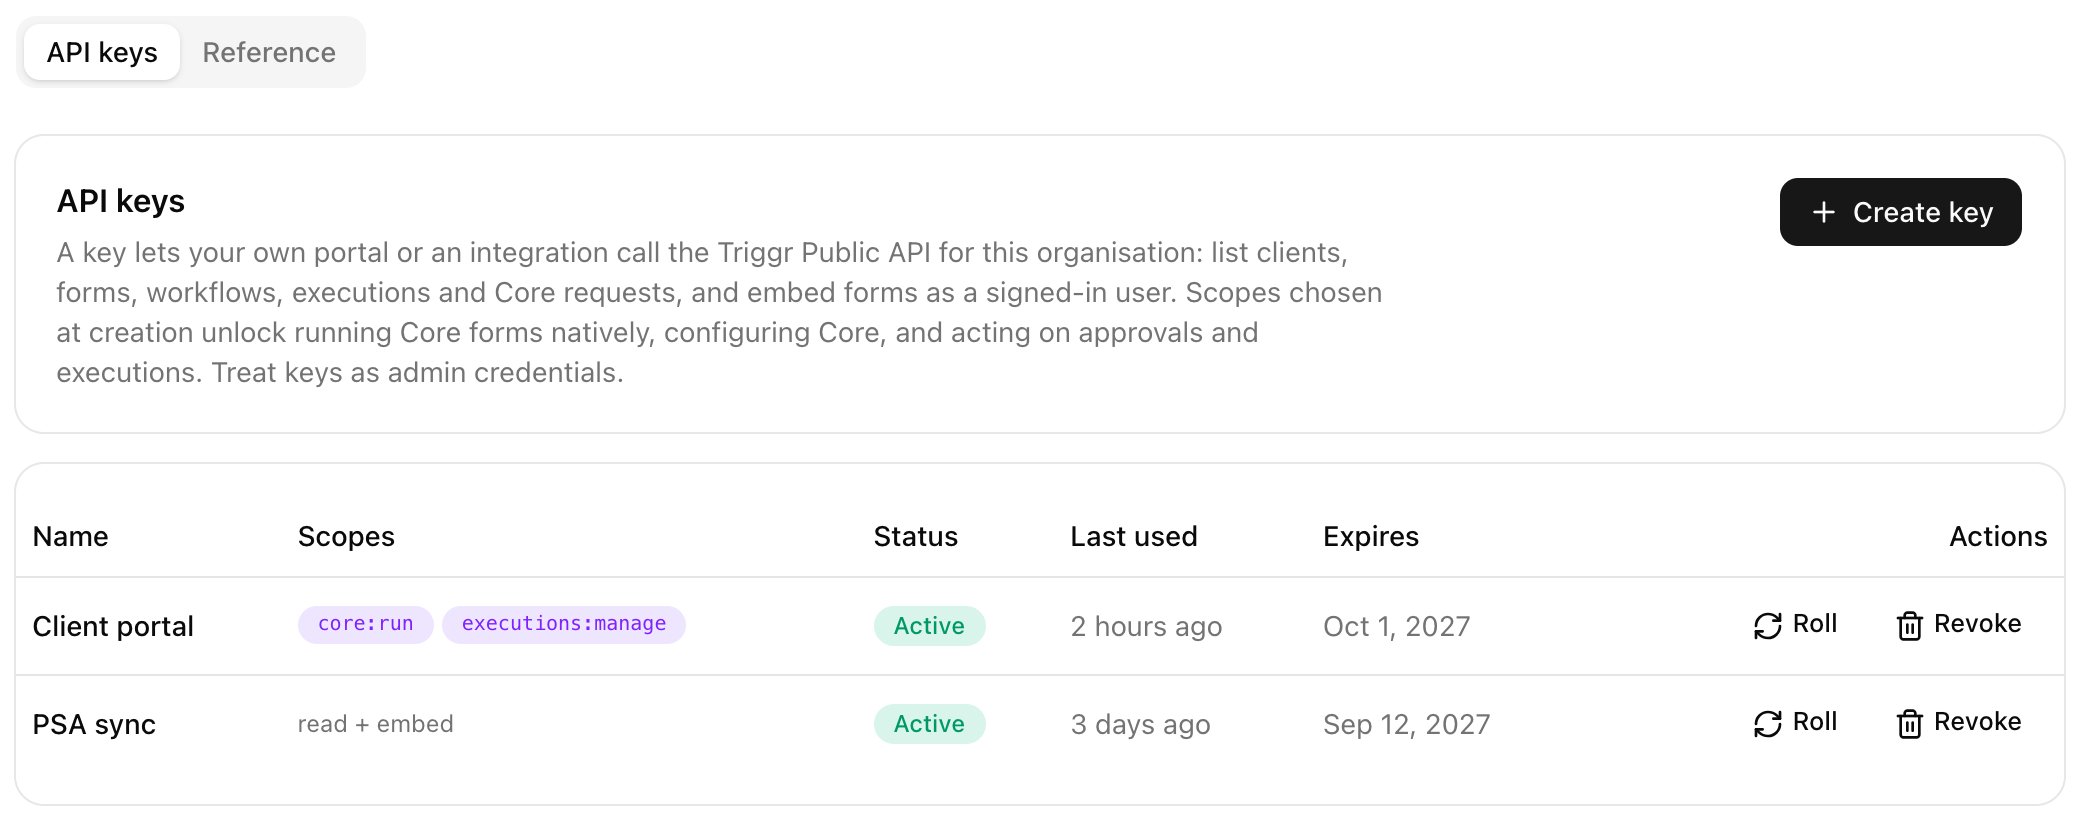
2
Name it and tick its scopes
Every key can read your clients, forms, workflows, executions and Core requests, and embed forms as a signed-in user. Tick a scope only if the integration needs it, then click Create key.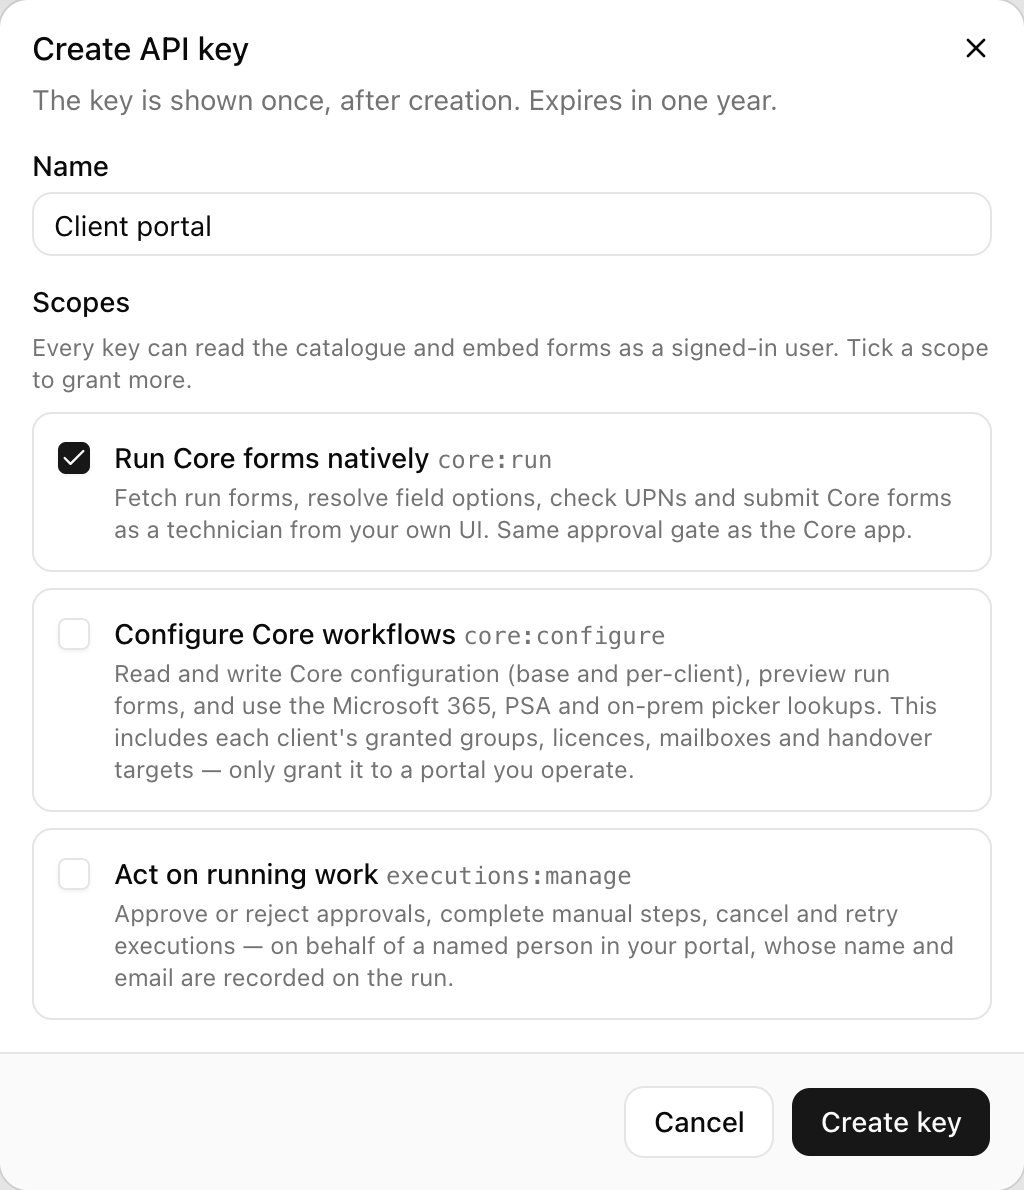
3
Copy the key
Click Copy before Done: the key is shown once. Keys expire after a year.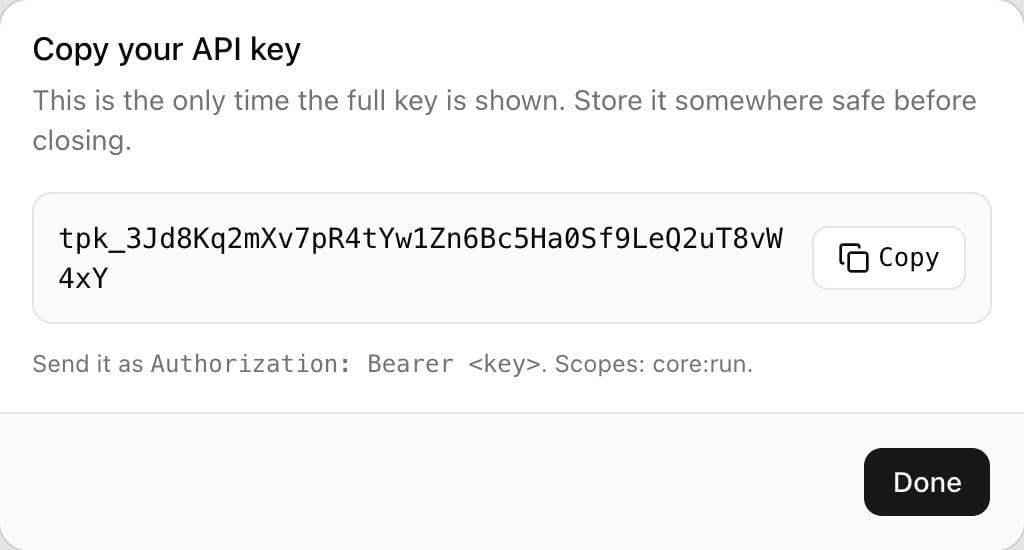
Roll issues a replacement and keeps the old key working for 1, 24 or 72 hours (or until it expires, if sooner). Revoke stops it at once and disables its webhooks.
Add a webhook
1
Open Settings > Webhooks
Go to Settings > Webhooks and click Add webhook.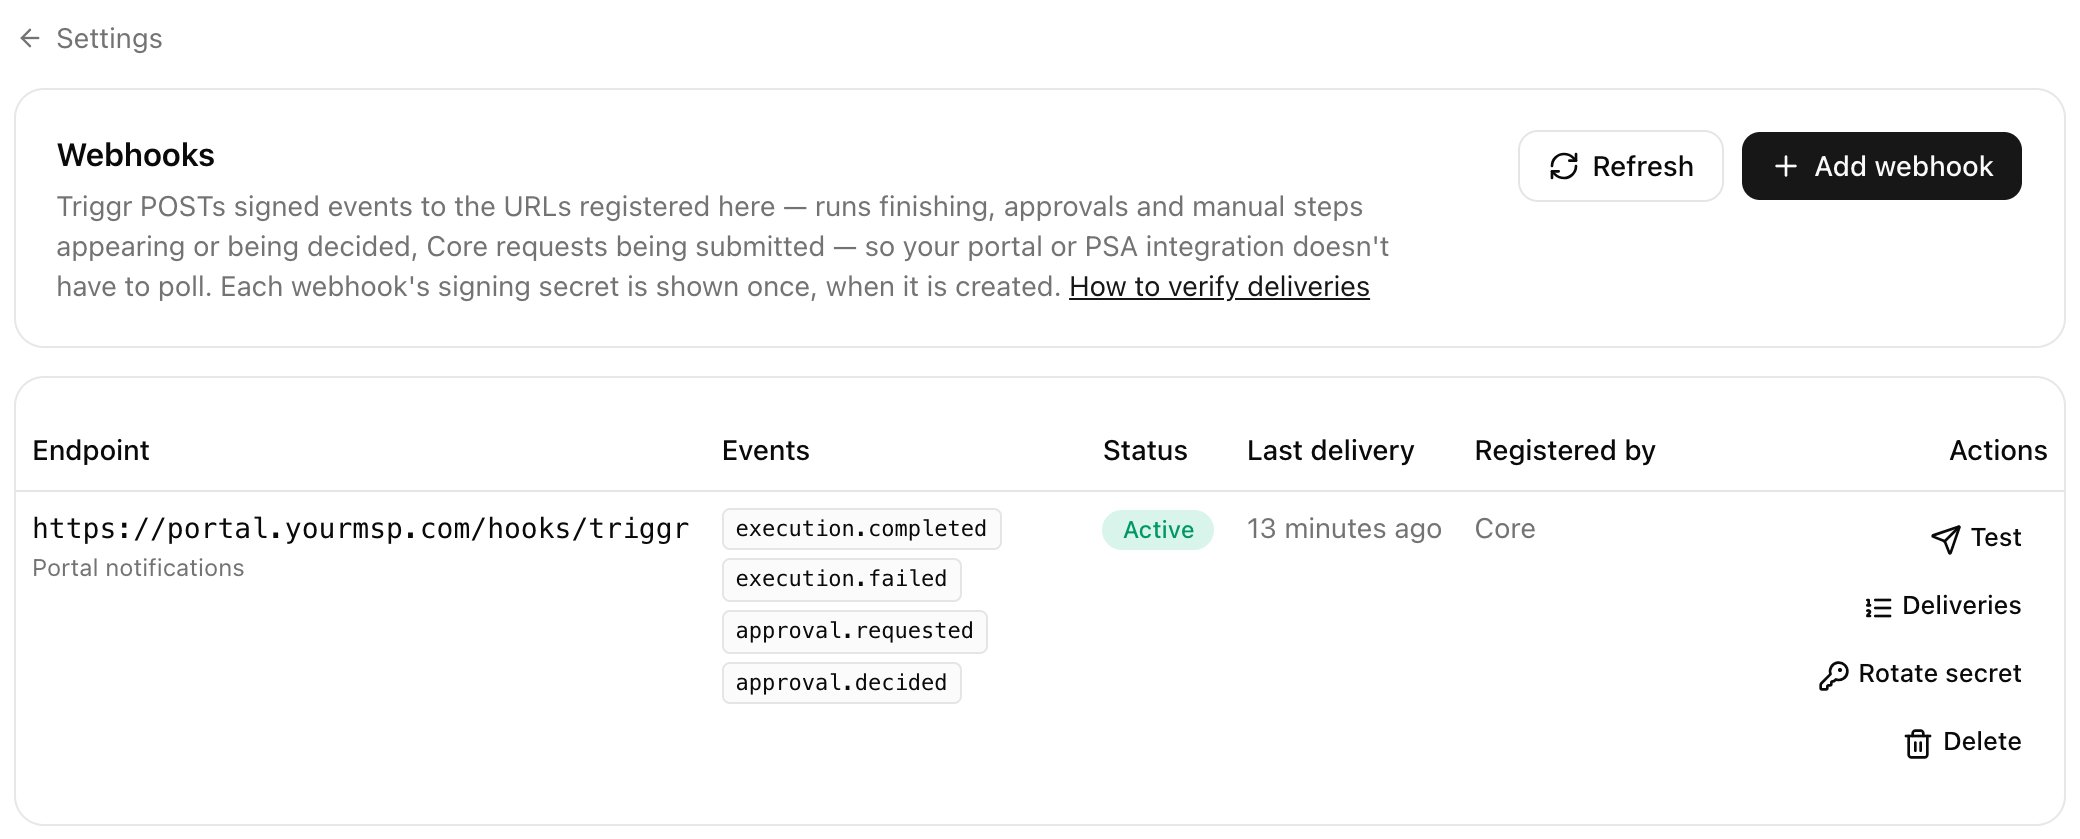
2
Enter the endpoint and events
The Endpoint URL must be public 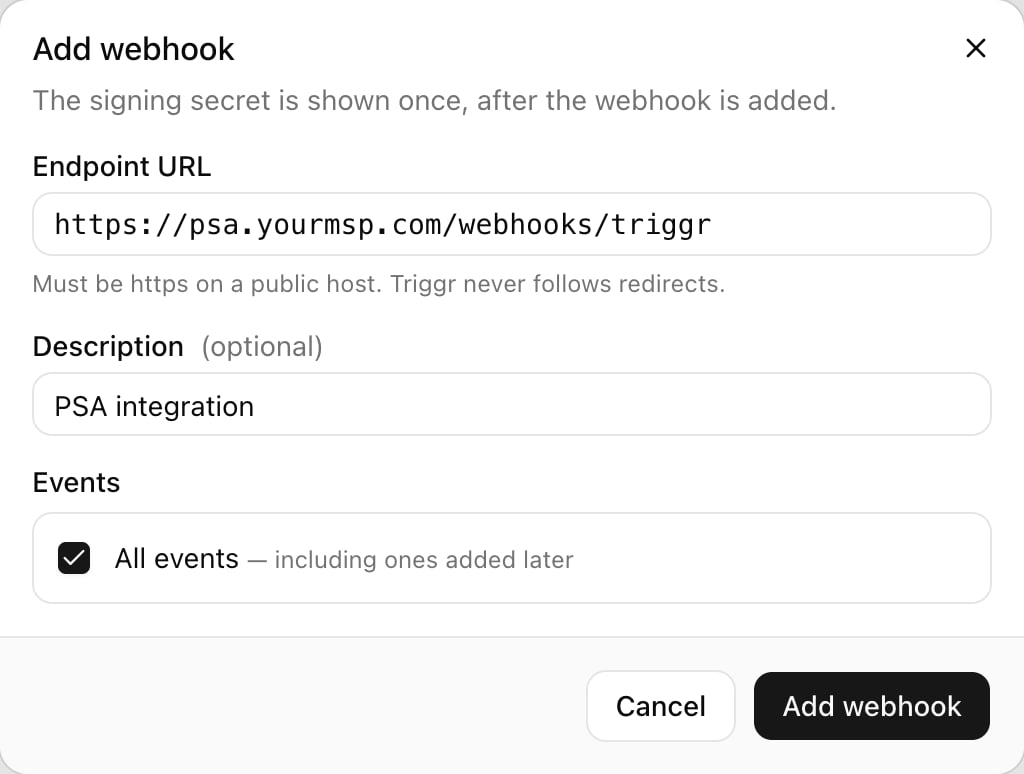
https; redirects aren’t followed. Tick the events you want, or All events to include future ones, then click Add webhook.3
Copy the signing secret
Click Copy before Done: the secret is shown once.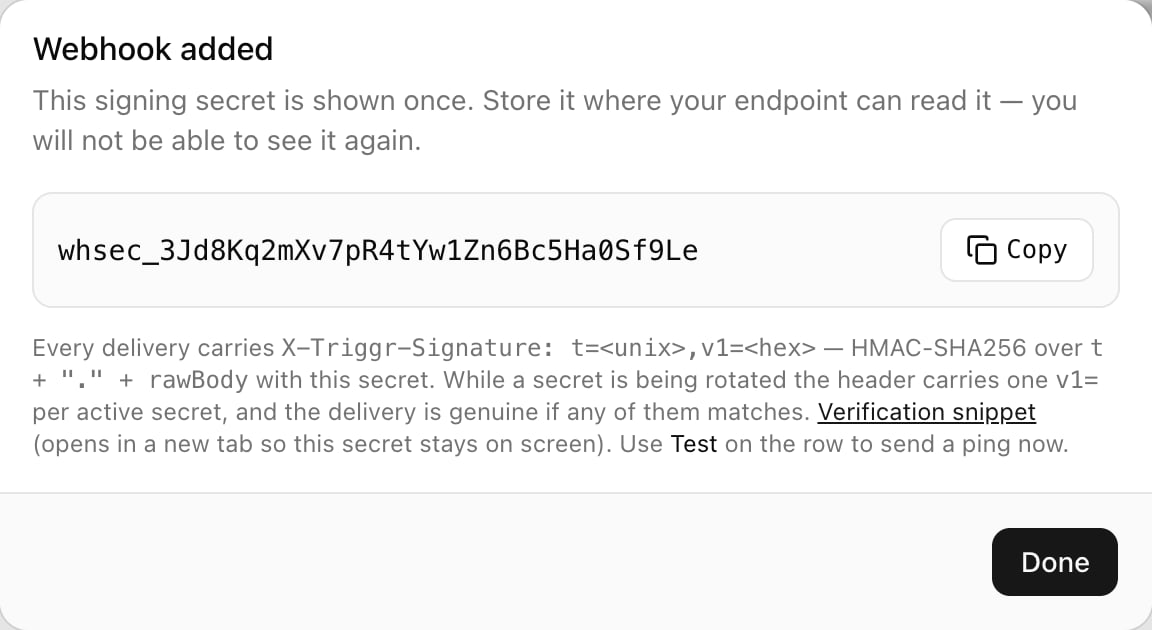
4
Test it
Click Test on the row to send a 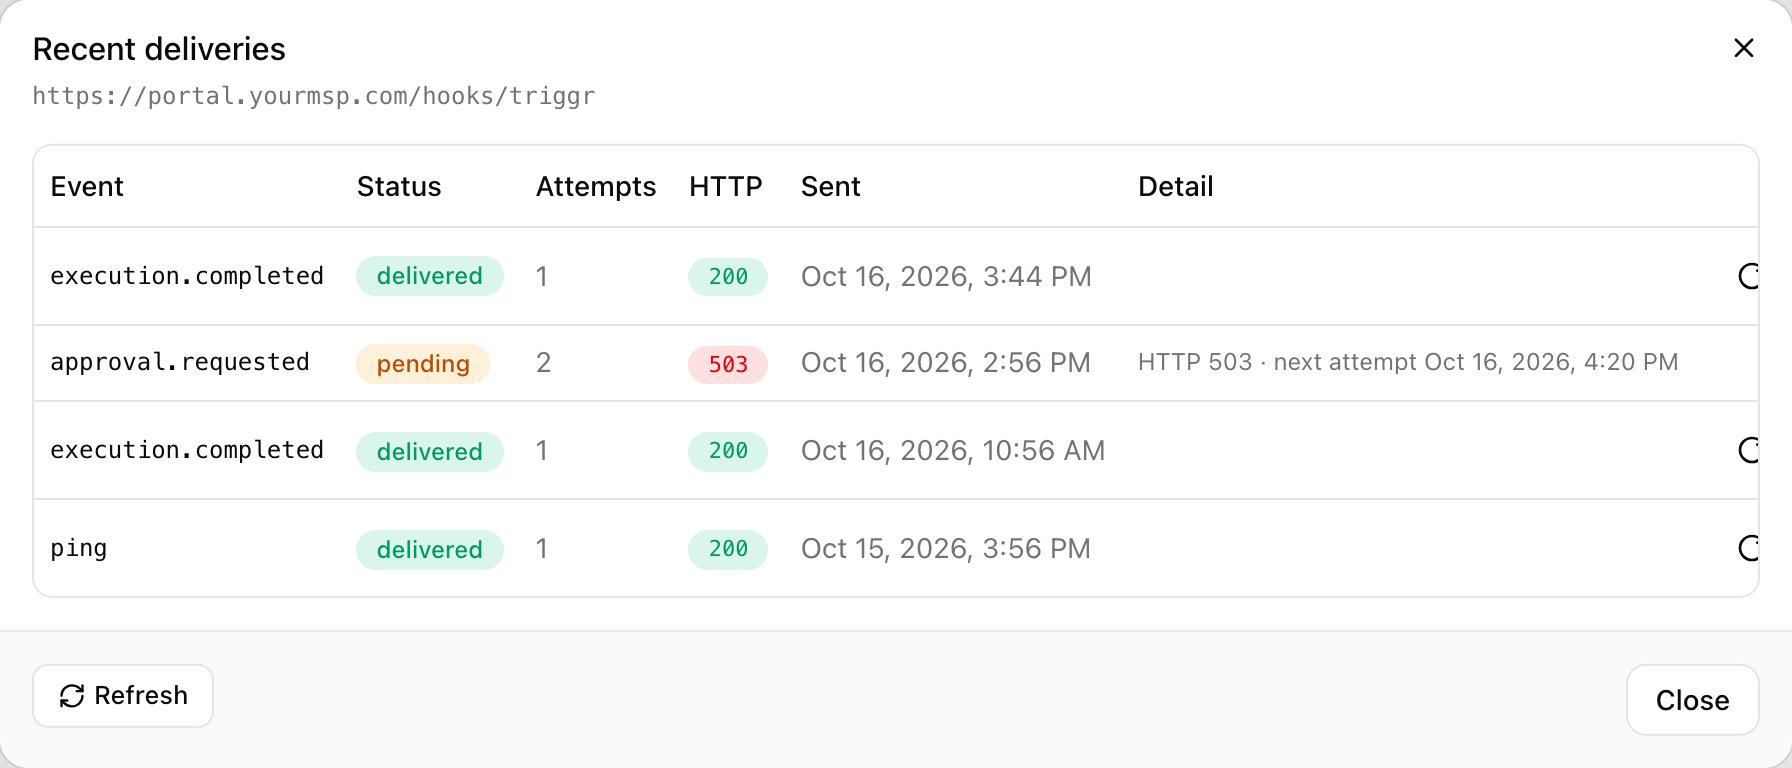
ping, then Deliveries to see each attempt’s HTTP code and error.
Triggr POSTs JSON, normally within a minute, with
X-Triggr-Event, X-Triggr-Delivery-Id and X-Triggr-Signature headers. data is the object the event is about; id stays the same across retries, so deduplicate on it.
Verify the signature
X-Triggr-Signature is t=<unix>,v1=<hex>: an HMAC-SHA256 of t + "." + rawBody with your secret. Reject a t older than five minutes. For 24 hours after you click Rotate secret, the header carries two v1 values; accept either.
Retries
Answer 2xx within 15 seconds. Triggr retries after 1 minute, 5 minutes, 30 minutes, 2 hours and 12 hours. After 25 failures in a row the webhook shows Disabled: fix the endpoint and click Enable. Deliveries keeps 30 days; Redeliver sends one again, and Delete stops deliveries and removes the history.Troubleshooting
Settings > API or Webhooks says only organisation admins can manage them
Settings > API or Webhooks says only organisation admins can manage them
Ask an Admin to create the key or webhook, or to change your role.
Test fails straight away
Test fails straight away
The URL must be
https, on a public host, and answer within 15 seconds without redirecting. Private addresses are refused.Signatures don't verify
Signatures don't verify
Compute the HMAC over the raw request body, not a re-serialised copy, and check your endpoint’s clock: the sample code rejects a
t more than five minutes out.