

Connect Microsoft 365 with GDAP, step by step (1:30).
Choose how to connect
Pick GDAP (Partner Center) if you’re a CSP partner, otherwise Per-client app. The choice applies to all clients.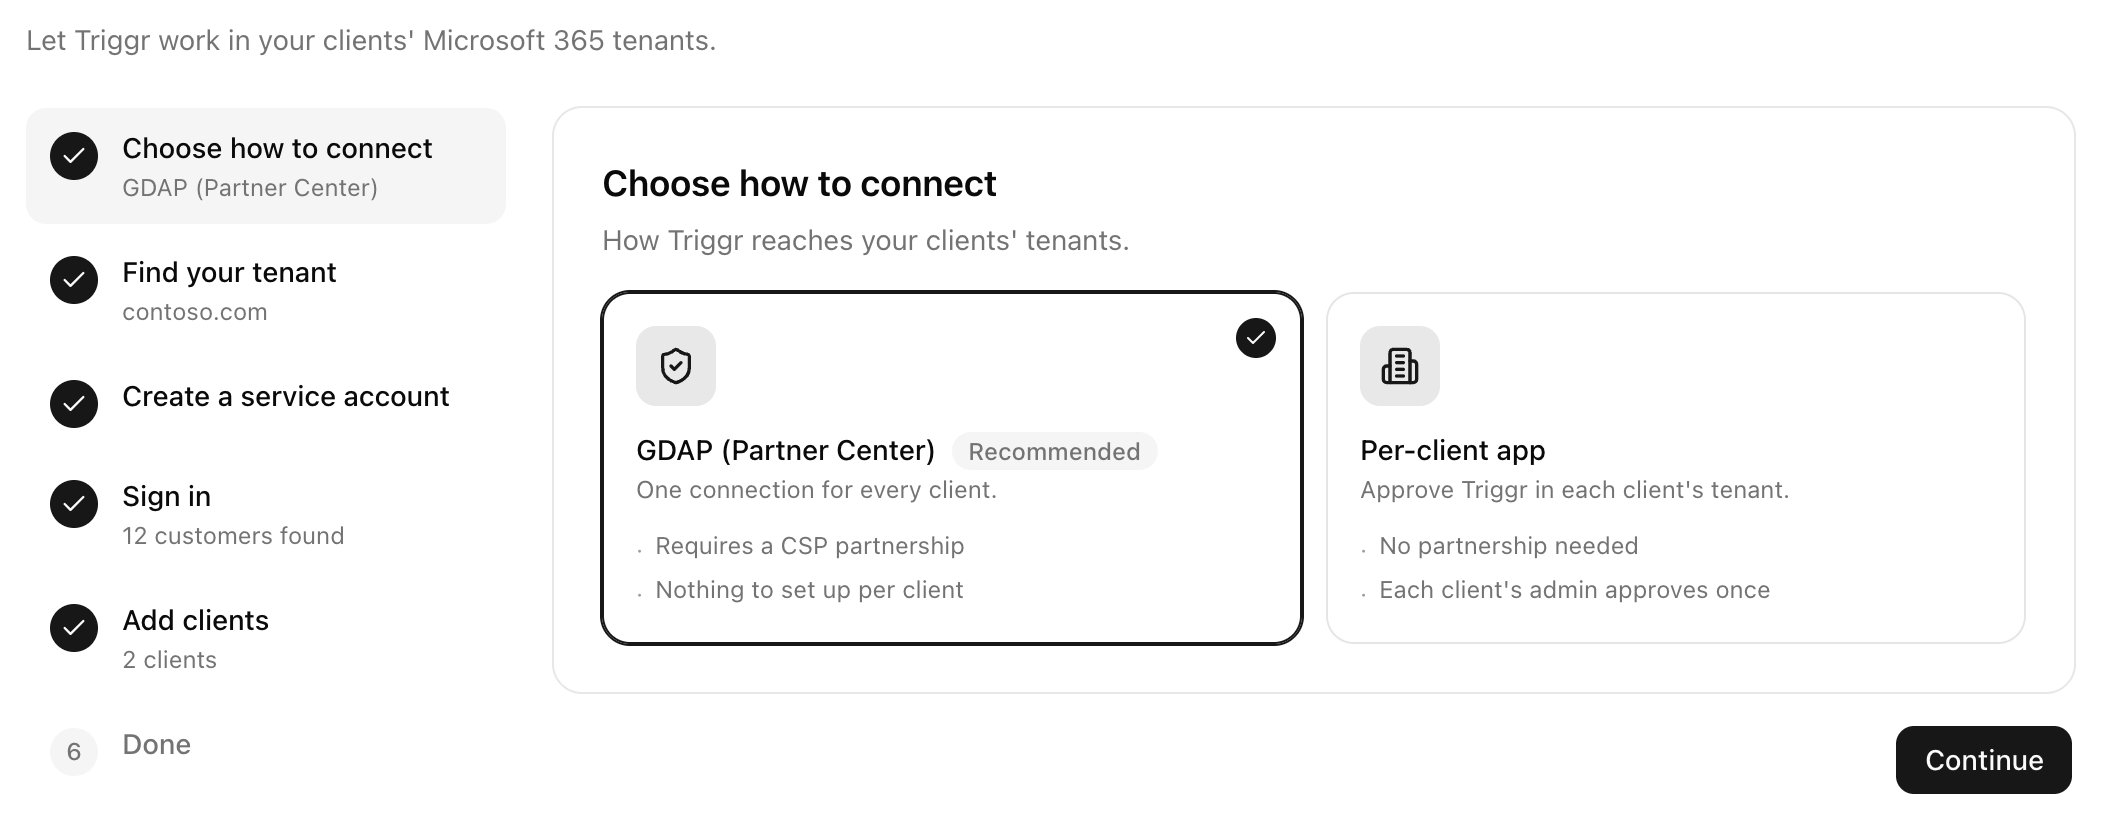
Connect with GDAP
You need Partner Center access, GDAP relationships with the recommended roles, and an admin who can create users and assign Entra roles.1
Find your tenant
Enter your own domain and click Find tenant.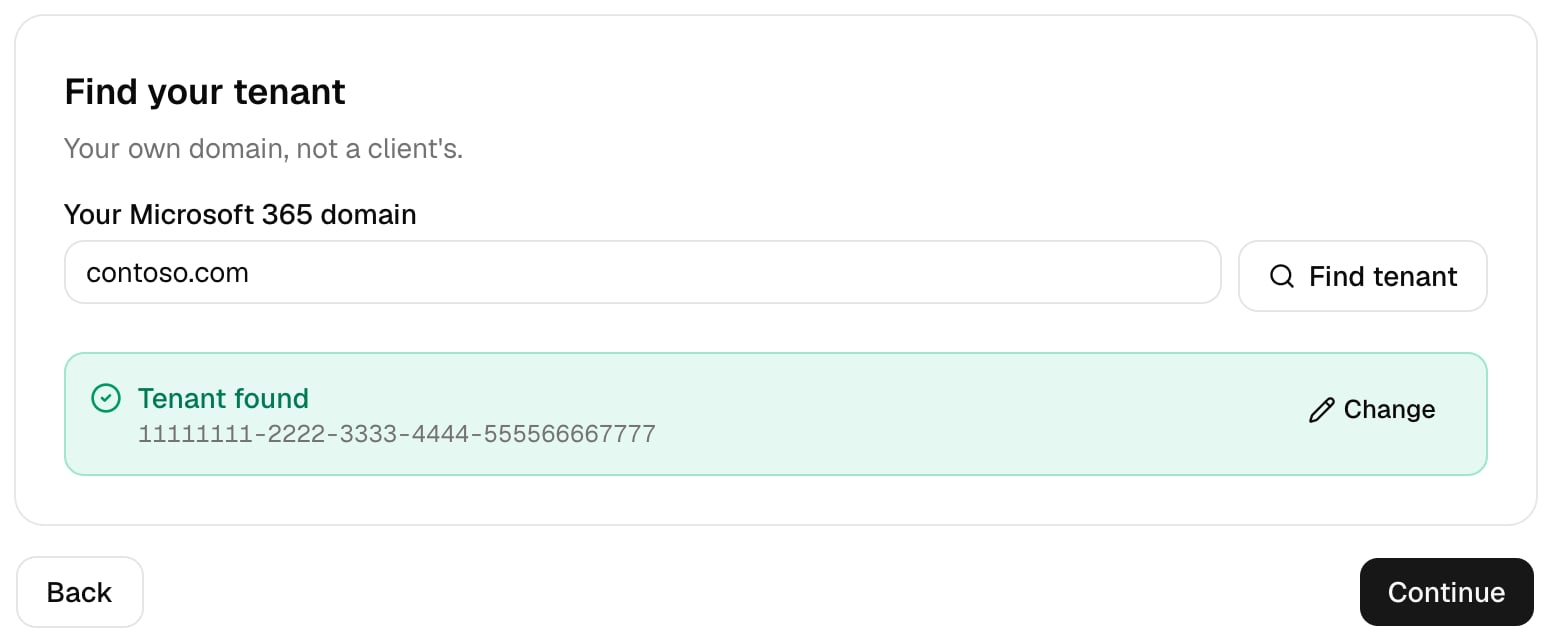
2
Create a service account
Create the account in Microsoft Entra with the details shown, following the service account guide and Conditional Access, then tick all five items.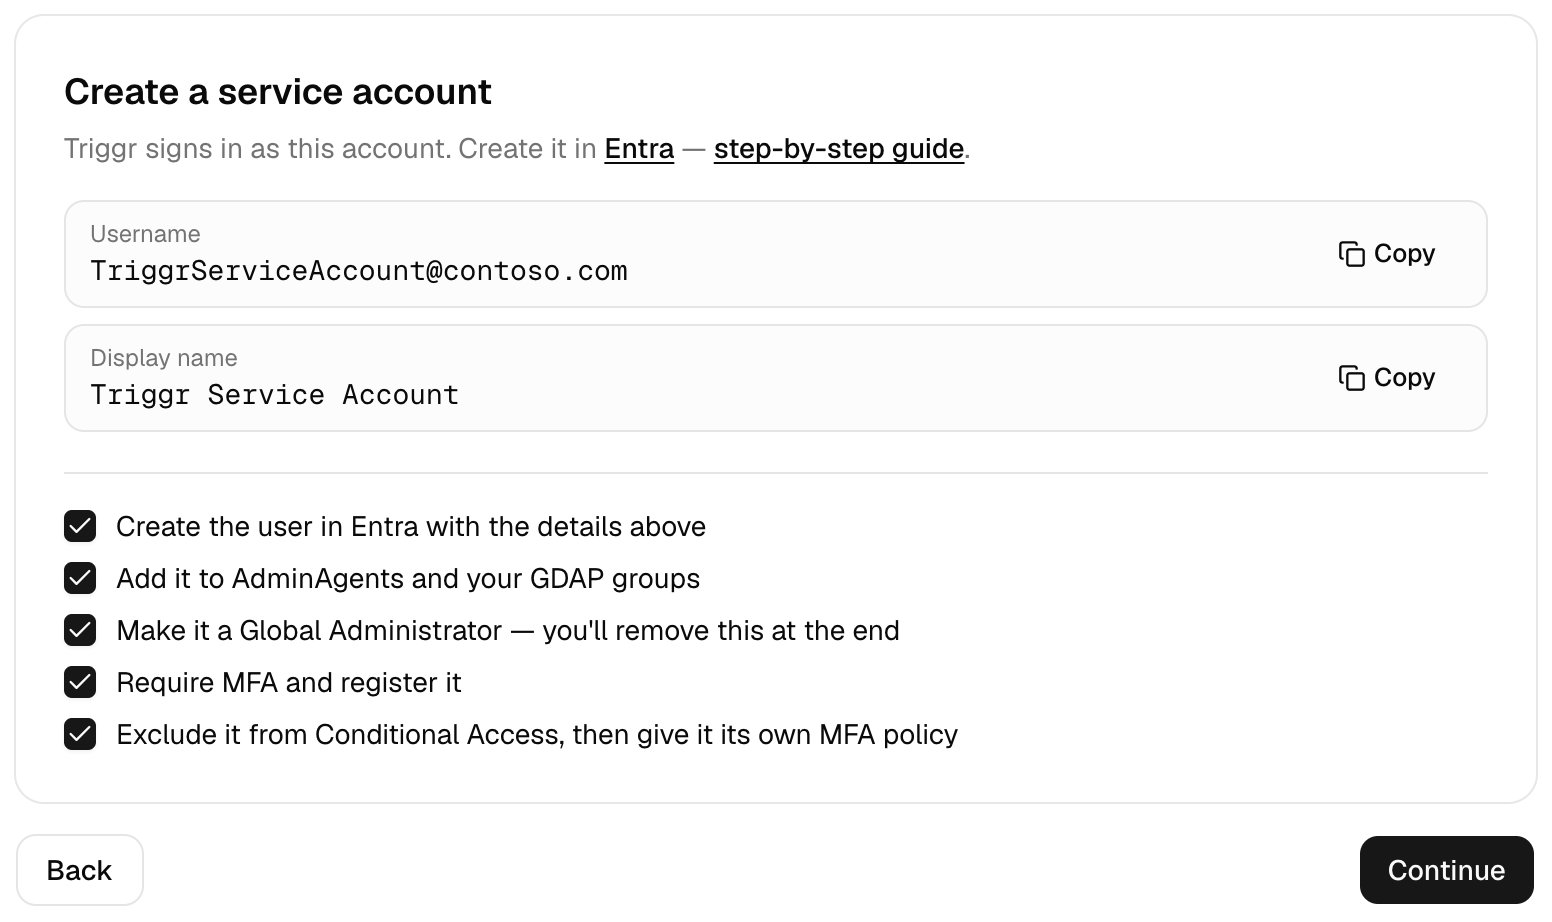
3
Sign in
Click Approve, then Sign in on Connect Microsoft Graph and on Connect Partner Center, each time as the service account with MFA. Wait for Partner Center check to find your customers.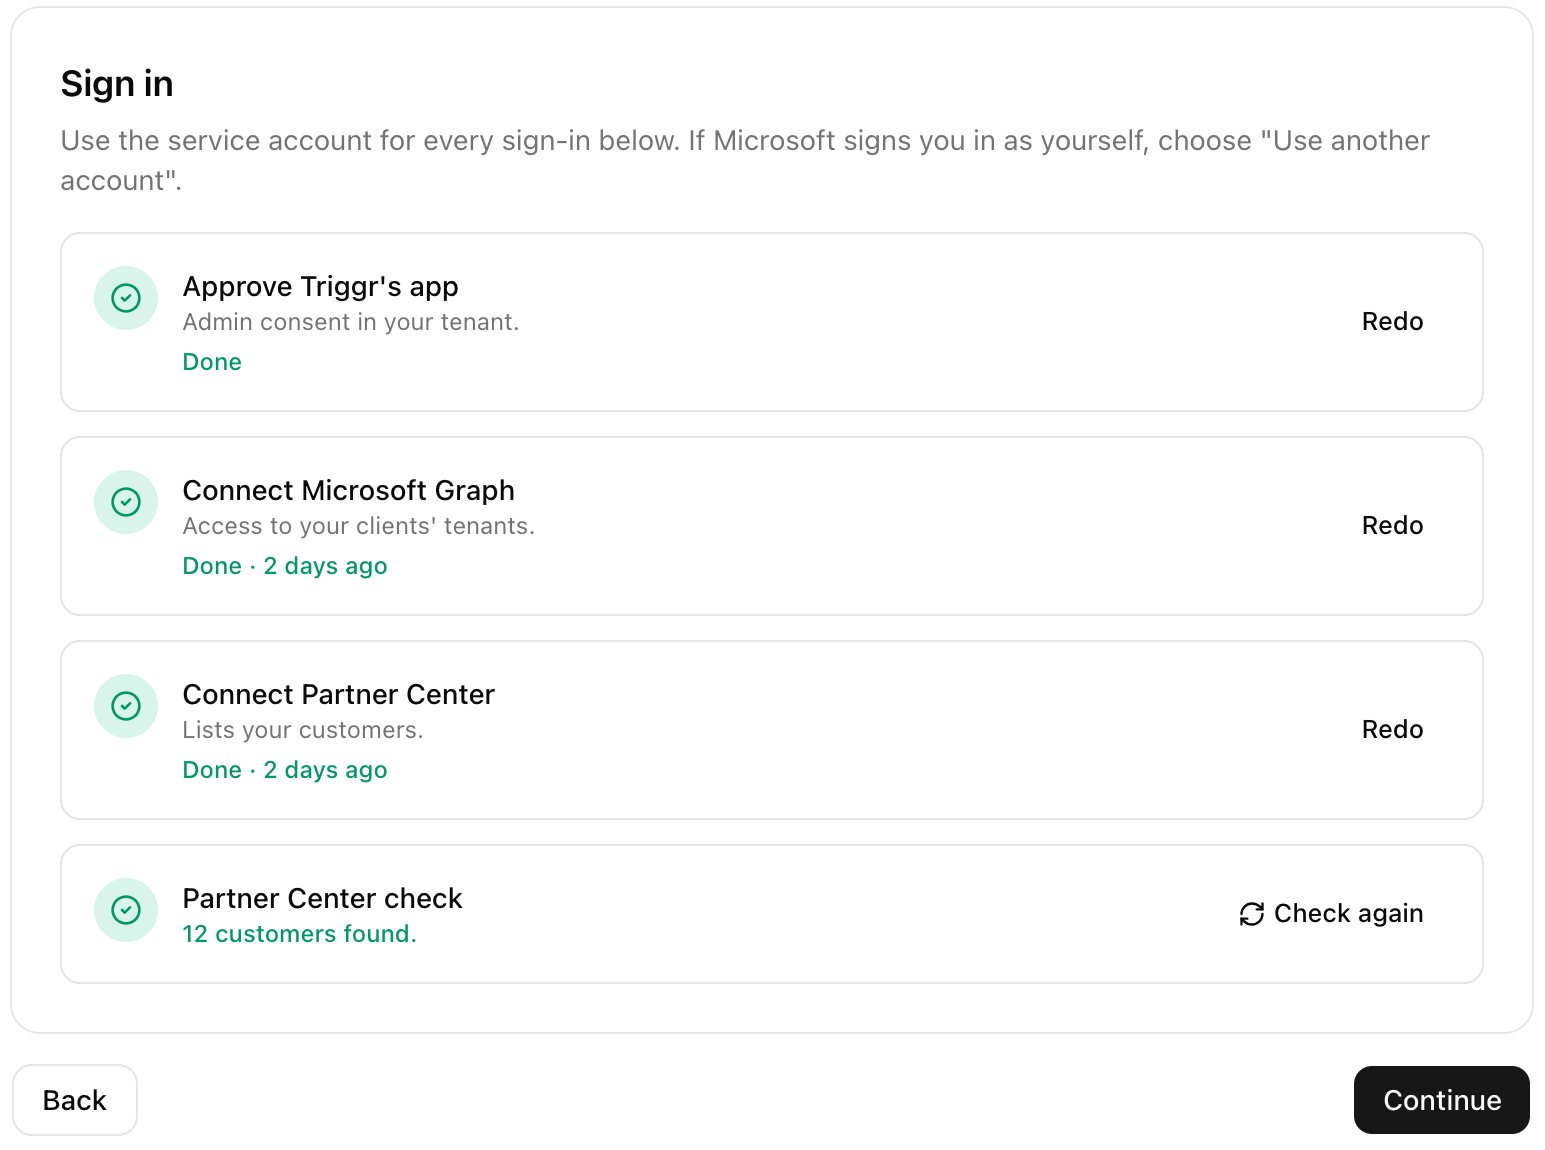
4
Add clients
Untick any customers you don’t want and click Add, then confirm. They’re added as cloud-only clients linked to GDAP. Leave Do this automatically for clients I add ticked, and keep the tab open until each client shows Ready.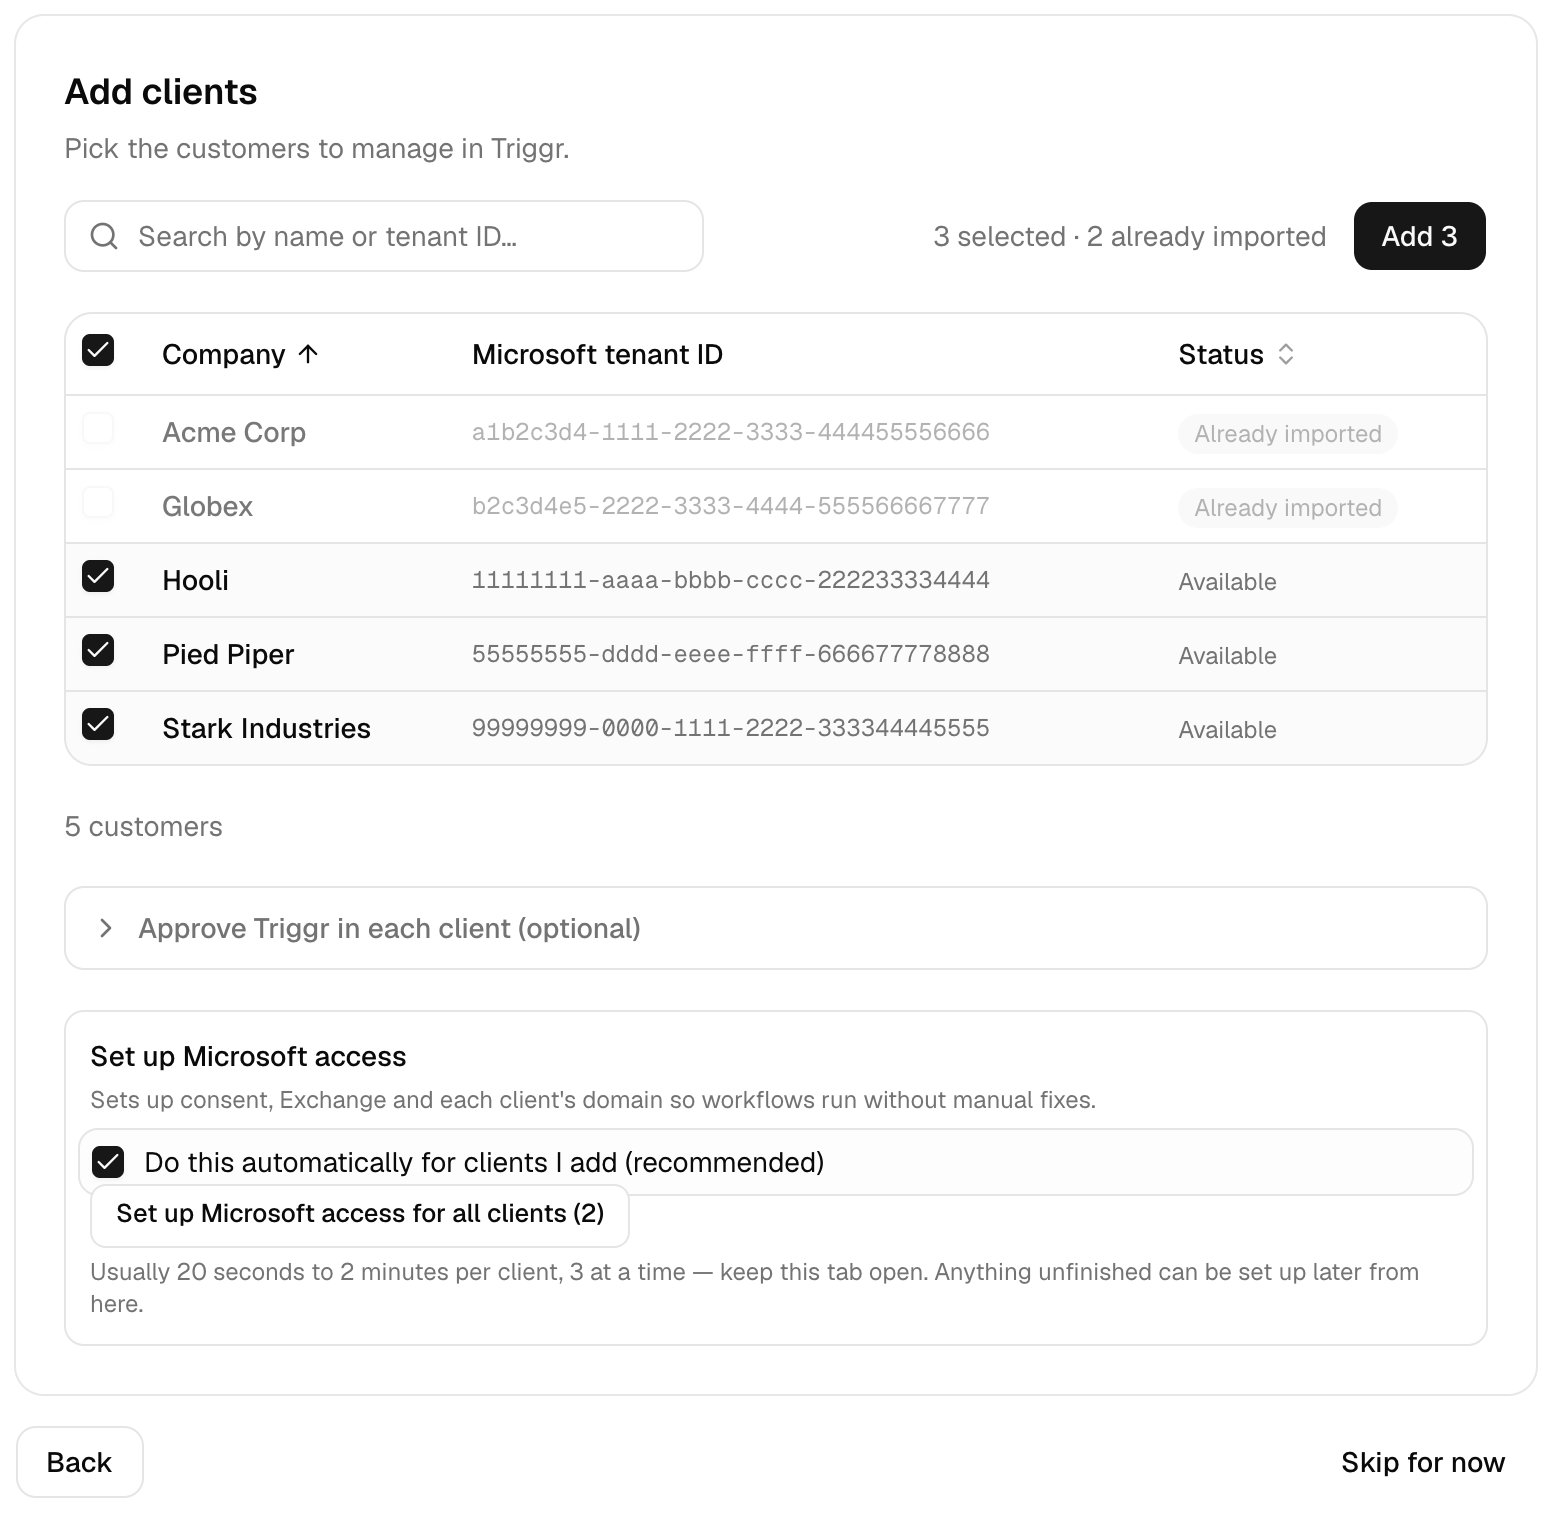
5
Done
Click Open Entra and remove Global Administrator from the service account. Then click Check client connections and Run all to test each client’s access.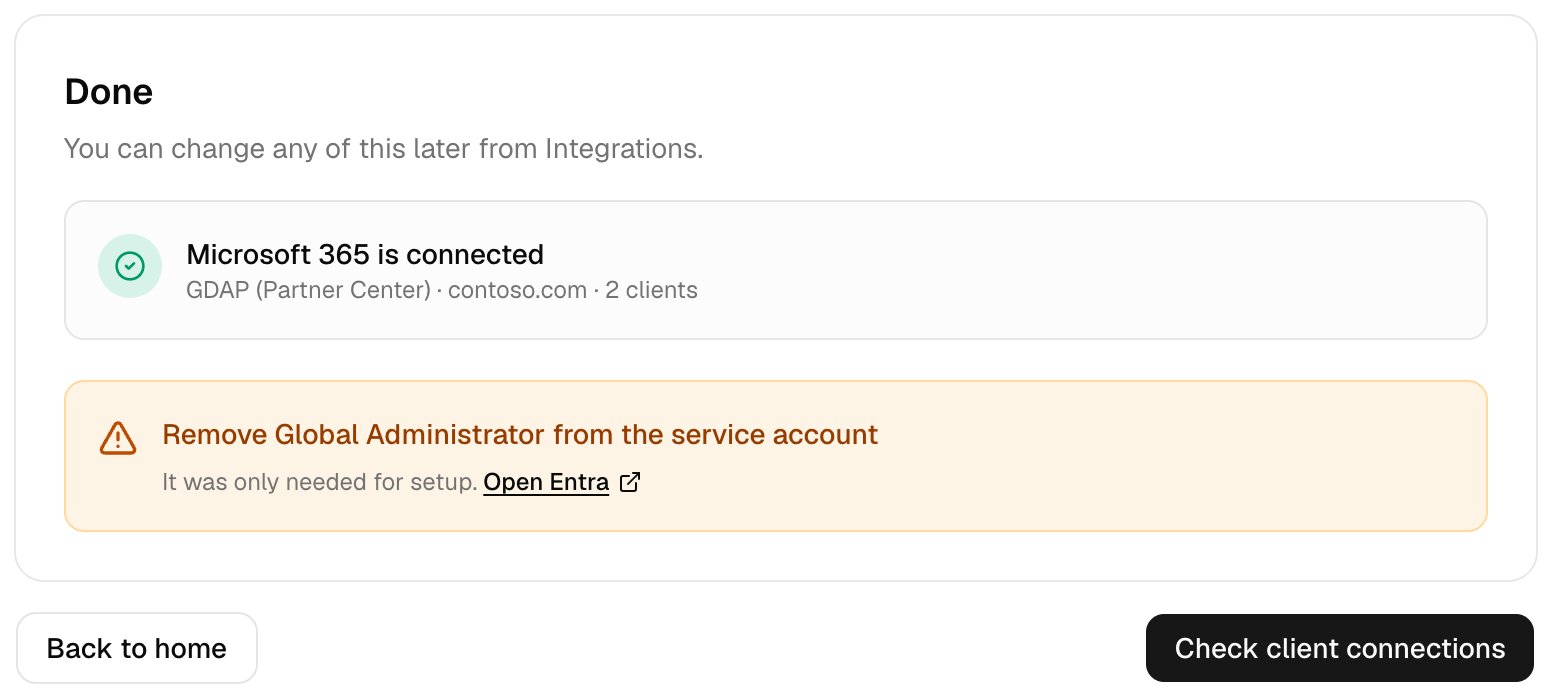
Connect with a per-client app
You need a Global Administrator of your own tenant and of each client’s.1
Find your tenant
Enter your own domain and click Find tenant.
2
Approve the app
Click Approve and sign in as your own Global Administrator.
3
Approve clients
Click Approve on each client and sign in as its Global Administrator, then click Set up Microsoft access for all clients. For No tenant ID, click Add tenant ID first. With no clients yet, click Continue and come back after you add your clients.
Change your connection
Rerun the wizard, or change Default Microsoft connection in Settings > General. Workflows switch at once, so connect your clients the new way first.Troubleshooting
“Couldn't find a Microsoft tenant for that domain”
“Couldn't find a Microsoft tenant for that domain”
Click Enter tenant ID manually and paste it from Entra ID > Overview.
“Your browser blocked the sign-in window”
“Your browser blocked the sign-in window”
Allow pop-ups for
core.triggr-app.com, then click Sign in again.Microsoft keeps signing me in as myself
Microsoft keeps signing me in as myself
Choose Use another account in Microsoft’s window and sign in as the service account.
Partner Center check fails
Partner Center check fails
Check the service account is in AdminAgents (changes take up to an hour), then click Check again. For MFA errors, see Conditional Access.
A client shows Needs attention
A client shows Needs attention
Usually a missing GDAP role. Fix it, then click Retry the ones that need attention.
“Only organisation admins can set up Microsoft access”
“Only organisation admins can set up Microsoft access”
Ask an Admin to run this step.
Does the service account need Global Administrator or a licence?
Does the service account need Global Administrator or a licence?
Global Administrator is only for approving Triggr’s app on Sign in; remove it on Done. It needs no licence or mailbox.