

1
Choose the workflow and client
Click Run a workflow at the top of the sidebar, pick the Workflow and Client, then click Open form.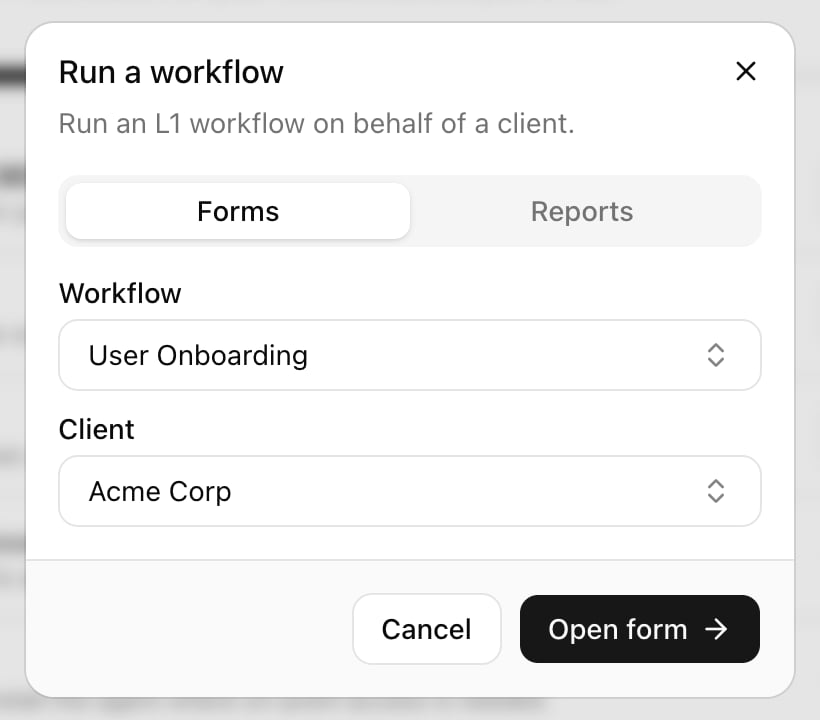
2
Fill in the form
The form asks that client’s questions; What will run lists the steps and who approves.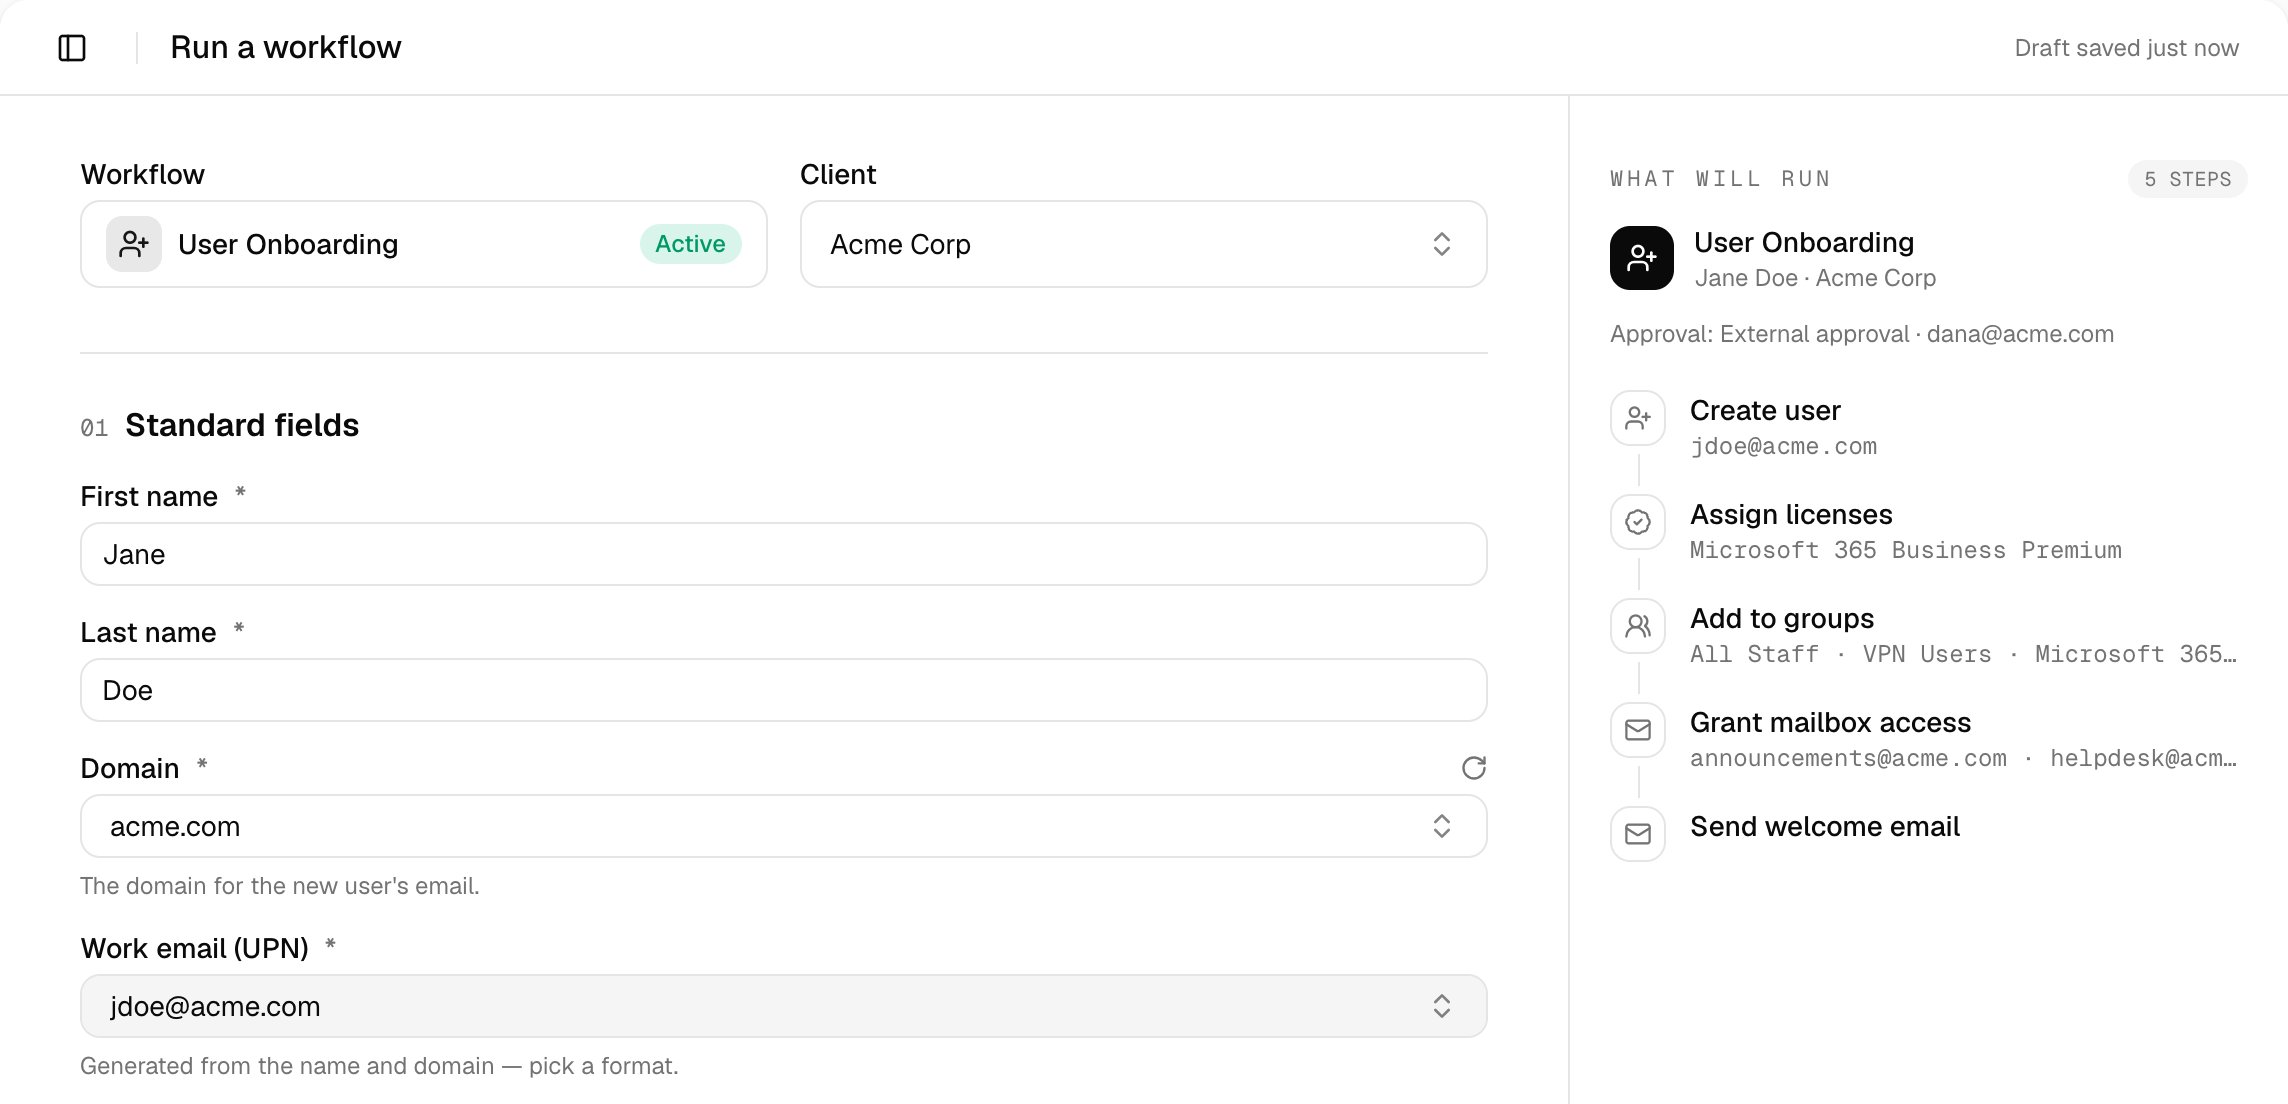
3
Submit
Click Submit request. Note the reference, such as 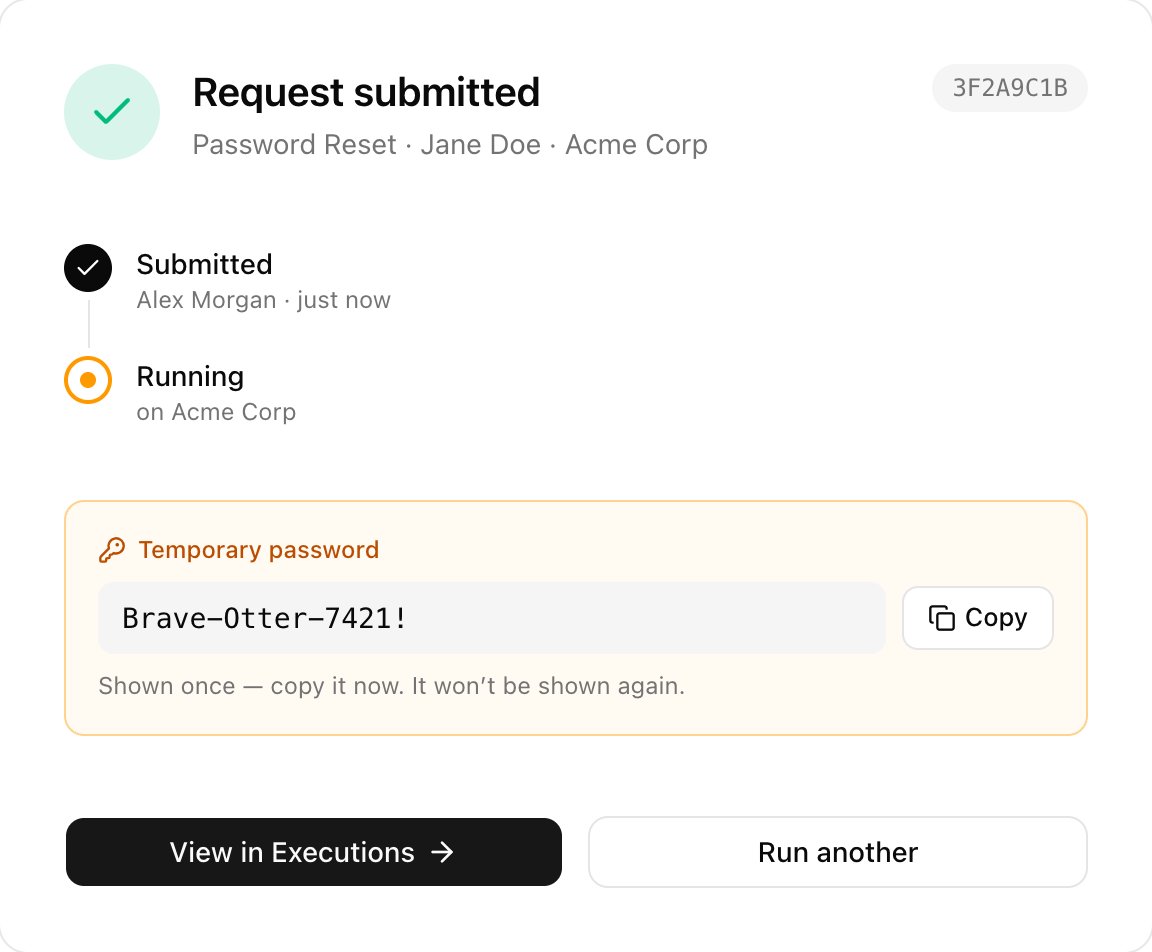
3F2A9C1B. User Onboarding and Password Reset show a Temporary password once: click Copy before you leave.
If the request needs approval, the password is set once it’s approved. The Reports tab of Run a workflow opens a read-only lookup instead; see Reports.
Troubleshooting
“No form has been configured for this workflow yet”
“No form has been configured for this workflow yet”
Set the workflow to Internal only or Internal + public under Config and save.
“No primary domain is set for …, so the work email can't be generated”
“No primary domain is set for …, so the work email can't be generated”
Set the client’s primary domain on Clients, or choose Show options on form under the workflow’s Domain setting.
A “… will fail for …” warning above the form
A “… will fail for …” warning above the form
The client’s Microsoft access is missing something. Click How to fix, or see Keep an eye on Microsoft access.
“… has no available licences (0 of N seats free)” when you submit
“… has no available licences (0 of N seats free)” when you submit
The client has no free seat for that licence. Free one, or let Core buy seats automatically.
“This workflow's approval policy needs a client approver email”
“This workflow's approval policy needs a client approver email”
Override the client’s Approval card with its Client approver email. See Settings for each client.