

Exclusion lists: a list that hides a client's break-glass admin, attached to a form's dropdown and tested as one of the client's users (1:26).
1
Create the list
Click New List, enter the Name and Description, choose the Scope and click Create List.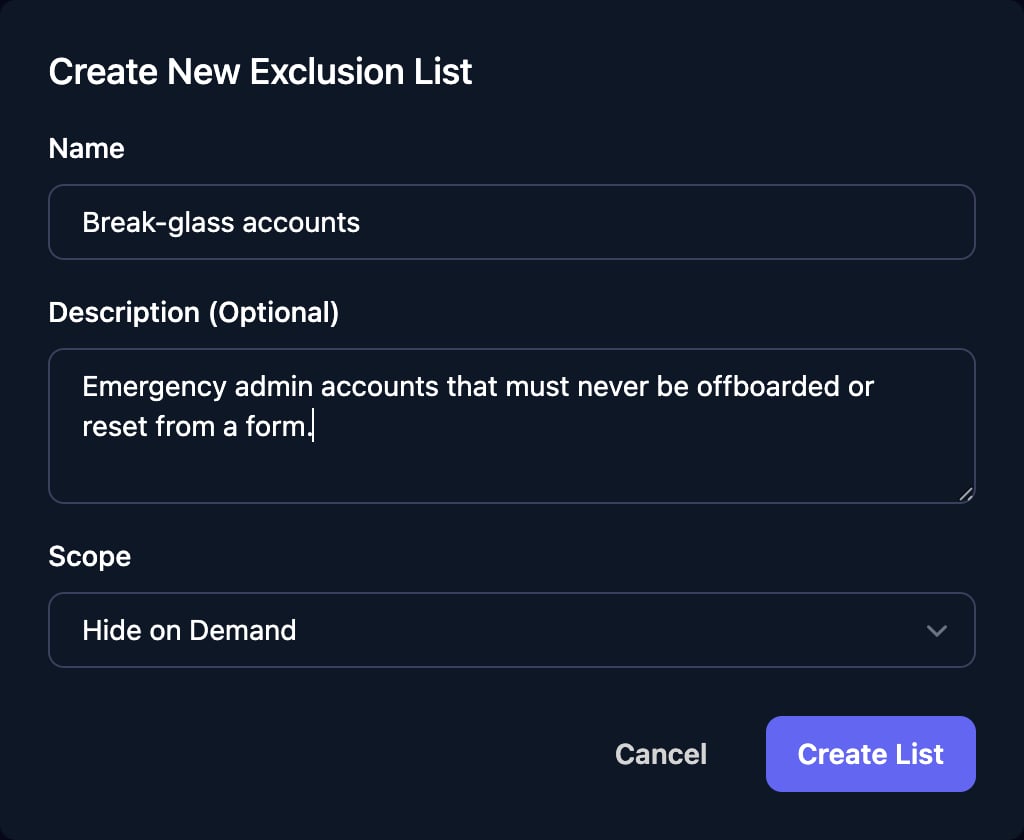
2
Open it
Click Manage Users on the list’s row.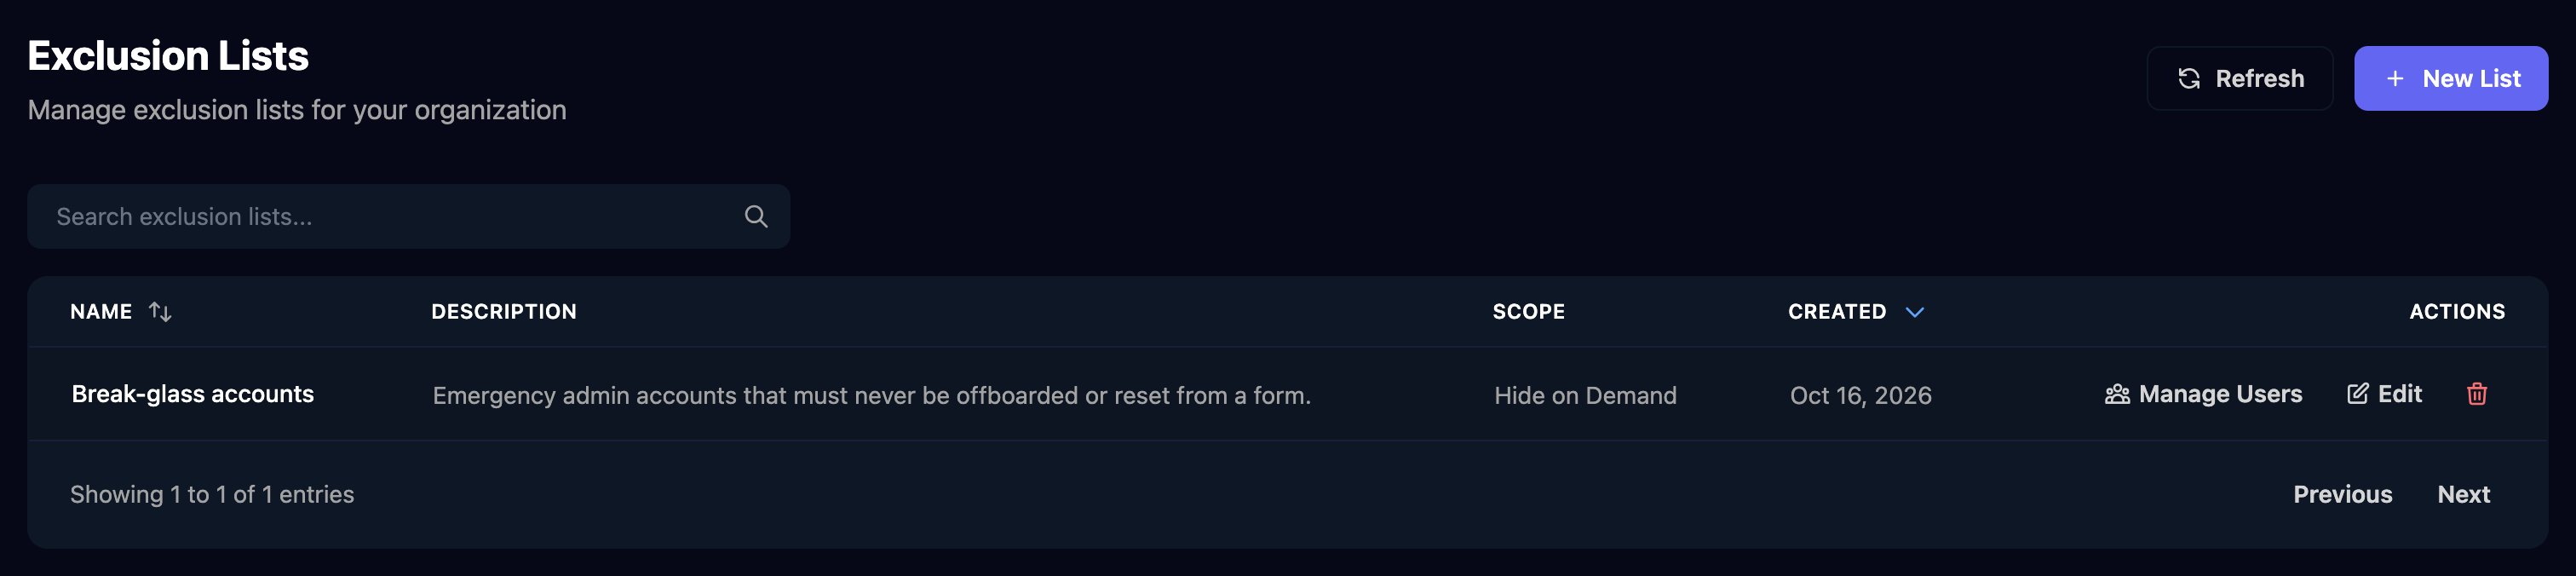
3
Add each client's items
Choose the client at the top, then:
- Microsoft Users: tick each account. The client’s users load when you open the tab, and each tick saves.
- Manual Entry: click Add Row, enter the Excluded ID and click Save.
4
Attach it to the dropdown
For a Hide on Demand list, click the dropdown in the form designer, click Add Exclusion List under Exclusion Lists, choose the list and save the form.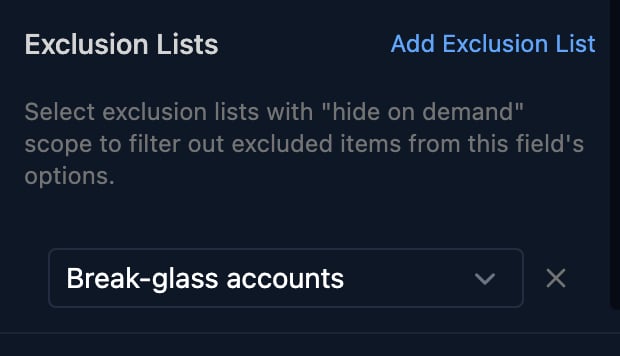
5
Test it
Click Share Form > Impersonate, choose the client and one of its users, click Open as this user, and open the dropdown: the excluded accounts are missing.
Troubleshooting
An excluded account still appears in the dropdown
An excluded account still appears in the dropdown
Check the entry is saved for that client, the form identifies the client, and the Excluded ID matches the option’s value. A Hide on Demand list must also be attached to the field.
My list isn't offered under Exclusion Lists on the field
My list isn't offered under Exclusion Lists on the field
Fields offer only Hide on Demand lists. Automatically Hide from All Inputs lists apply without attaching.
There's no Microsoft Users tab
There's no Microsoft Users tab
Choose a client at the top of the list first. Loading users needs the client connected through your Microsoft integration.
“Excluded ID is required”
“Excluded ID is required”
The new row is empty. Enter the ID, or click Cancel.