

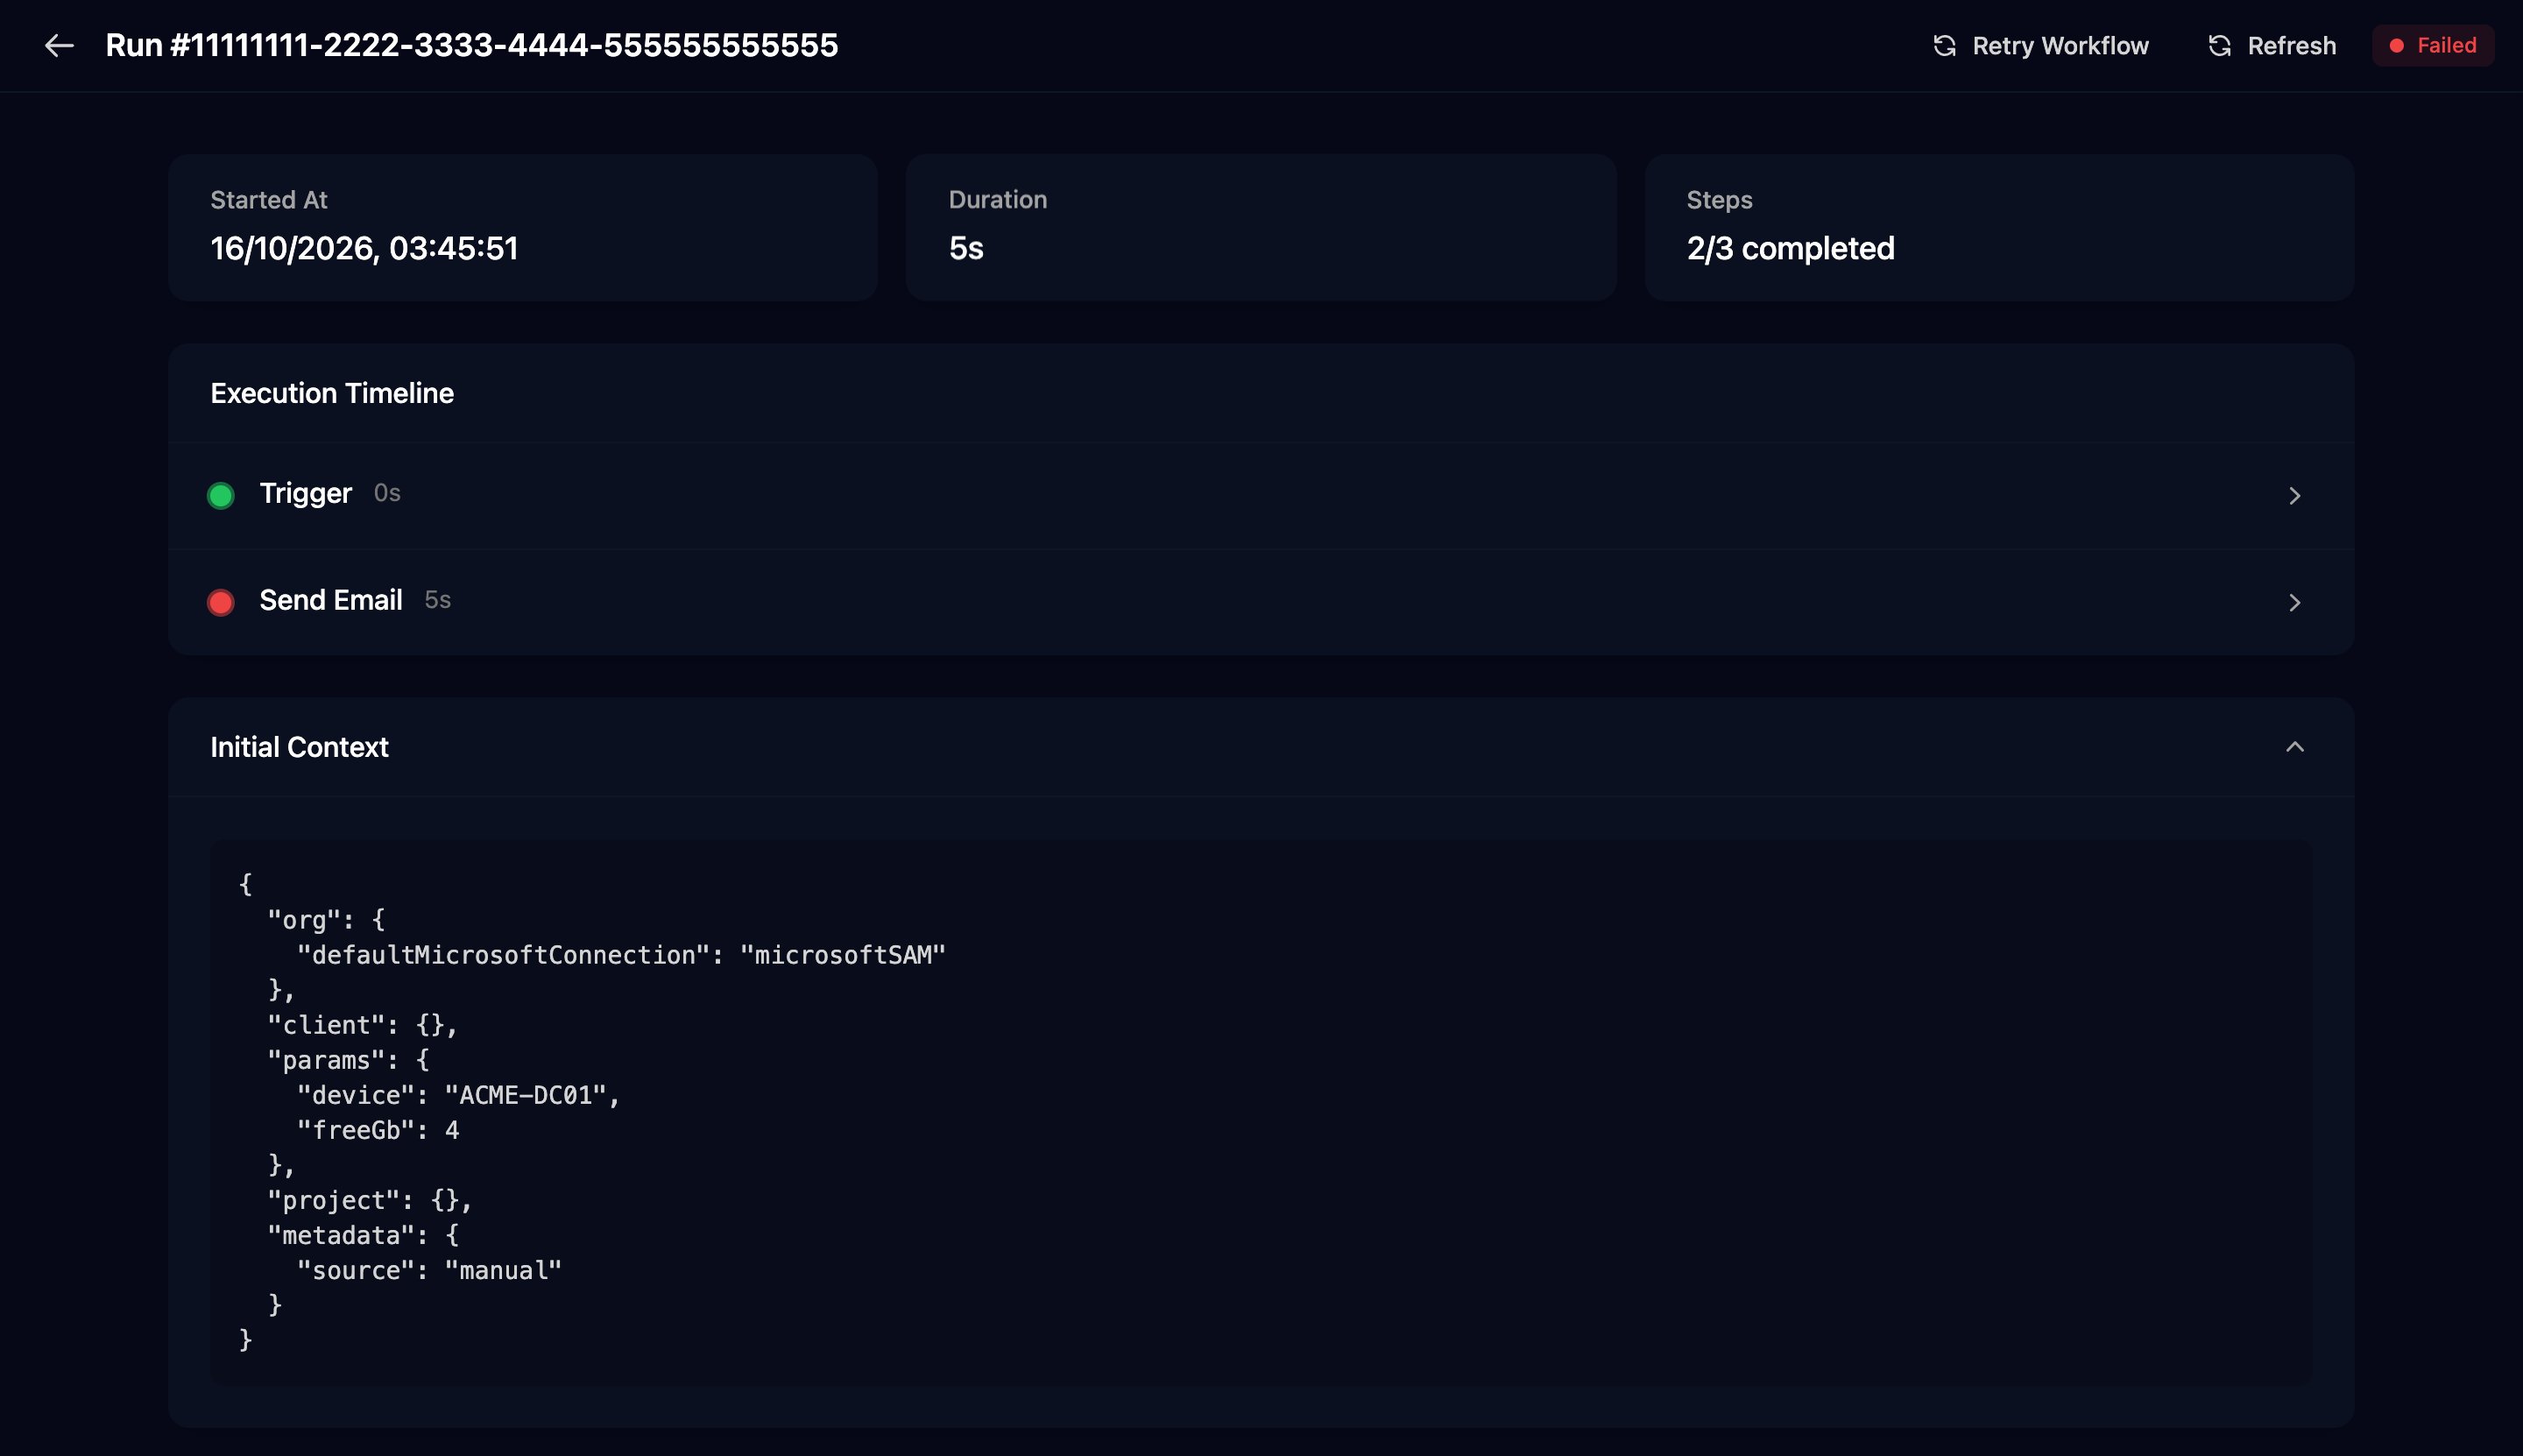
ctx.params, and ctx.metadata.source says what it was.
Workflow triggers: a Form trigger, a Cron trigger on a schedule, a Webhook trigger and its URL, a Manual Trigger test, and where to set a workflow Active (1:22).
Add a trigger
Drag Trigger from Flow Control onto the canvas and connect it to your first step. Click it, click Add Trigger, choose a Trigger Type (Form, Cron or Webhook) and click Save: triggers only take effect once saved.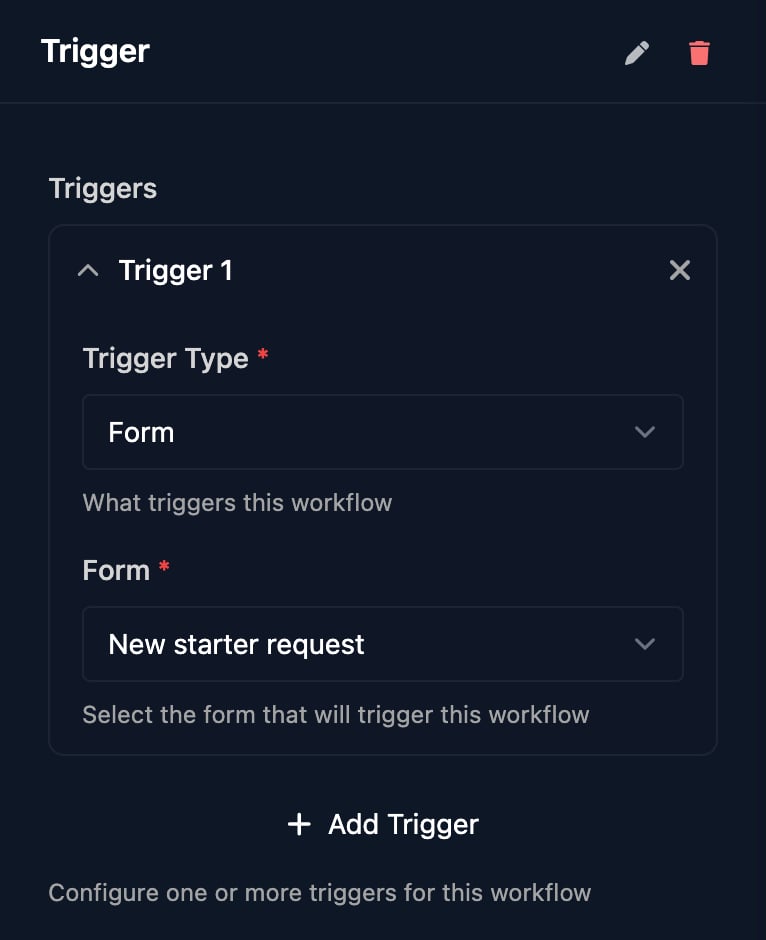
Form
Choose the Form. Each submission starts every Active workflow with a Form trigger for that form. The Form list shows forms with no client set.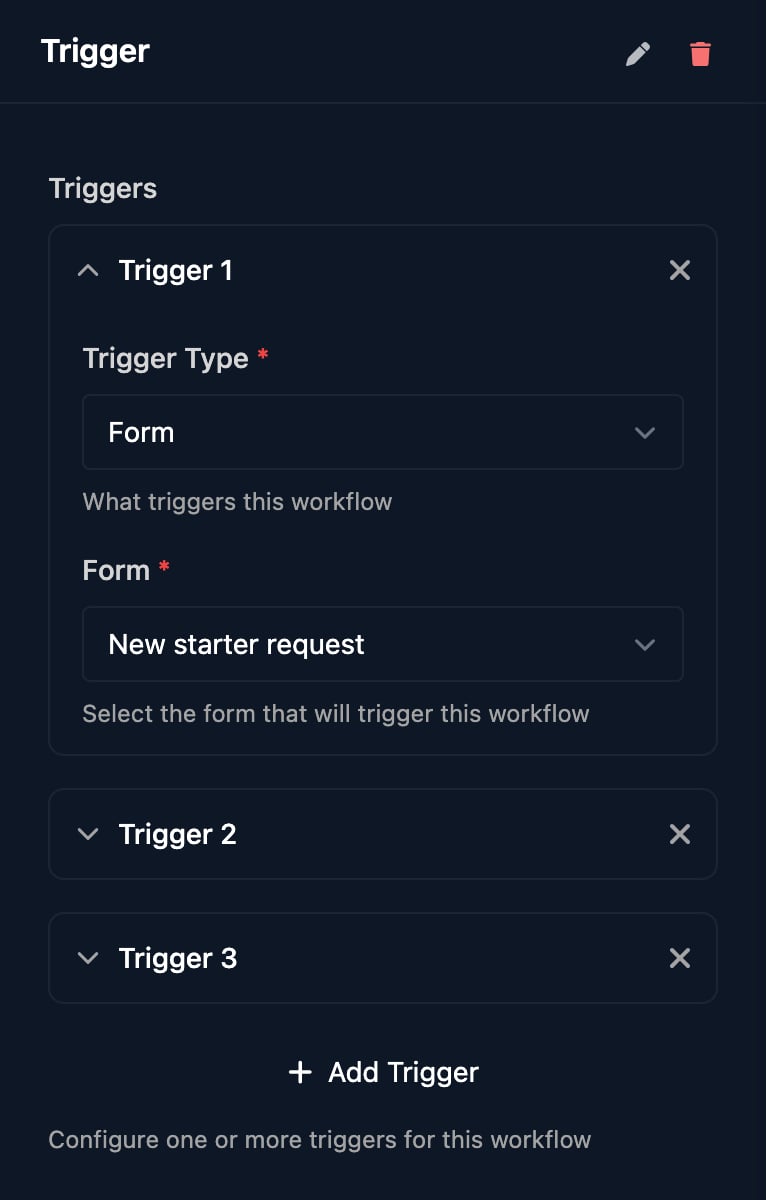
{{ ctx.params.firstName }}; multi-select answers arrive as a list. On a form with Microsoft authentication, ctx.metadata says who submitted. Test the real path through Share Form > Impersonate or the Public Form URL.
Submit a form from another system
Share Form > Webhook Trigger shows the form’s API Endpoint. Posting to it works for forms whose Form Authentication is None or Password.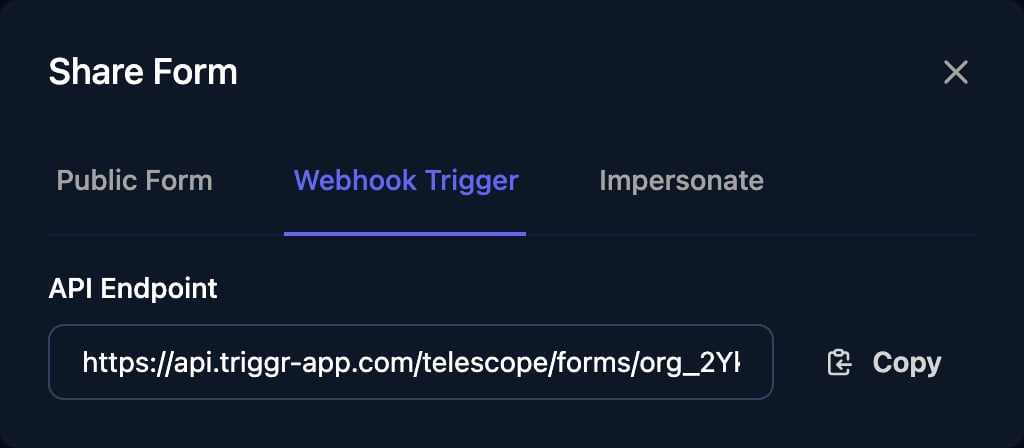
key is a Field ID and type is the field’s type; a multiselect field takes a values list instead of value. Leave out ?password= when the form has no authentication. The reply is the submission’s id, and a missing required field returns required field 'Label' is missing.
Cron
Enter a five-field cron expression (minute, hour, day of month, month, day of week) in UTC. Only Active workflows run on a schedule.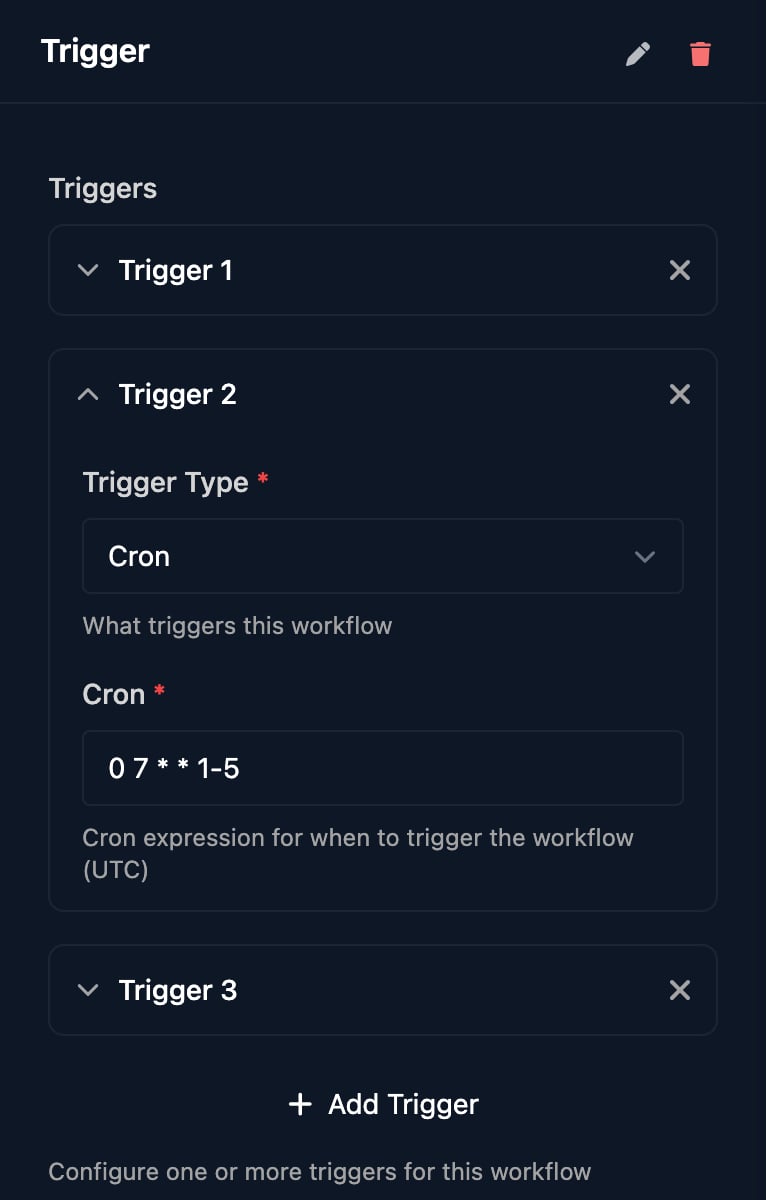
Day of week runs
0 (Sunday) to 6; 7, shortcuts such as @daily and six-field expressions save but never run. UTC doesn’t change for daylight saving, so for 08:00 UK time use 0 8 in winter and 0 7 in summer. Scheduled runs are at least five minutes apart. ctx.params is empty; to test the steps, click Manual Trigger and enter {}.
Webhook
Add a Webhook trigger and click Save, then click View Endpoint Details and copy the Endpoint URL.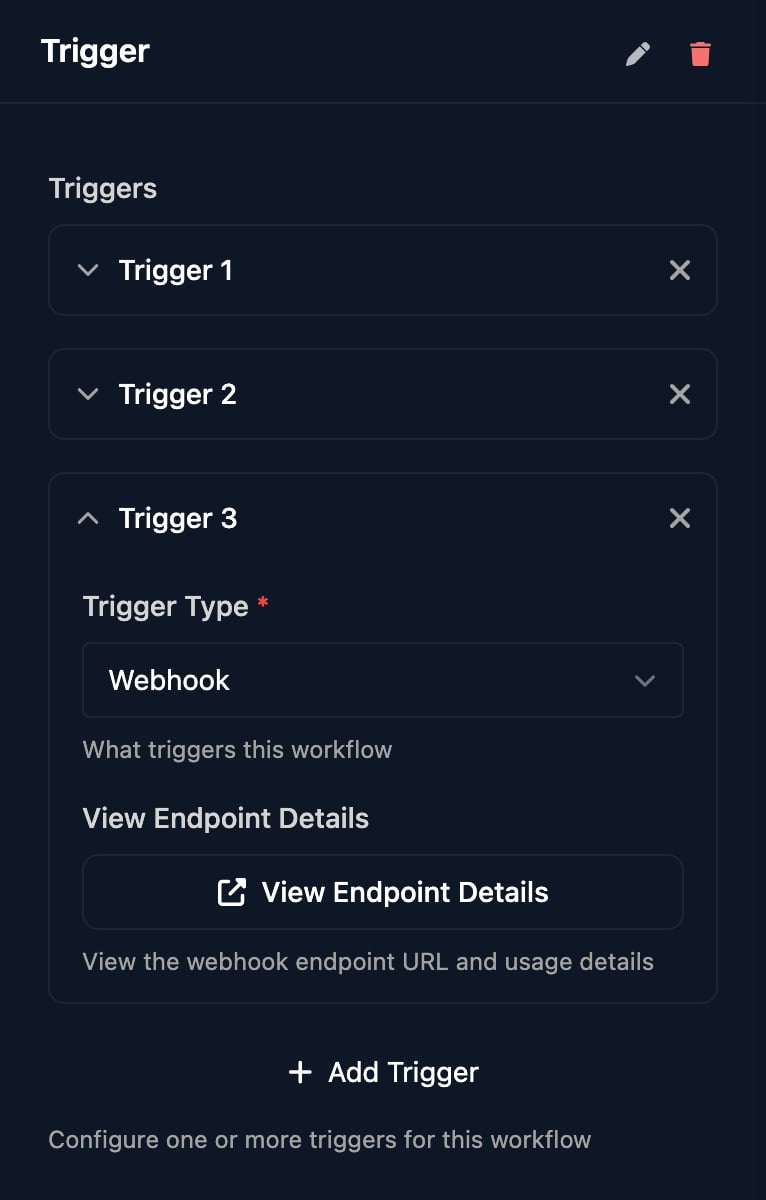
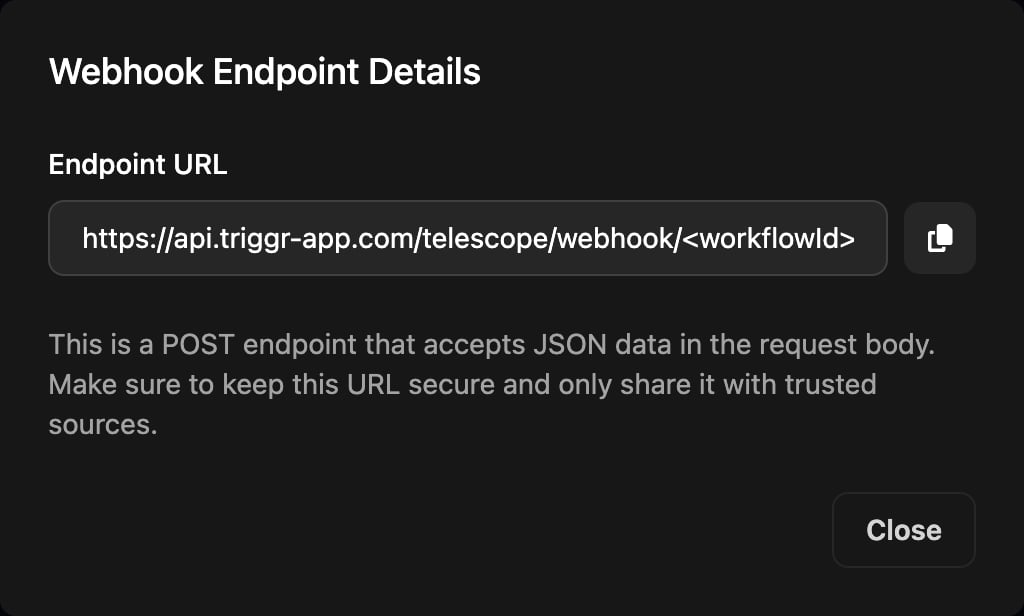
ctx.params, so this run reads {{ ctx.params.device }}; a body that isn’t JSON arrives as text in ctx.params.data. Headers and the query string don’t reach the workflow. A run started this way has no client: find one with Search For Client on a client variable, such as your RMM site ID, then Set Client By ID, before steps that raise a ticket or send an email.
Wait for the result
Add?await=true to wait until the run finishes or fails, for up to timeout seconds (default 300, maximum 600):
status is completed or failed, and output is the Finish Workflow step’s Outcome and Comment, so end every path with one. To return a step’s result, enter a Context Variable Name on its Settings tab and tick Publish Variable; it appears in publishedVariables. Don’t wait on workflows that pause for an approval or a person.
Manual
Click Manual Trigger in the designer, or Manual on the workflow’s row in Workflows, enter the JSON your real trigger would send and click Trigger Workflow. The run uses the last saved version, whatever the workflow’s triggers and status.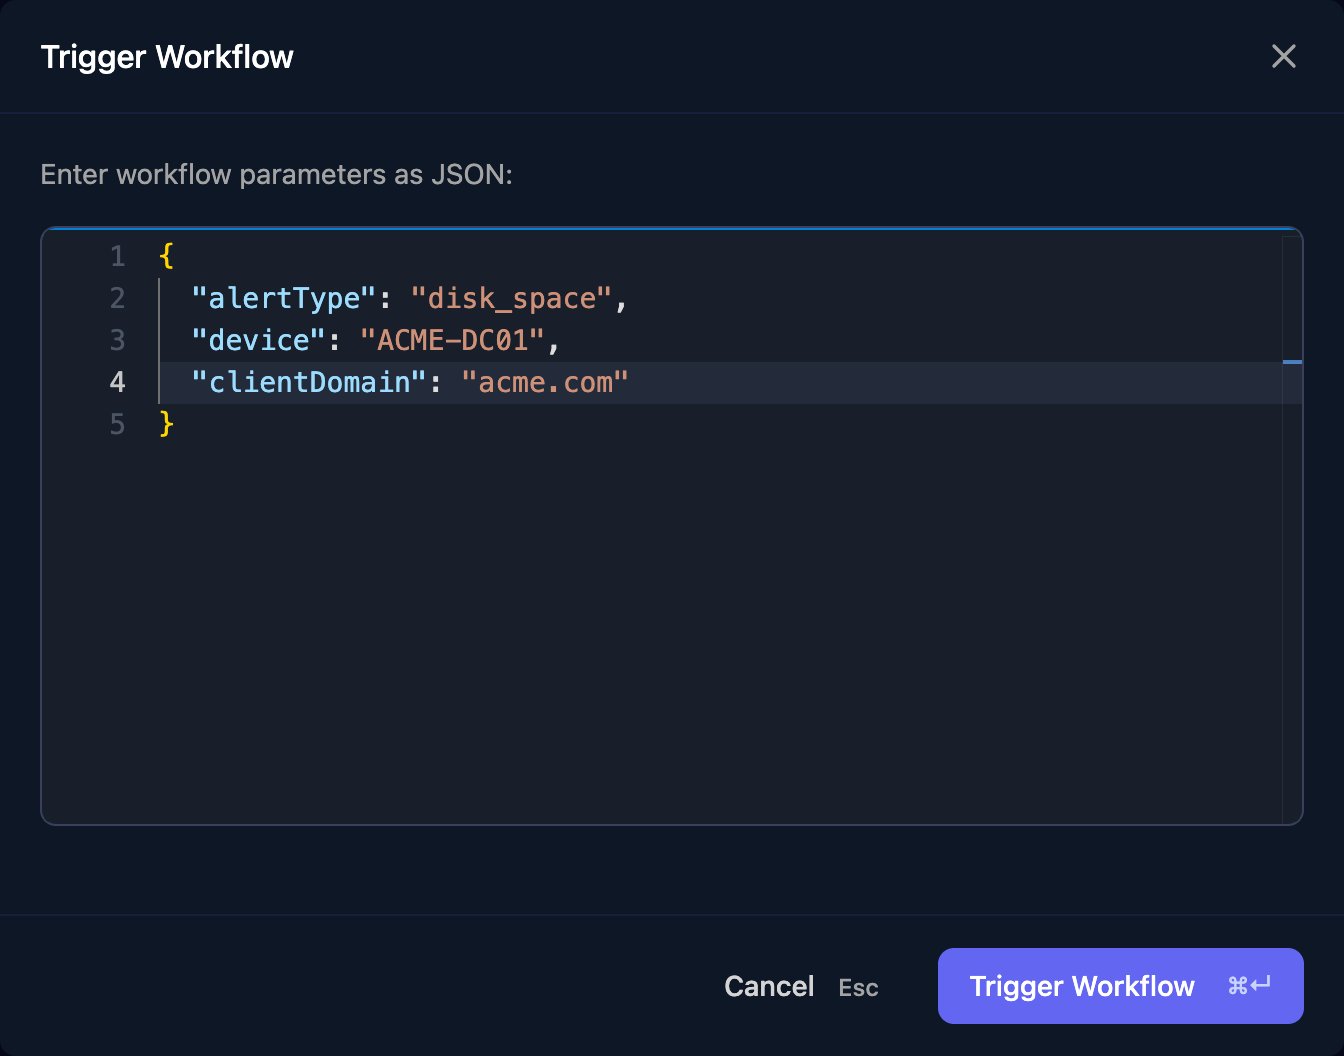
Other ways to start a workflow
From another workflow
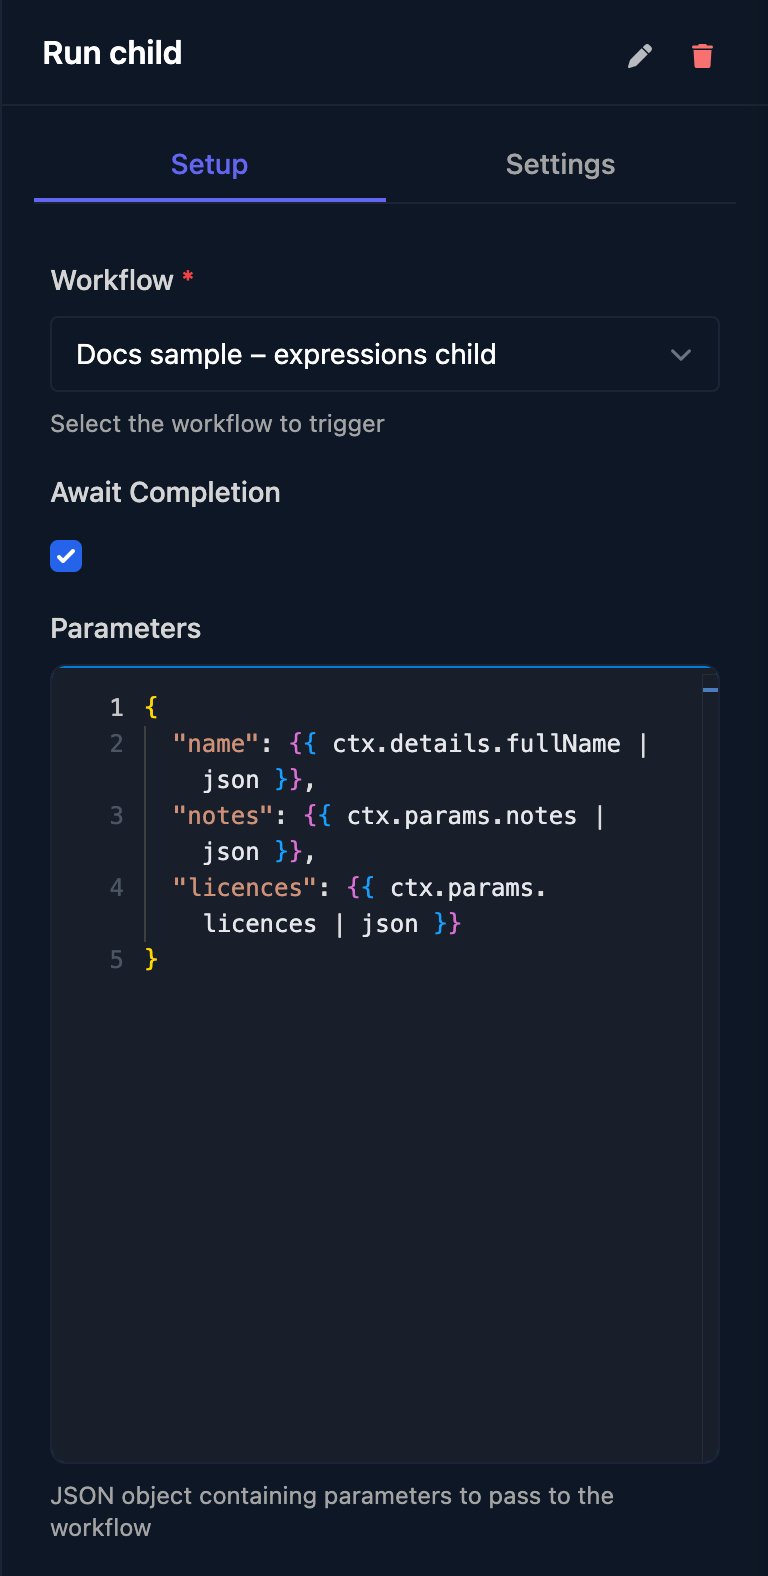
Add a Trigger Workflow step (Triggr), choose the Workflow and enter Parameters as JSON; the other workflow reads them asctx.params. It needs a Trigger step but no triggers, and doesn’t inherit the client, so pass {{ ctx.client.id }} and start it with Set Client By ID. Tick Await Completion to wait for it; see Trigger Workflow.
From an internal app or an AI assistant
- An internal app page calls
triggr.runWorkflow(workflowId, params). The workflow must be Active and ticked under the app’s Workflows pages can run. - An AI assistant connected through MCP can start Active workflows with
trigger_workflow.
From PSA tickets (Hawk)
Hawk watches your PSA’s tickets and starts each workflow linked to a watcher once per matching ticket, with the ticket’s fields inctx.params and the watcher’s name in ctx.metadata.watcherName.
See what started a run
Click View on the run in Runs and open Initial Context:params is what the trigger sent and metadata.source is what started it. In a Condition, ctx.metadata.source lets you treat, say, scheduled and manual runs differently.
Turn a workflow on or off
On Workflows, click Edit on the workflow’s row, choose Active or Inactive under Status and click Save Changes.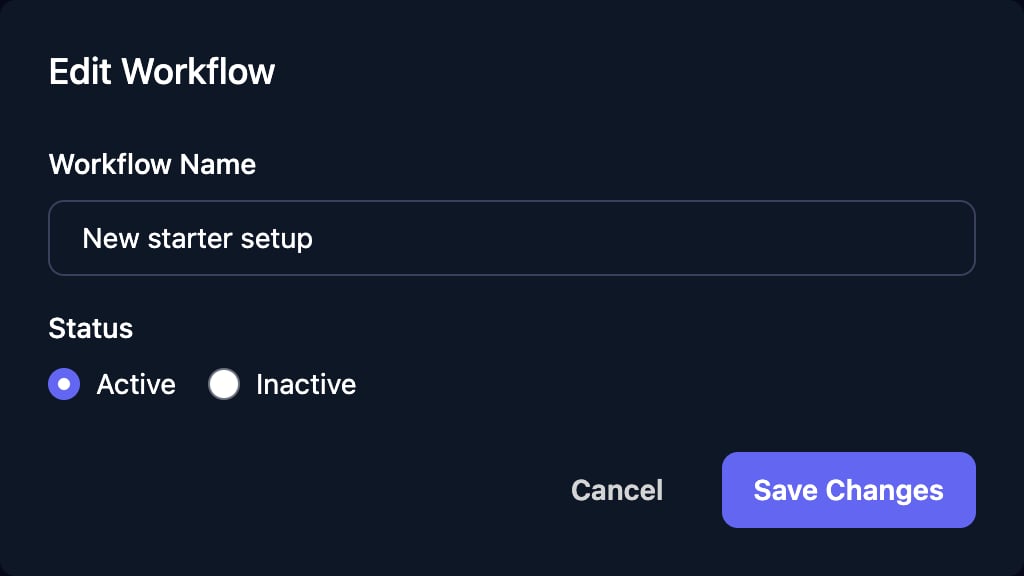
FAQ
My workflow ran as soon as I turned it back on, or its schedule stopped after it was off
My workflow ran as soon as I turned it back on, or its schedule stopped after it was off
A workflow that missed a scheduled time runs once to catch up. If it missed more than five, the schedule waits until the workflow is saved in the designer: open it, move any step slightly and click Save.
Why didn't my workflow run when the form was submitted?
Why didn't my workflow run when the form was submitted?
The workflow must be Active and saved with a Form trigger for that form. If the form’s Submissions doesn’t list the submission, the form refused it.
My manual test works but the real form submission doesn't
My manual test works but the real form submission doesn't
A manual run gets only the JSON you type: there’s no submitter in
ctx.metadata and no client from the form’s sign-in. Test the real path with Share Form > Impersonate.Someone else has my webhook URL. How do I change it?
Someone else has my webhook URL. How do I change it?
The URL contains the workflow’s ID, so it can’t change. Duplicate the workflow and use the copy’s URL, then remove the Webhook trigger from the original and click Save.
My caller gets “workflow execution timed out”
My caller gets “workflow execution timed out”
The awaited run took longer than
timeout and is still running. Raise timeout (up to 600), or call without ?await=true and check the run with GET /api/v1/executions/<executionId> and an API key, or the execution.completed and execution.failed webhook events.Does Triggr retry a failed run?
Does Triggr retry a failed run?
A failing step is retried once automatically; a failed run isn’t. Click View on the run, then Retry Workflow to run the latest saved version again with the same input and client.
Is a Webhook trigger the same as Settings > Webhooks?
Is a Webhook trigger the same as Settings > Webhooks?
No. Settings > Webhooks sends events from Triggr to your systems. A Webhook trigger receives requests that start a workflow.