

Reports: designing a template, filling it from a workflow, then viewing and sharing the report (1:25).
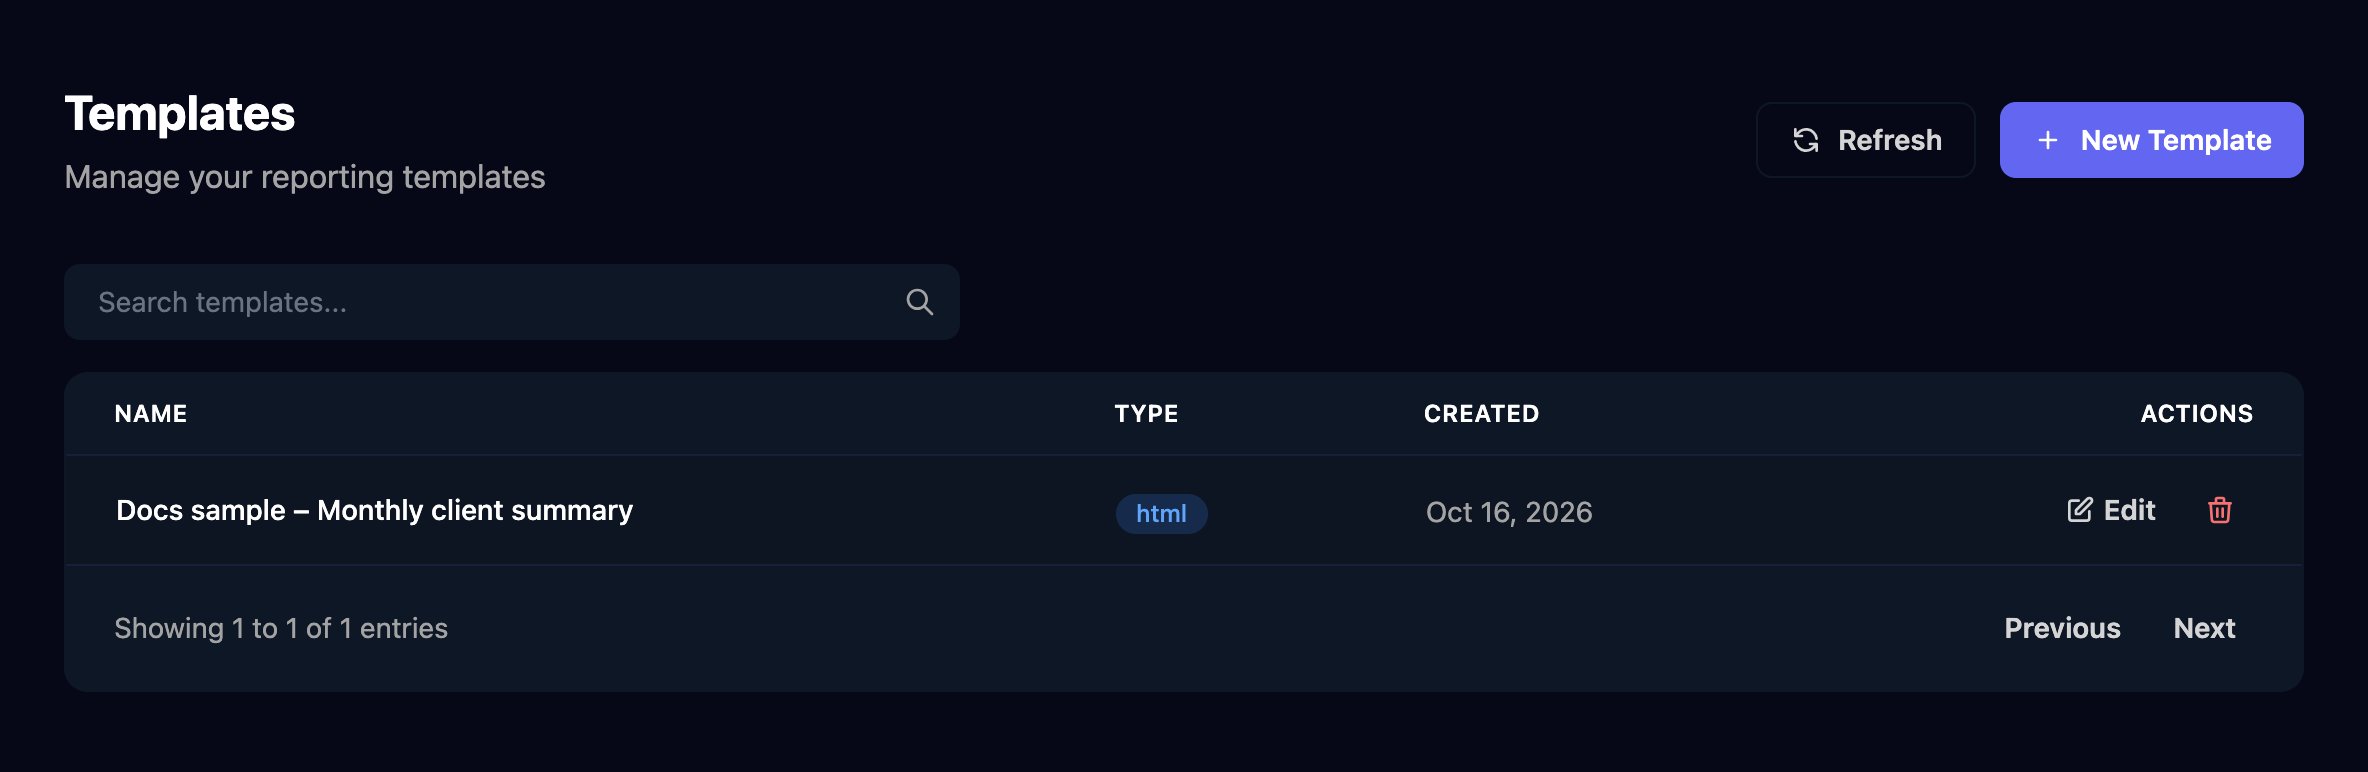
Example: a monthly client summary
1
Create the template
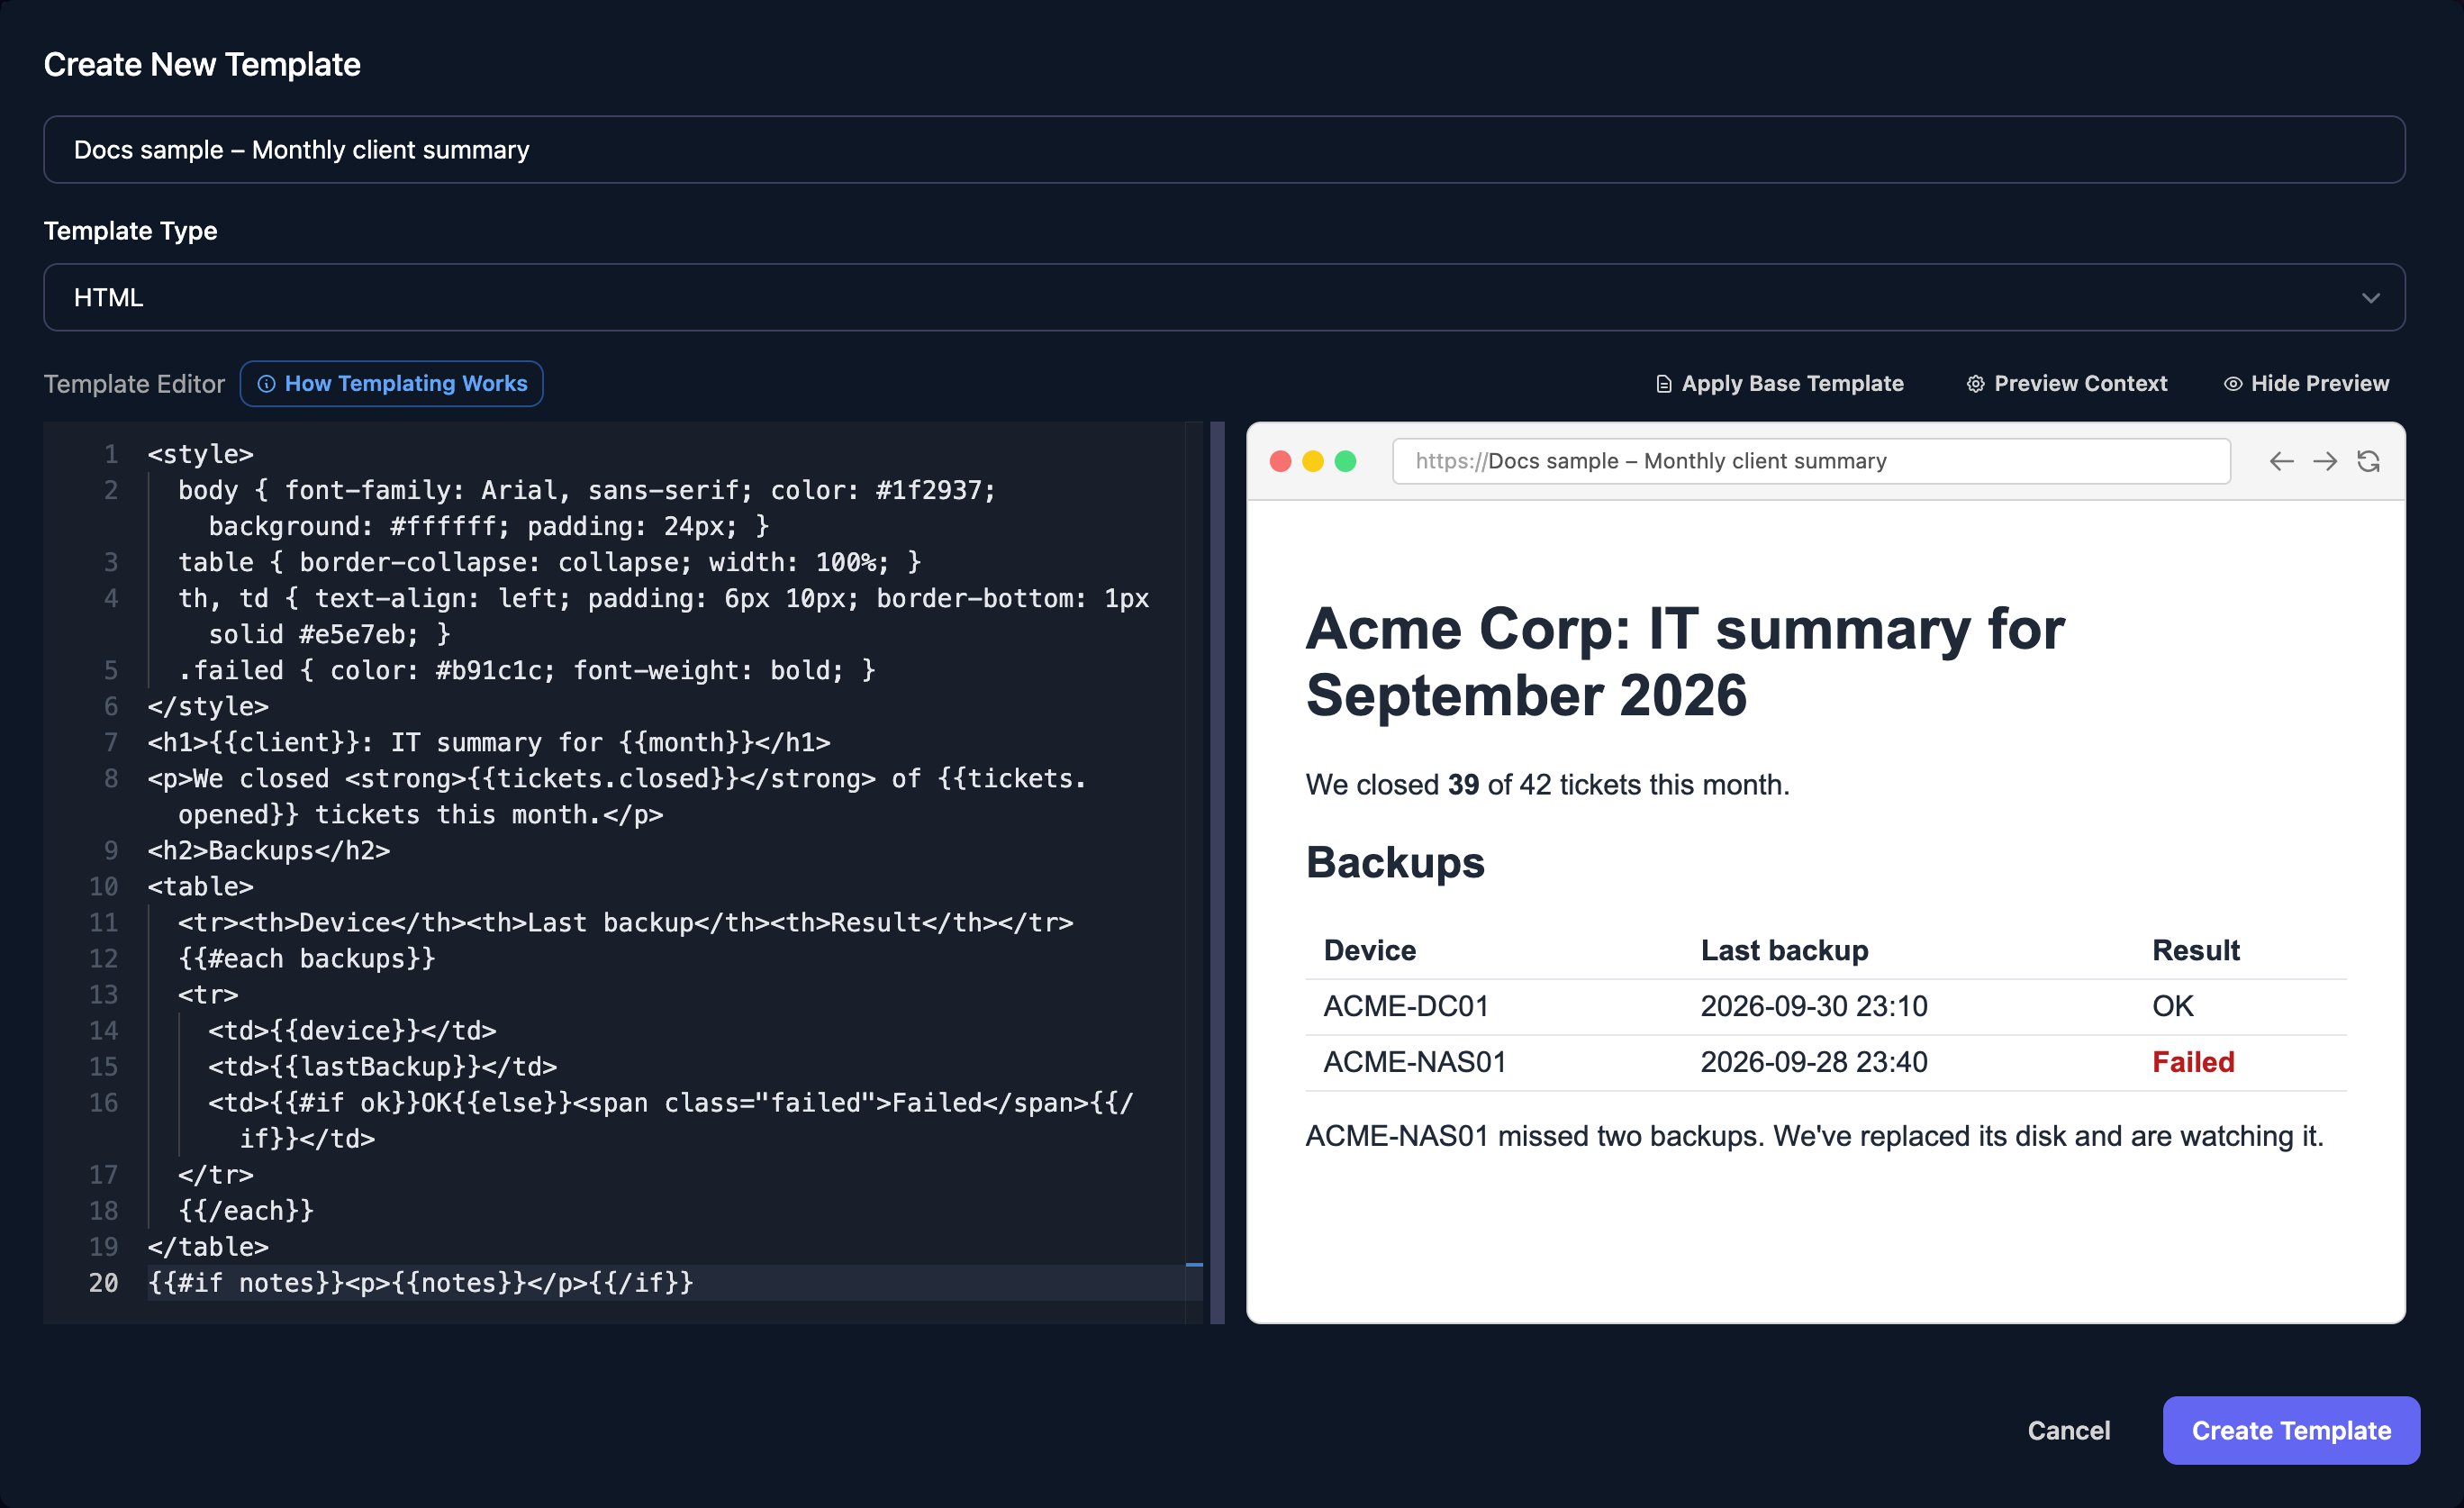
Go to Reporting > Templates, click New Template, name it, keep the type on HTML and paste the template into the editor:
2
Preview it with sample data
Click Preview Context, paste data shaped like your workflow’s and click Apply & Close.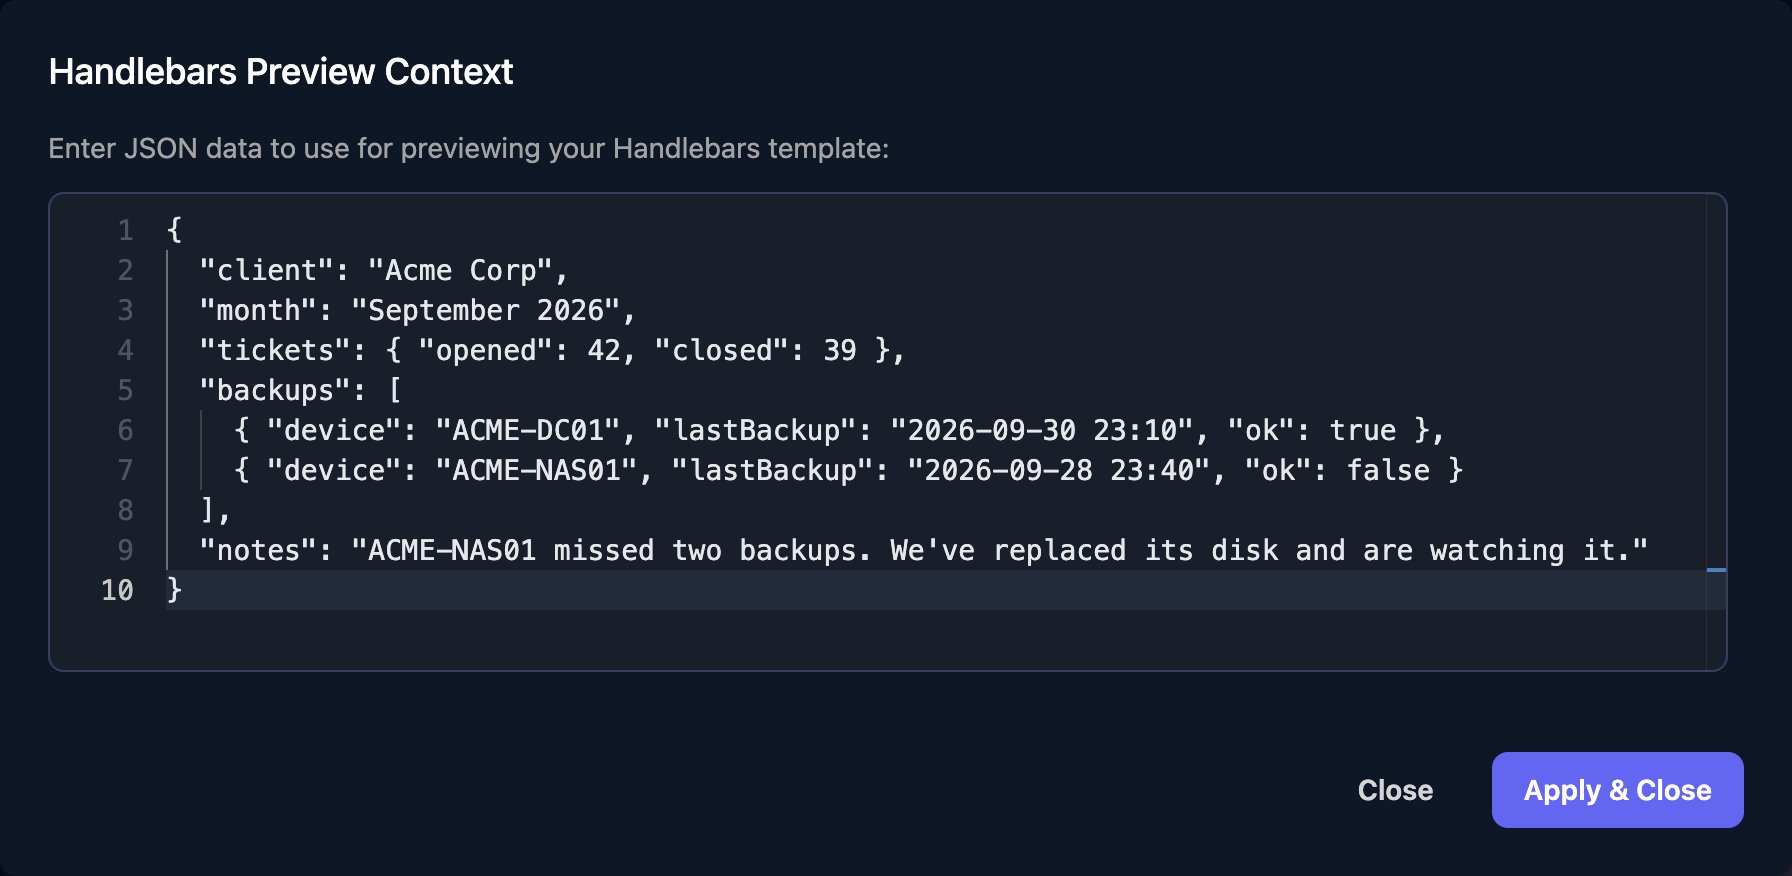
3
Generate it from a workflow
Add Generate Report from Reporting, choose the template, enter a report name and put the data in Parameters; here 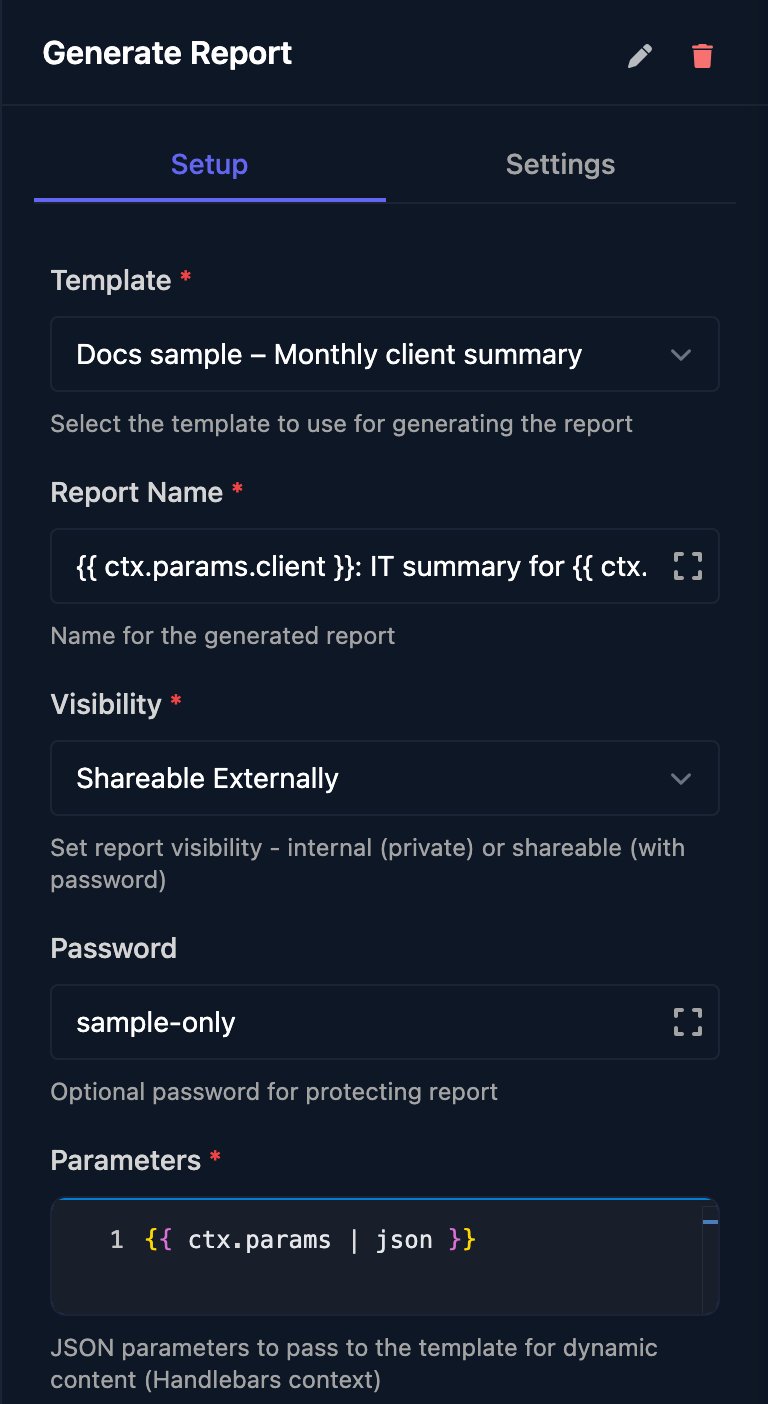
{{ ctx.params | json }} passes everything the trigger received.4
Test it
Save, click Manual Trigger and enter the sample data from step 2. The output has the new report’s 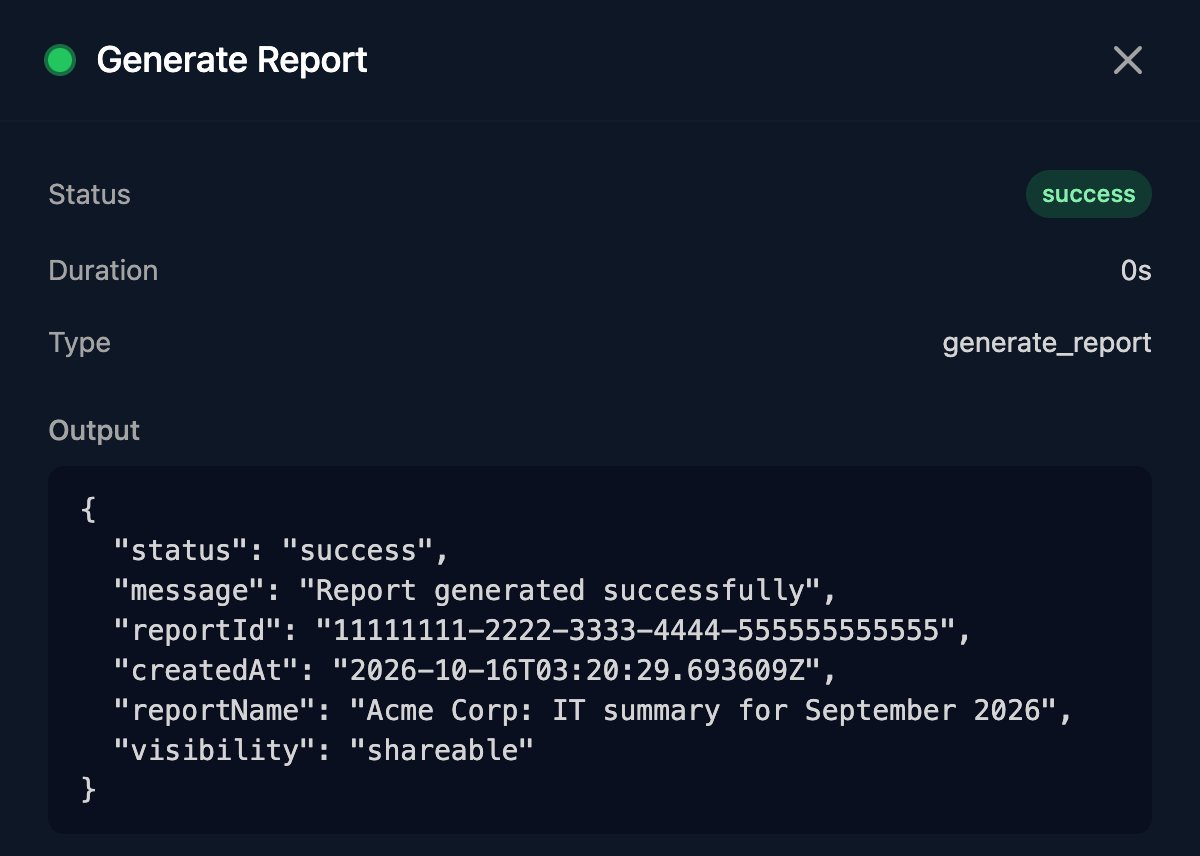
reportId.0 7 1 * *.
Template syntax
Templates use Handlebars and see exactly the JSON object in Parameters.
Do sums and date formatting in a Code step before Generate Report and pass the results in Parameters. A Markdown template is filled the same way, then turned into HTML.
Reports
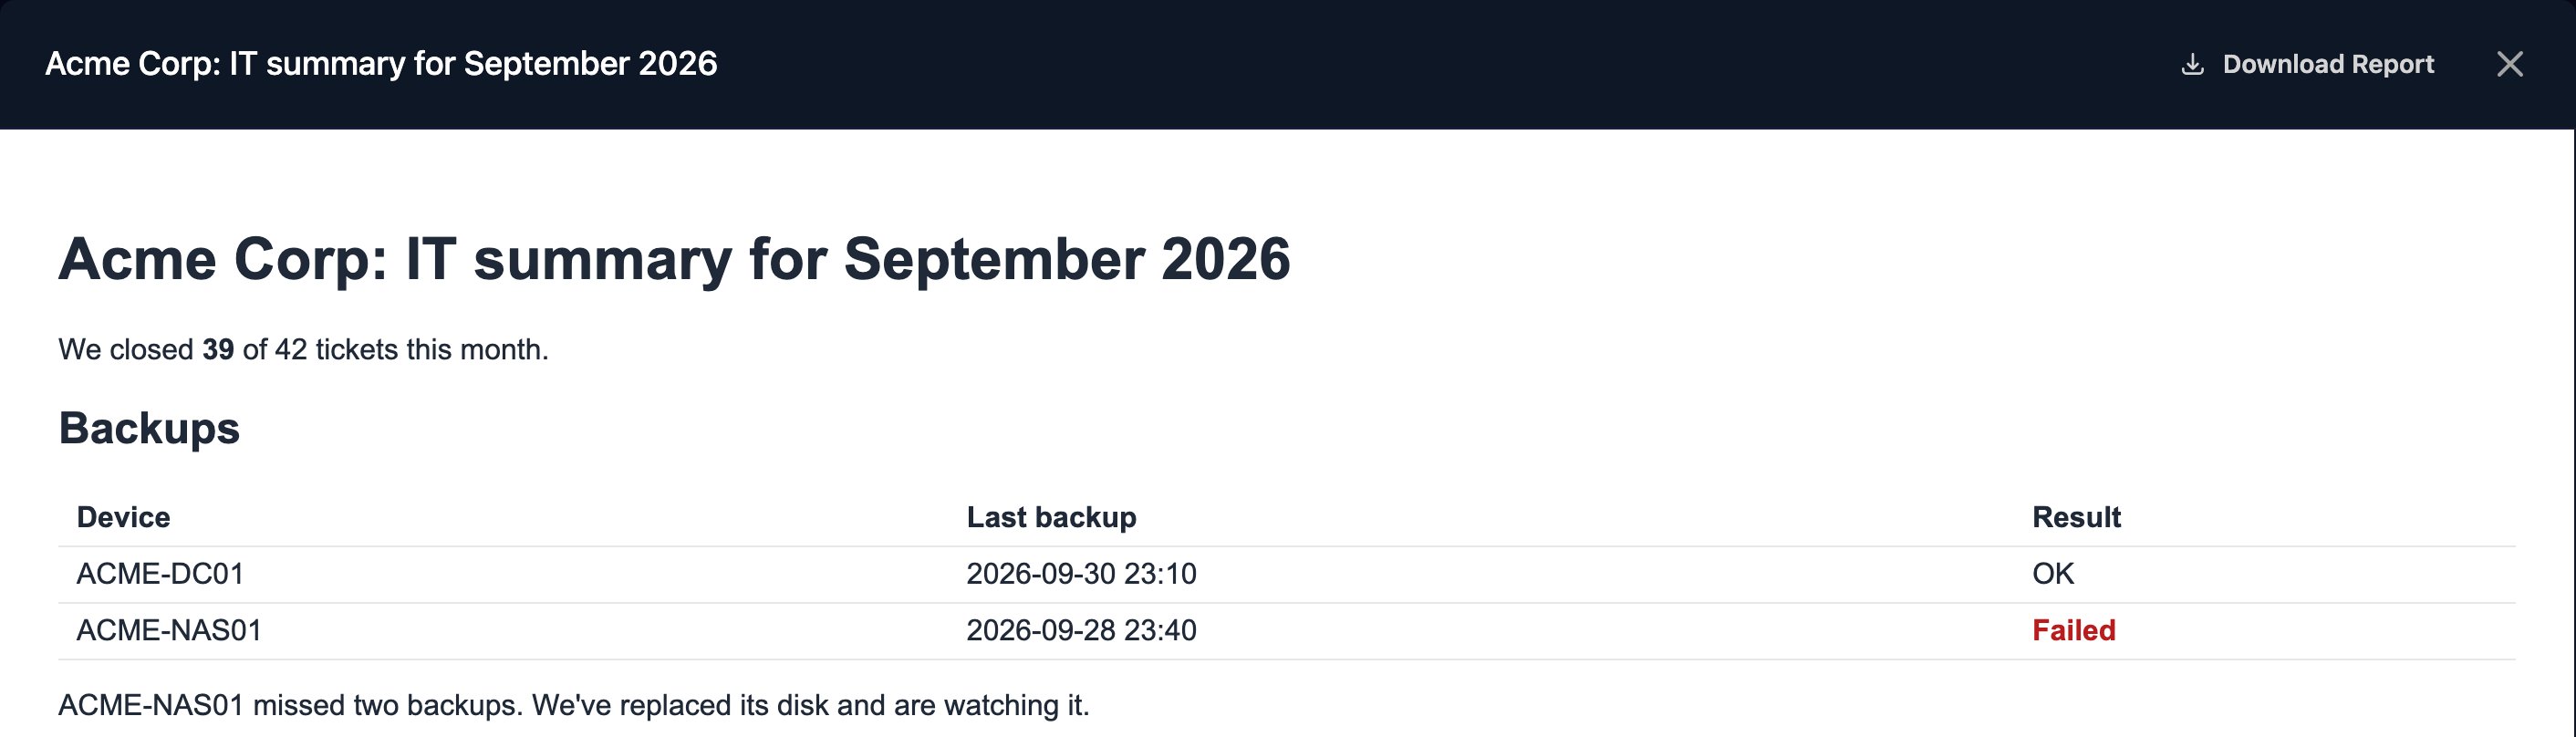
Reporting > Reports lists every generated report. Click View to open one; Download Report saves it as an HTML file, and Show in the Password column reveals a shareable report’s password.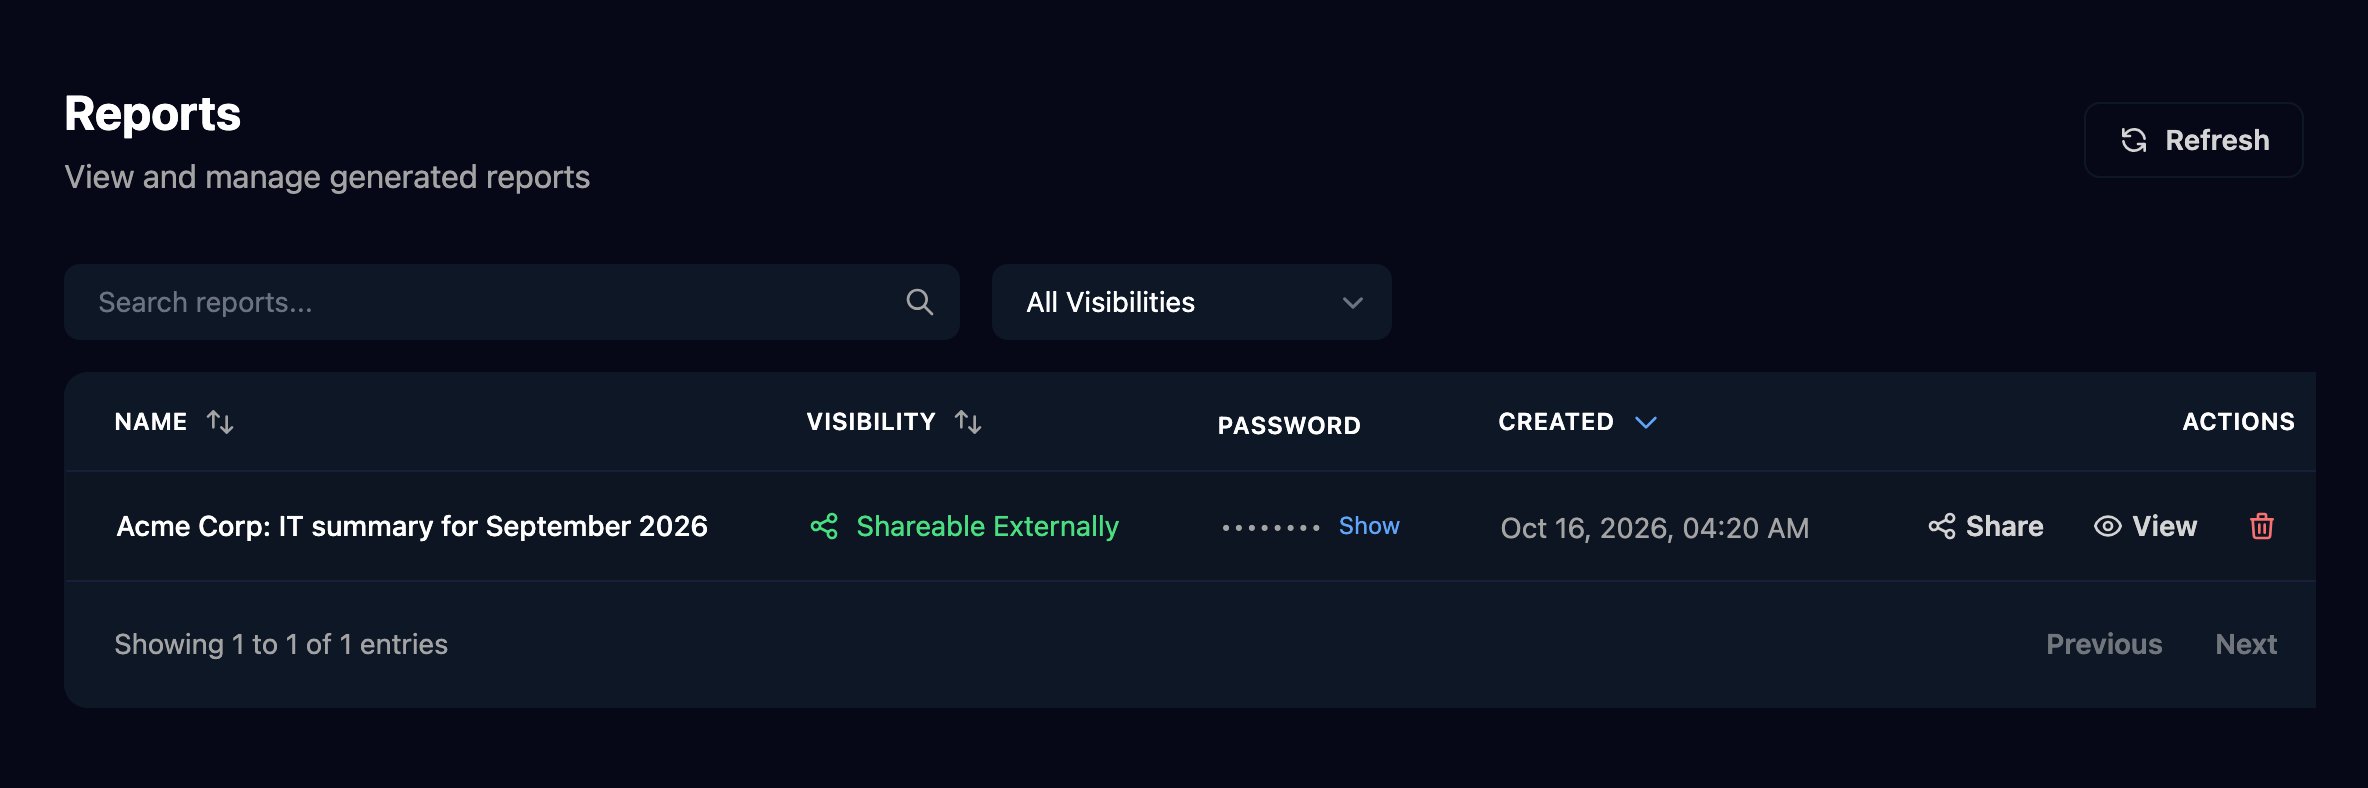
Share a report
Click Share on a shareable report and copy the link. It uses your custom forms domain if you have one (Branding).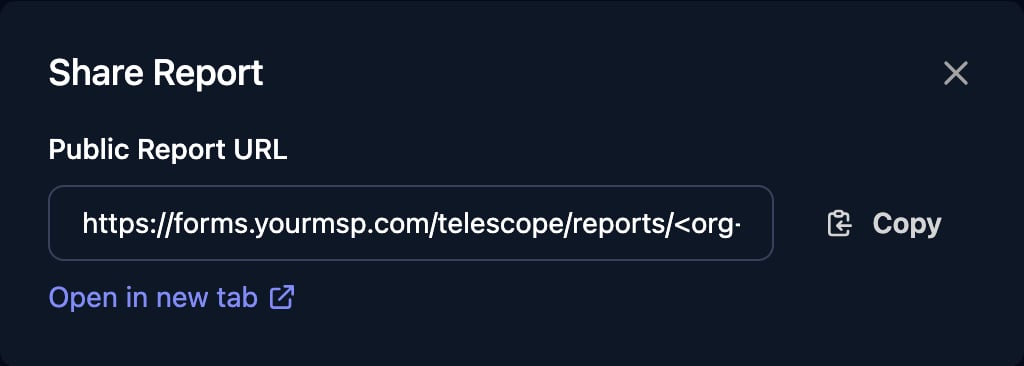
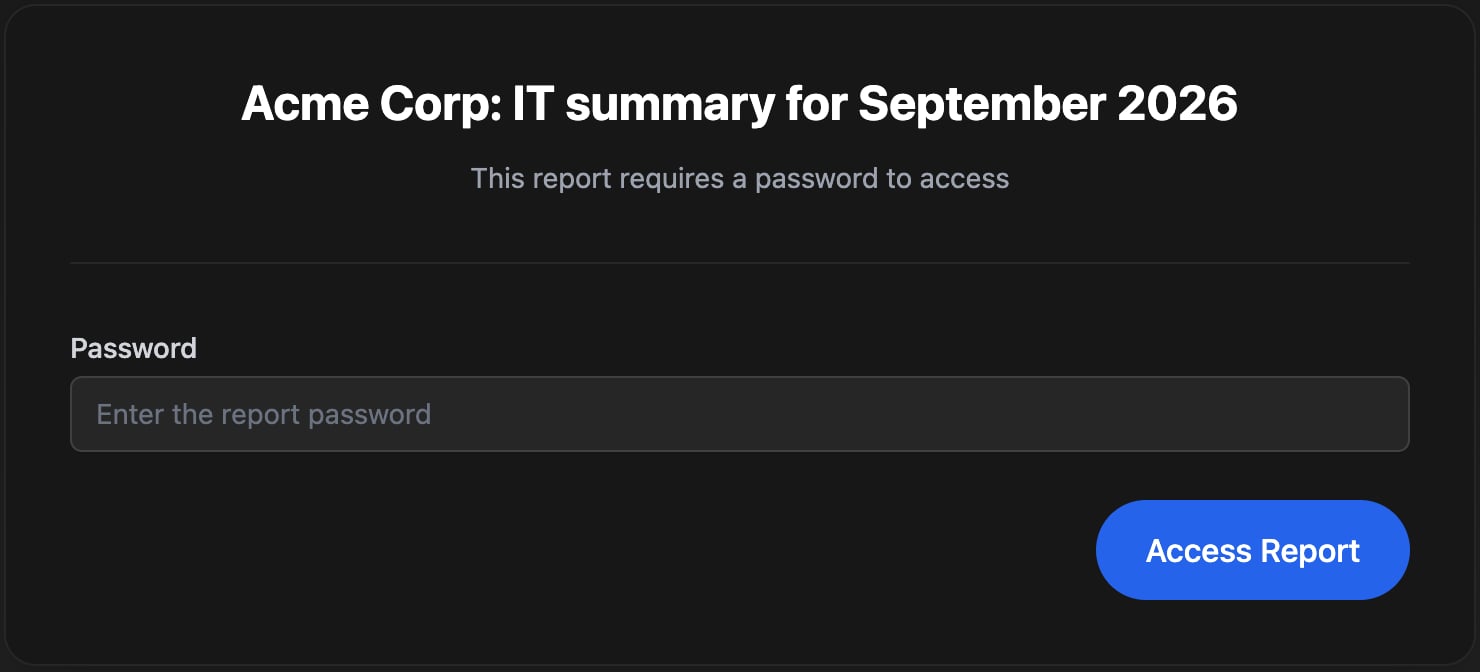
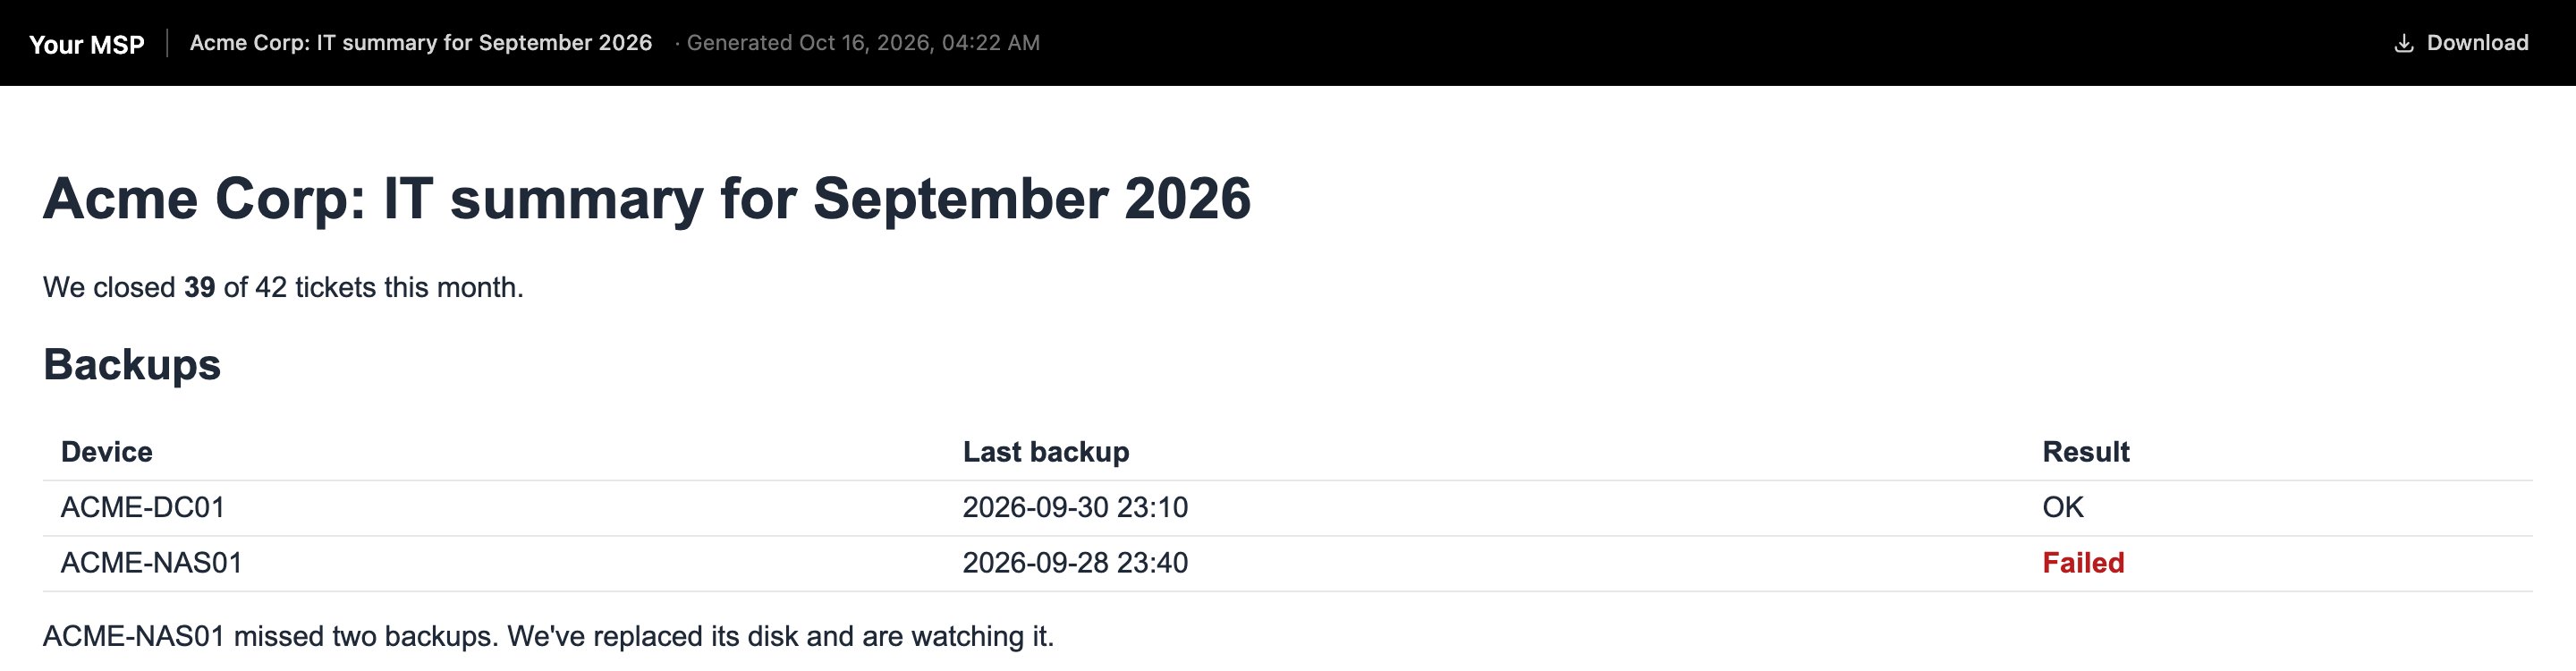
https://forms.yourmsp.com/telescope/reports/<org-id>/{{ ctx.steps['Generate Report'].reportId }}, using your forms domain (or app.triggr-app.com) and your organisation’s ID from Support > Copy Org ID in the top bar. Send the password separately.
A report is a snapshot: editing the template changes only reports generated afterwards. To withdraw a report, delete it.
FAQ
Can I make PDF reports?
Can I make PDF reports?
Reports are web pages; recipients can download the page or print it to PDF from their browser.
Can the template read the client or today's date?
Can the template read the client or today's date?
Only if you pass them in Parameters, such as
"client": "{{ ctx.client.name }}".My report shows dark text on a dark background in Studio
My report shows dark text on a dark background in Studio
Set a background colour in the template, as the example does with
background: #ffffff.Can an AI assistant build templates or reports?
Can an AI assistant build templates or reports?
Yes, through MCP with the Report Templates and Reports tools, such as
create_report_template and generate_report.I need slides rather than a page
I need slides rather than a page
Use Decks.
Troubleshooting
“parameters must be valid JSON”
“parameters must be valid JSON”
Parameters isn’t a JSON object once its templates are filled in. Put quotes around text values, as in
"client": "{{ ctx.client.name }}", or use | json.“failed to render HTML template: …” or “failed to render markdown template”
“failed to render HTML template: …” or “failed to render markdown template”
The template has a Handlebars mistake, such as an
{{#each}} without {{/each}}. Check it with sample data in the template’s preview.“template not found or does not belong to the specified organization”
“template not found or does not belong to the specified organization”
The step’s template was deleted. Choose another in the step and save.
A value is blank in the report
A value is blank in the report
The name in the template doesn’t match Parameters:
{{tickets.closed}} needs "tickets": { "closed": … }. Names are case-sensitive.