

Branding and client portal: adding your name, logos and forms domain, then laying out the client homepage (1:23).
Brand your forms
1
Add your name and logos
Go to Settings > Branding. Enter Display Name For Public Forms and upload a Light Mode Logo and Dark Mode Logo (under 2 MB; 200×50 px recommended). Forms, apps and reports show the Dark Mode Logo; slide decks, and the client homepage when its theme is Light, show the Light Mode Logo.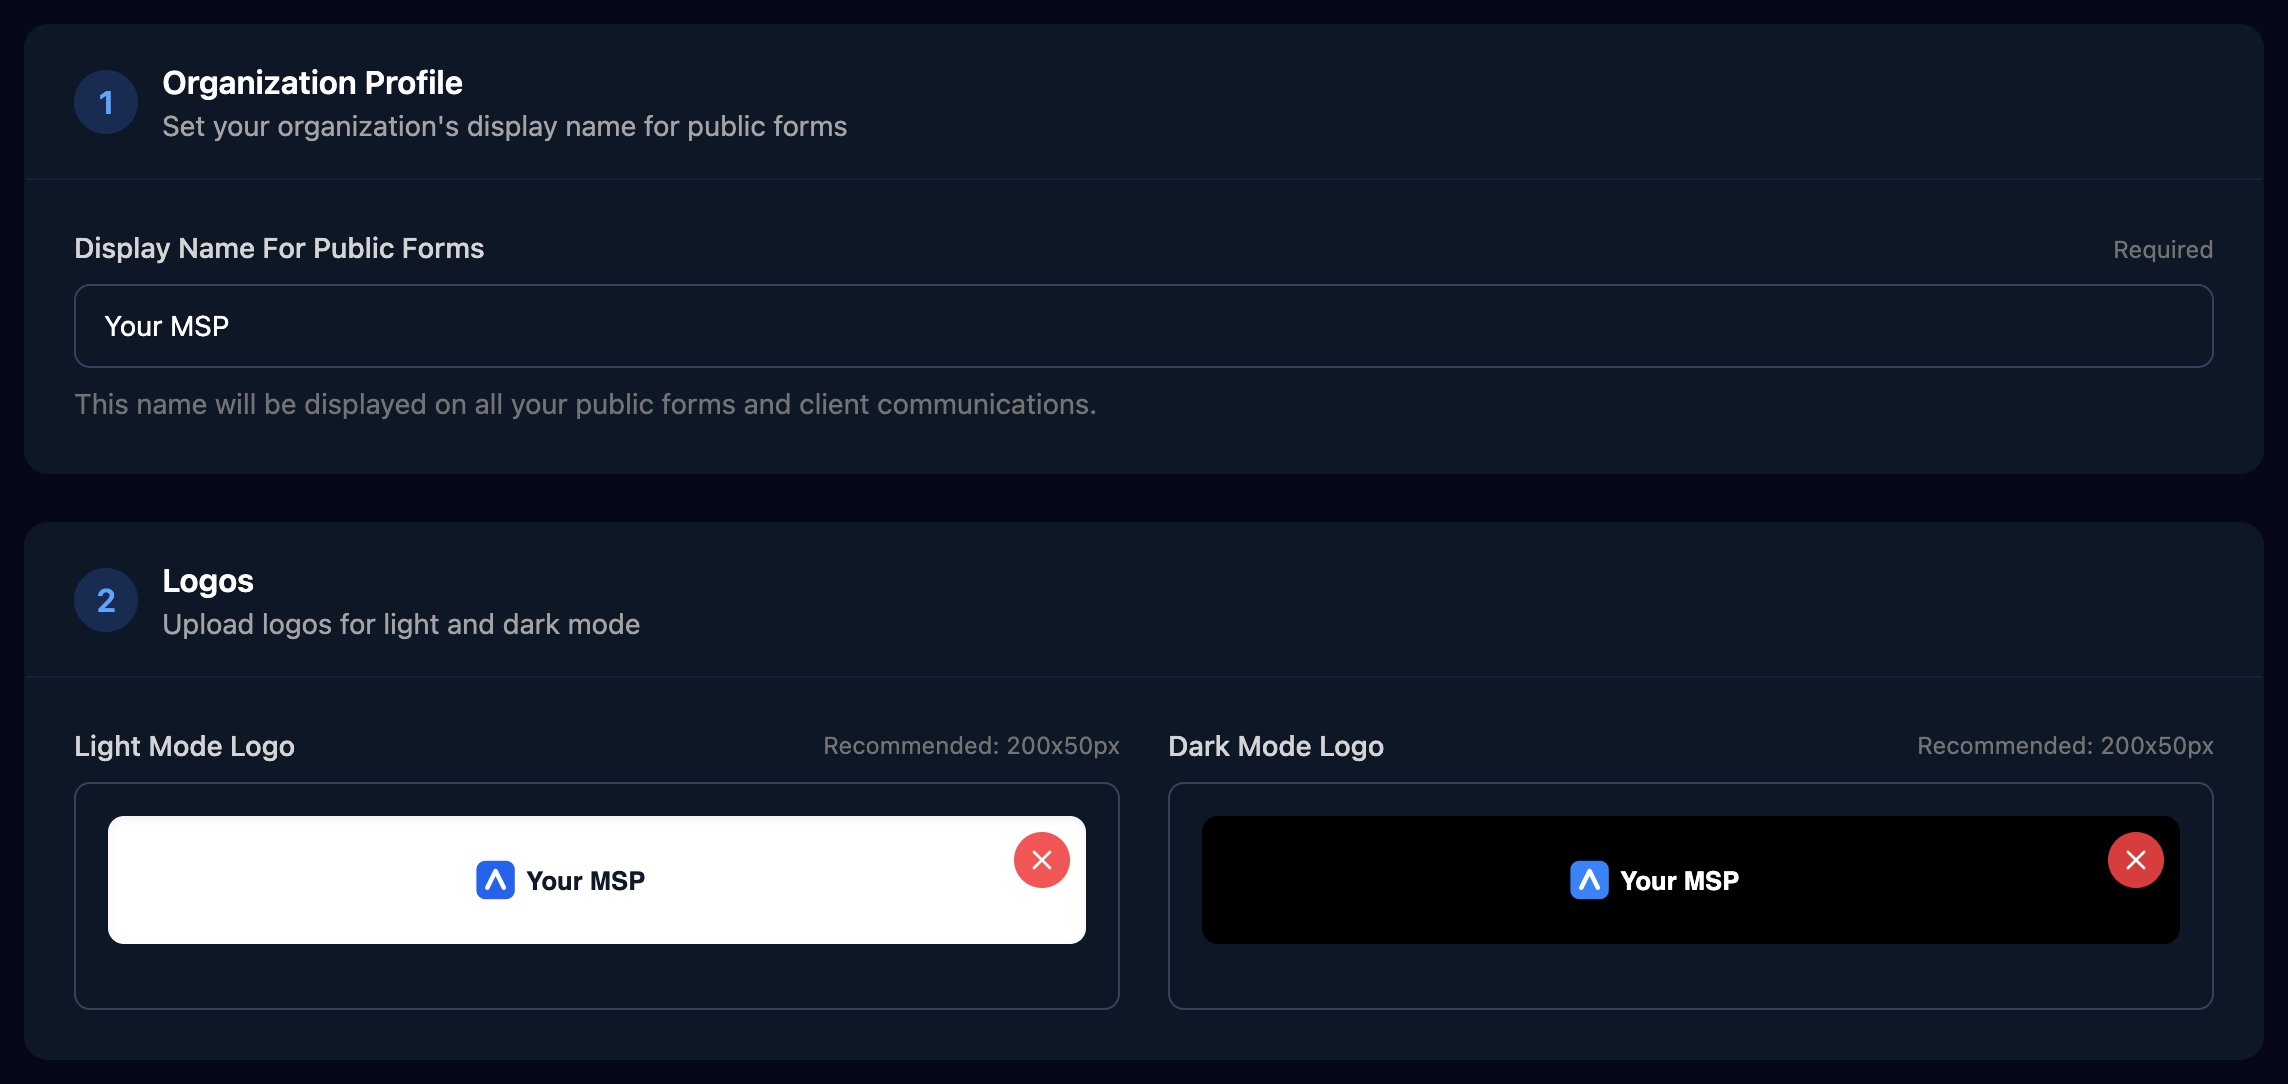
2
Enter your forms domain
In Custom Forms Domain, enter a subdomain you own, such as
forms.yourmsp.com, and click Save Changes.3
Add the DNS record
At your DNS host, create the CNAME record shown under DNS Records to Add. Some hosts want the full name, 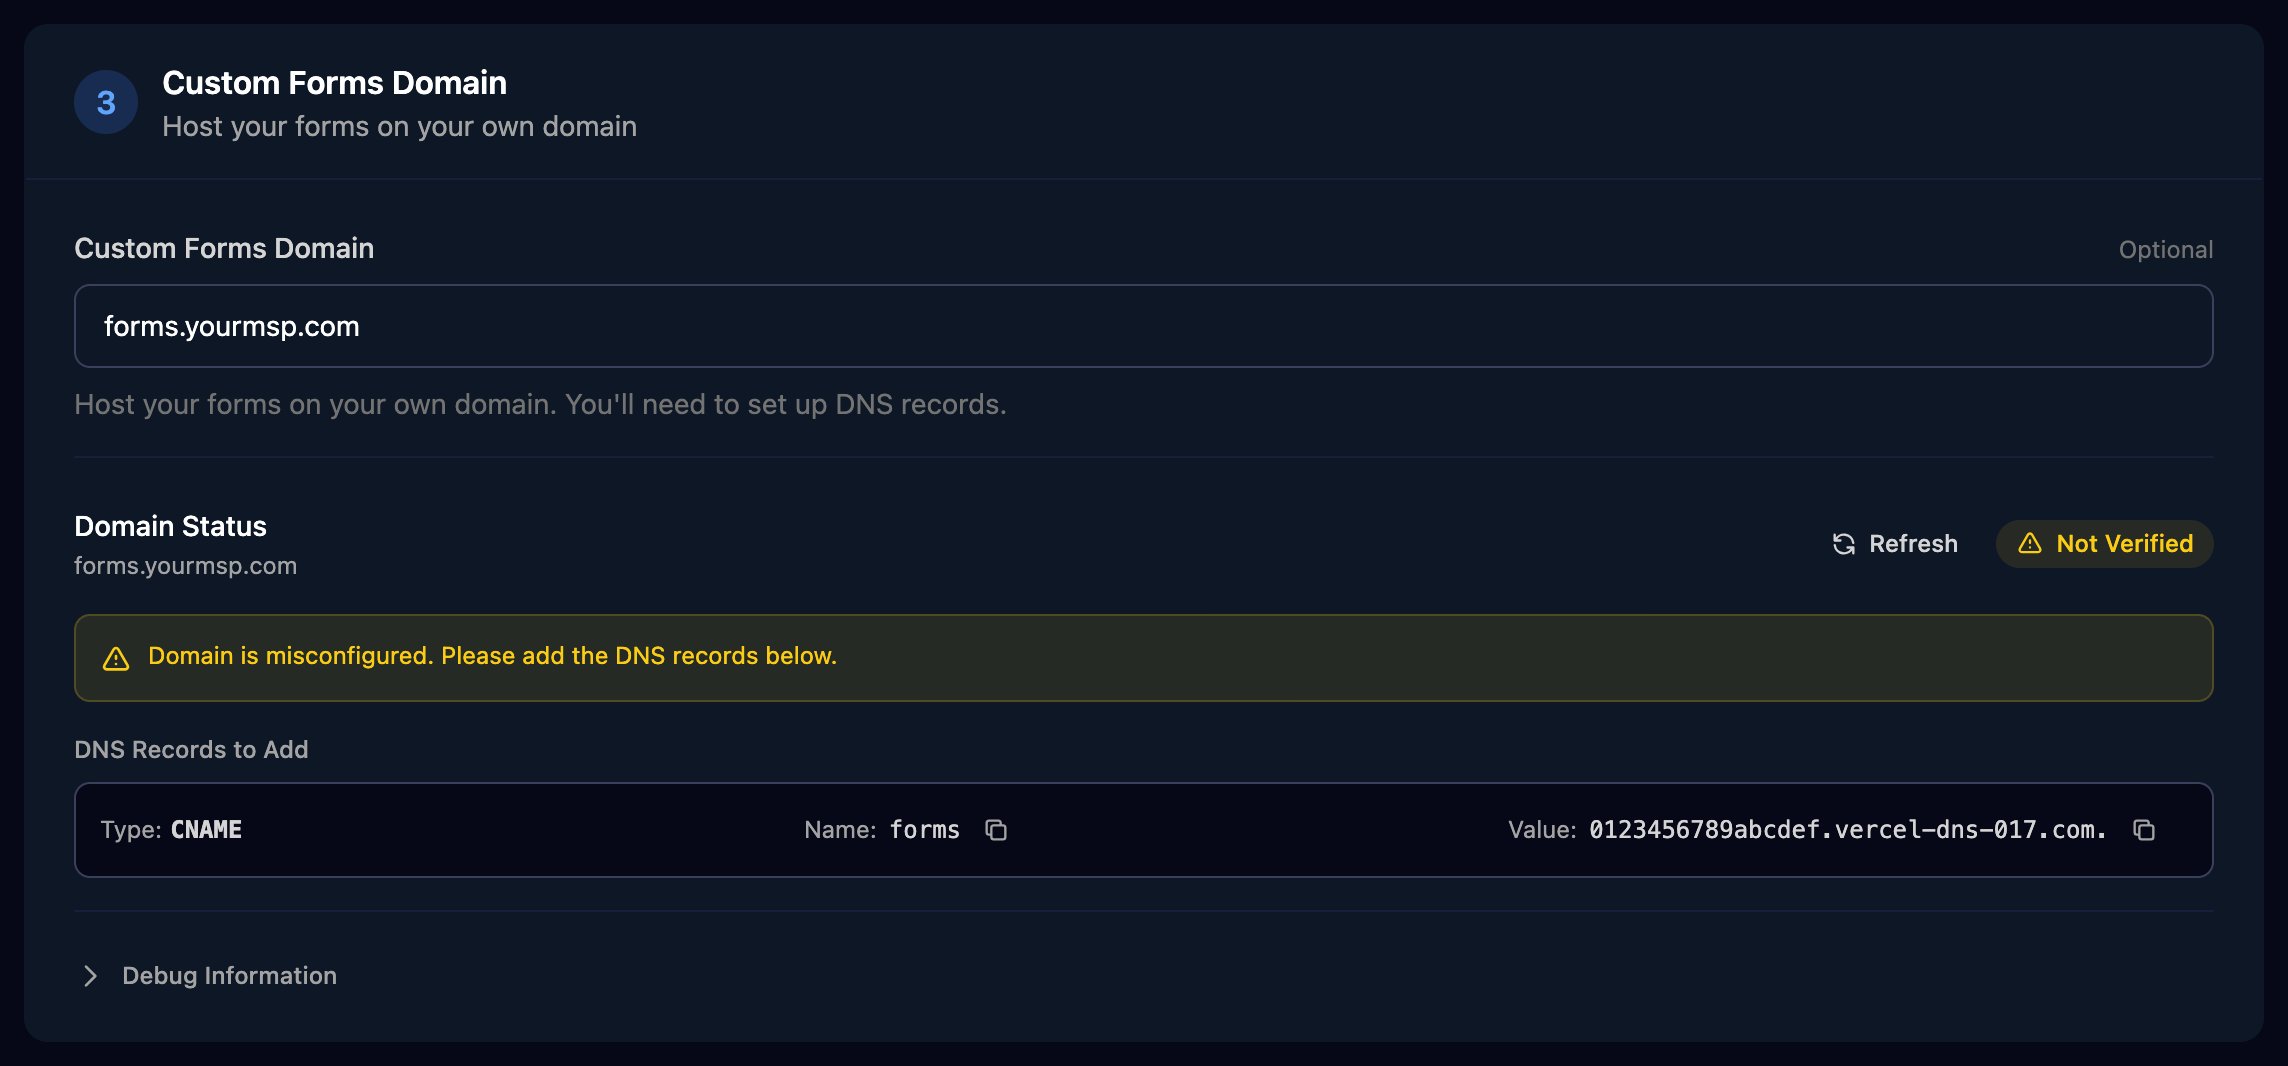
forms.yourmsp.com.4
Wait for Verified
Click Refresh until the status reads Verified and Certificate shows Active.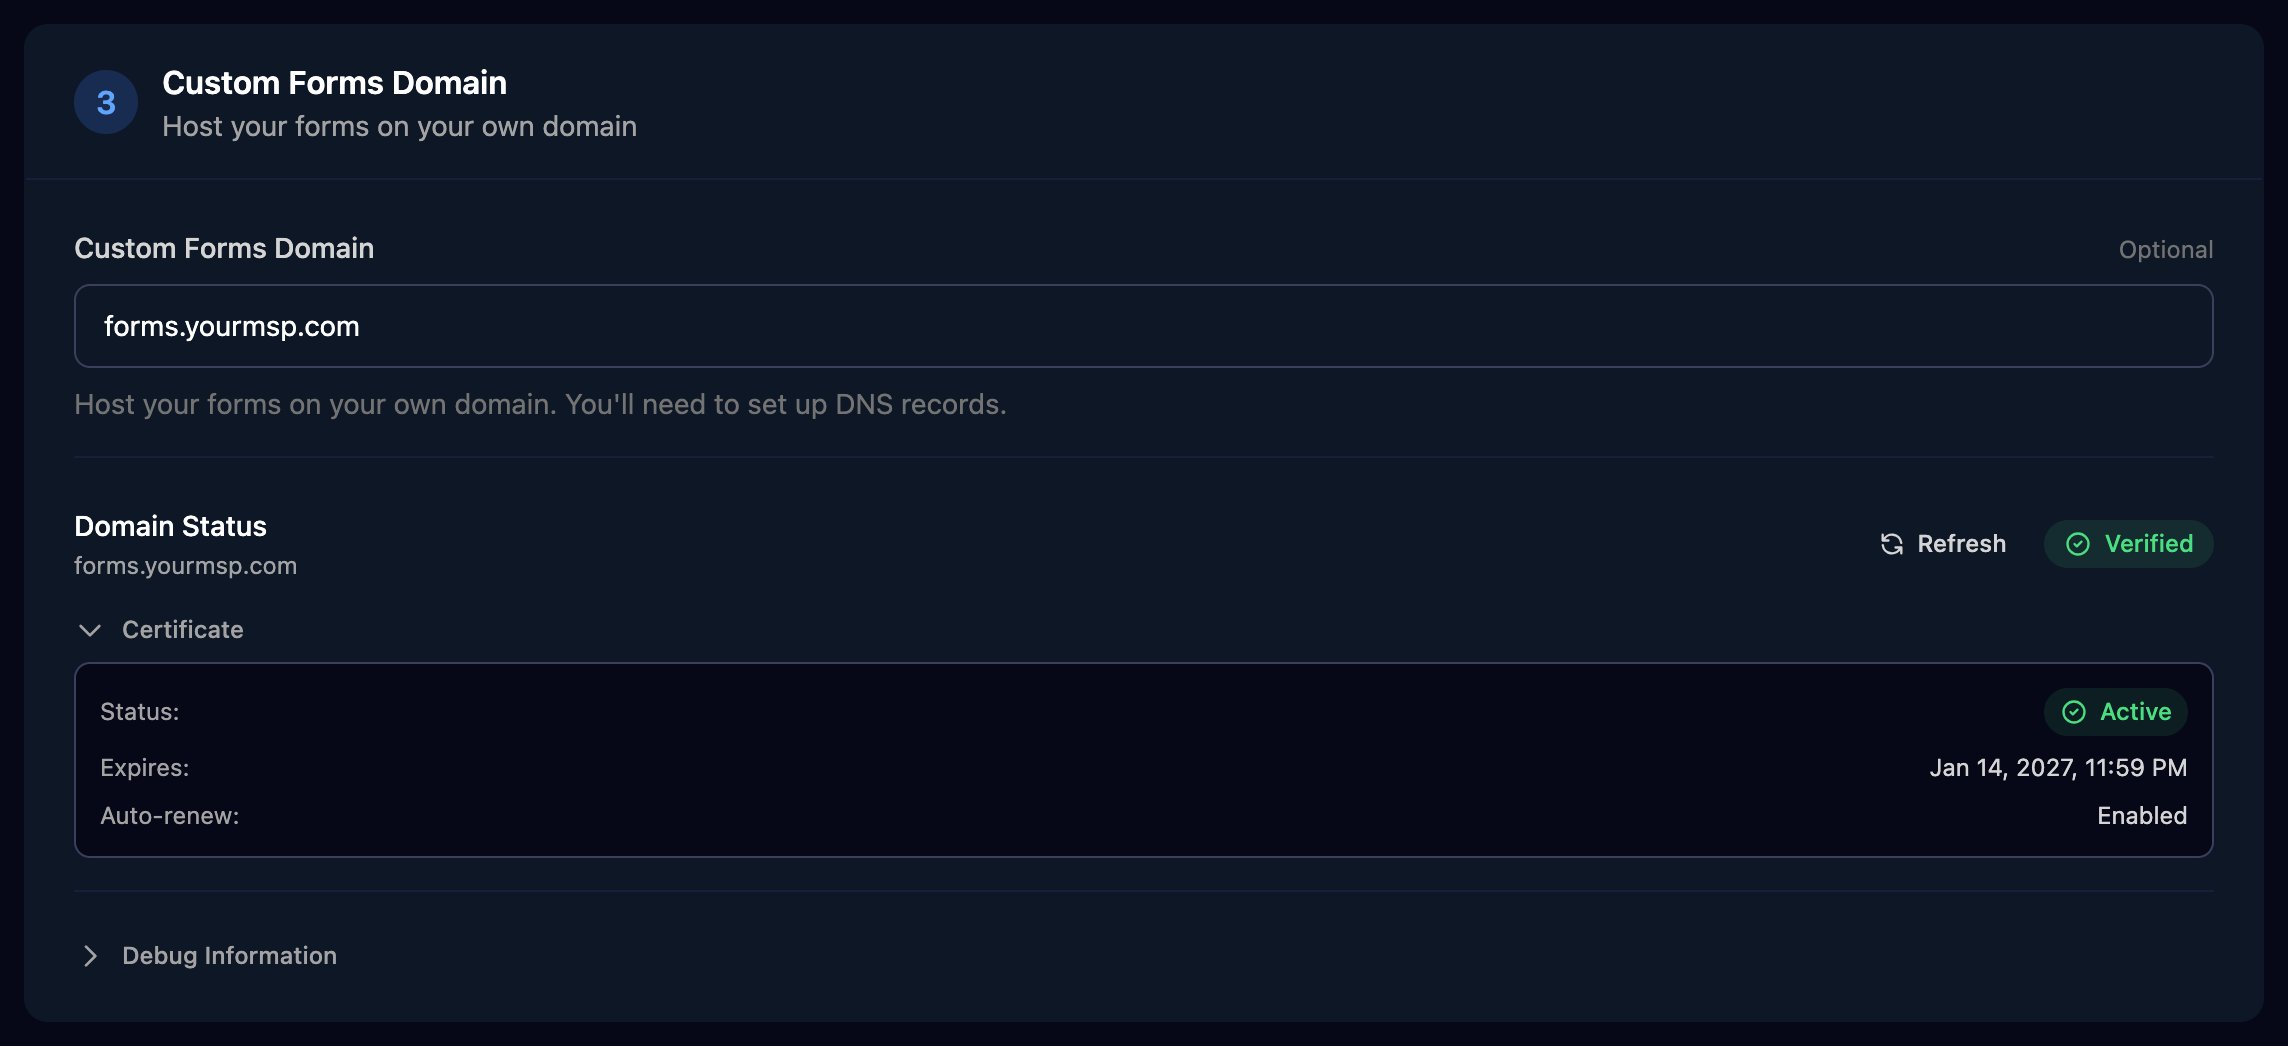
The display name and logos are shared with Triggr Core; Core’s request forms have their own domain. See Add your branding.
Lay out the client portal
Your Custom Forms Domain is also a homepage,https://forms.yourmsp.com, listing every form and app with List on Homepage on.
1
List forms and apps
Turn on List on Homepage in a form’s Form Authentication panel or an app’s Settings, and save.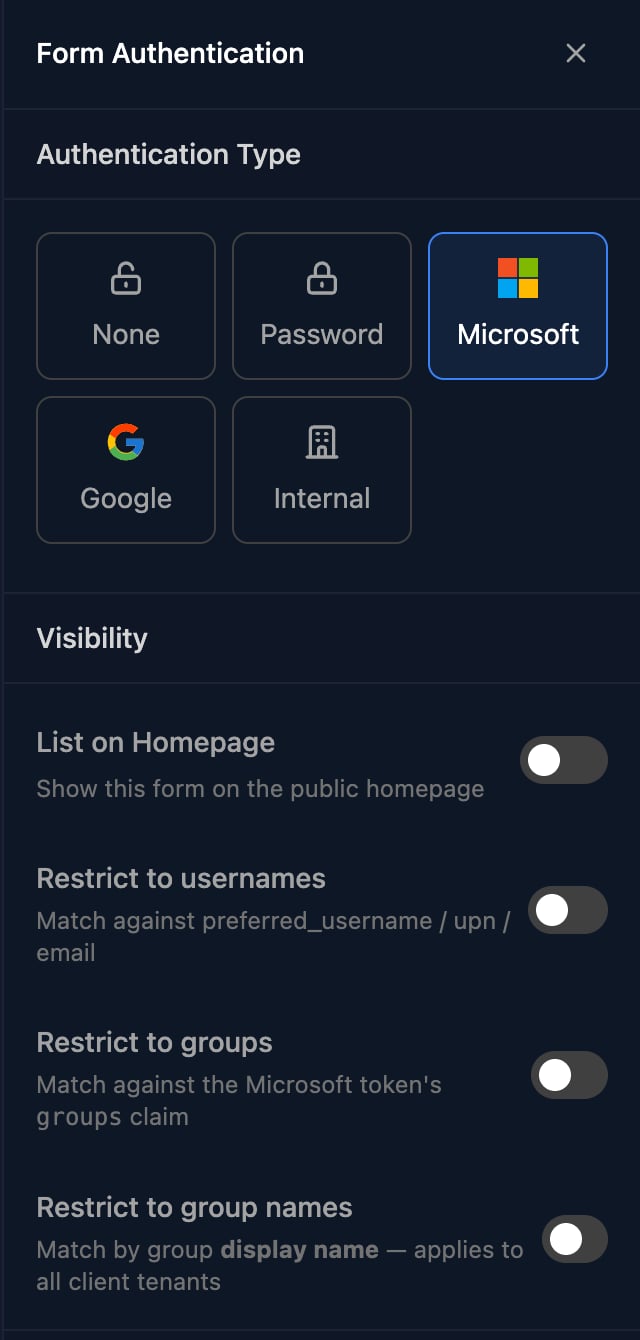
2
Choose the look
In Settings > Portal, pick a Layout style and Theme. Live preview updates as you go.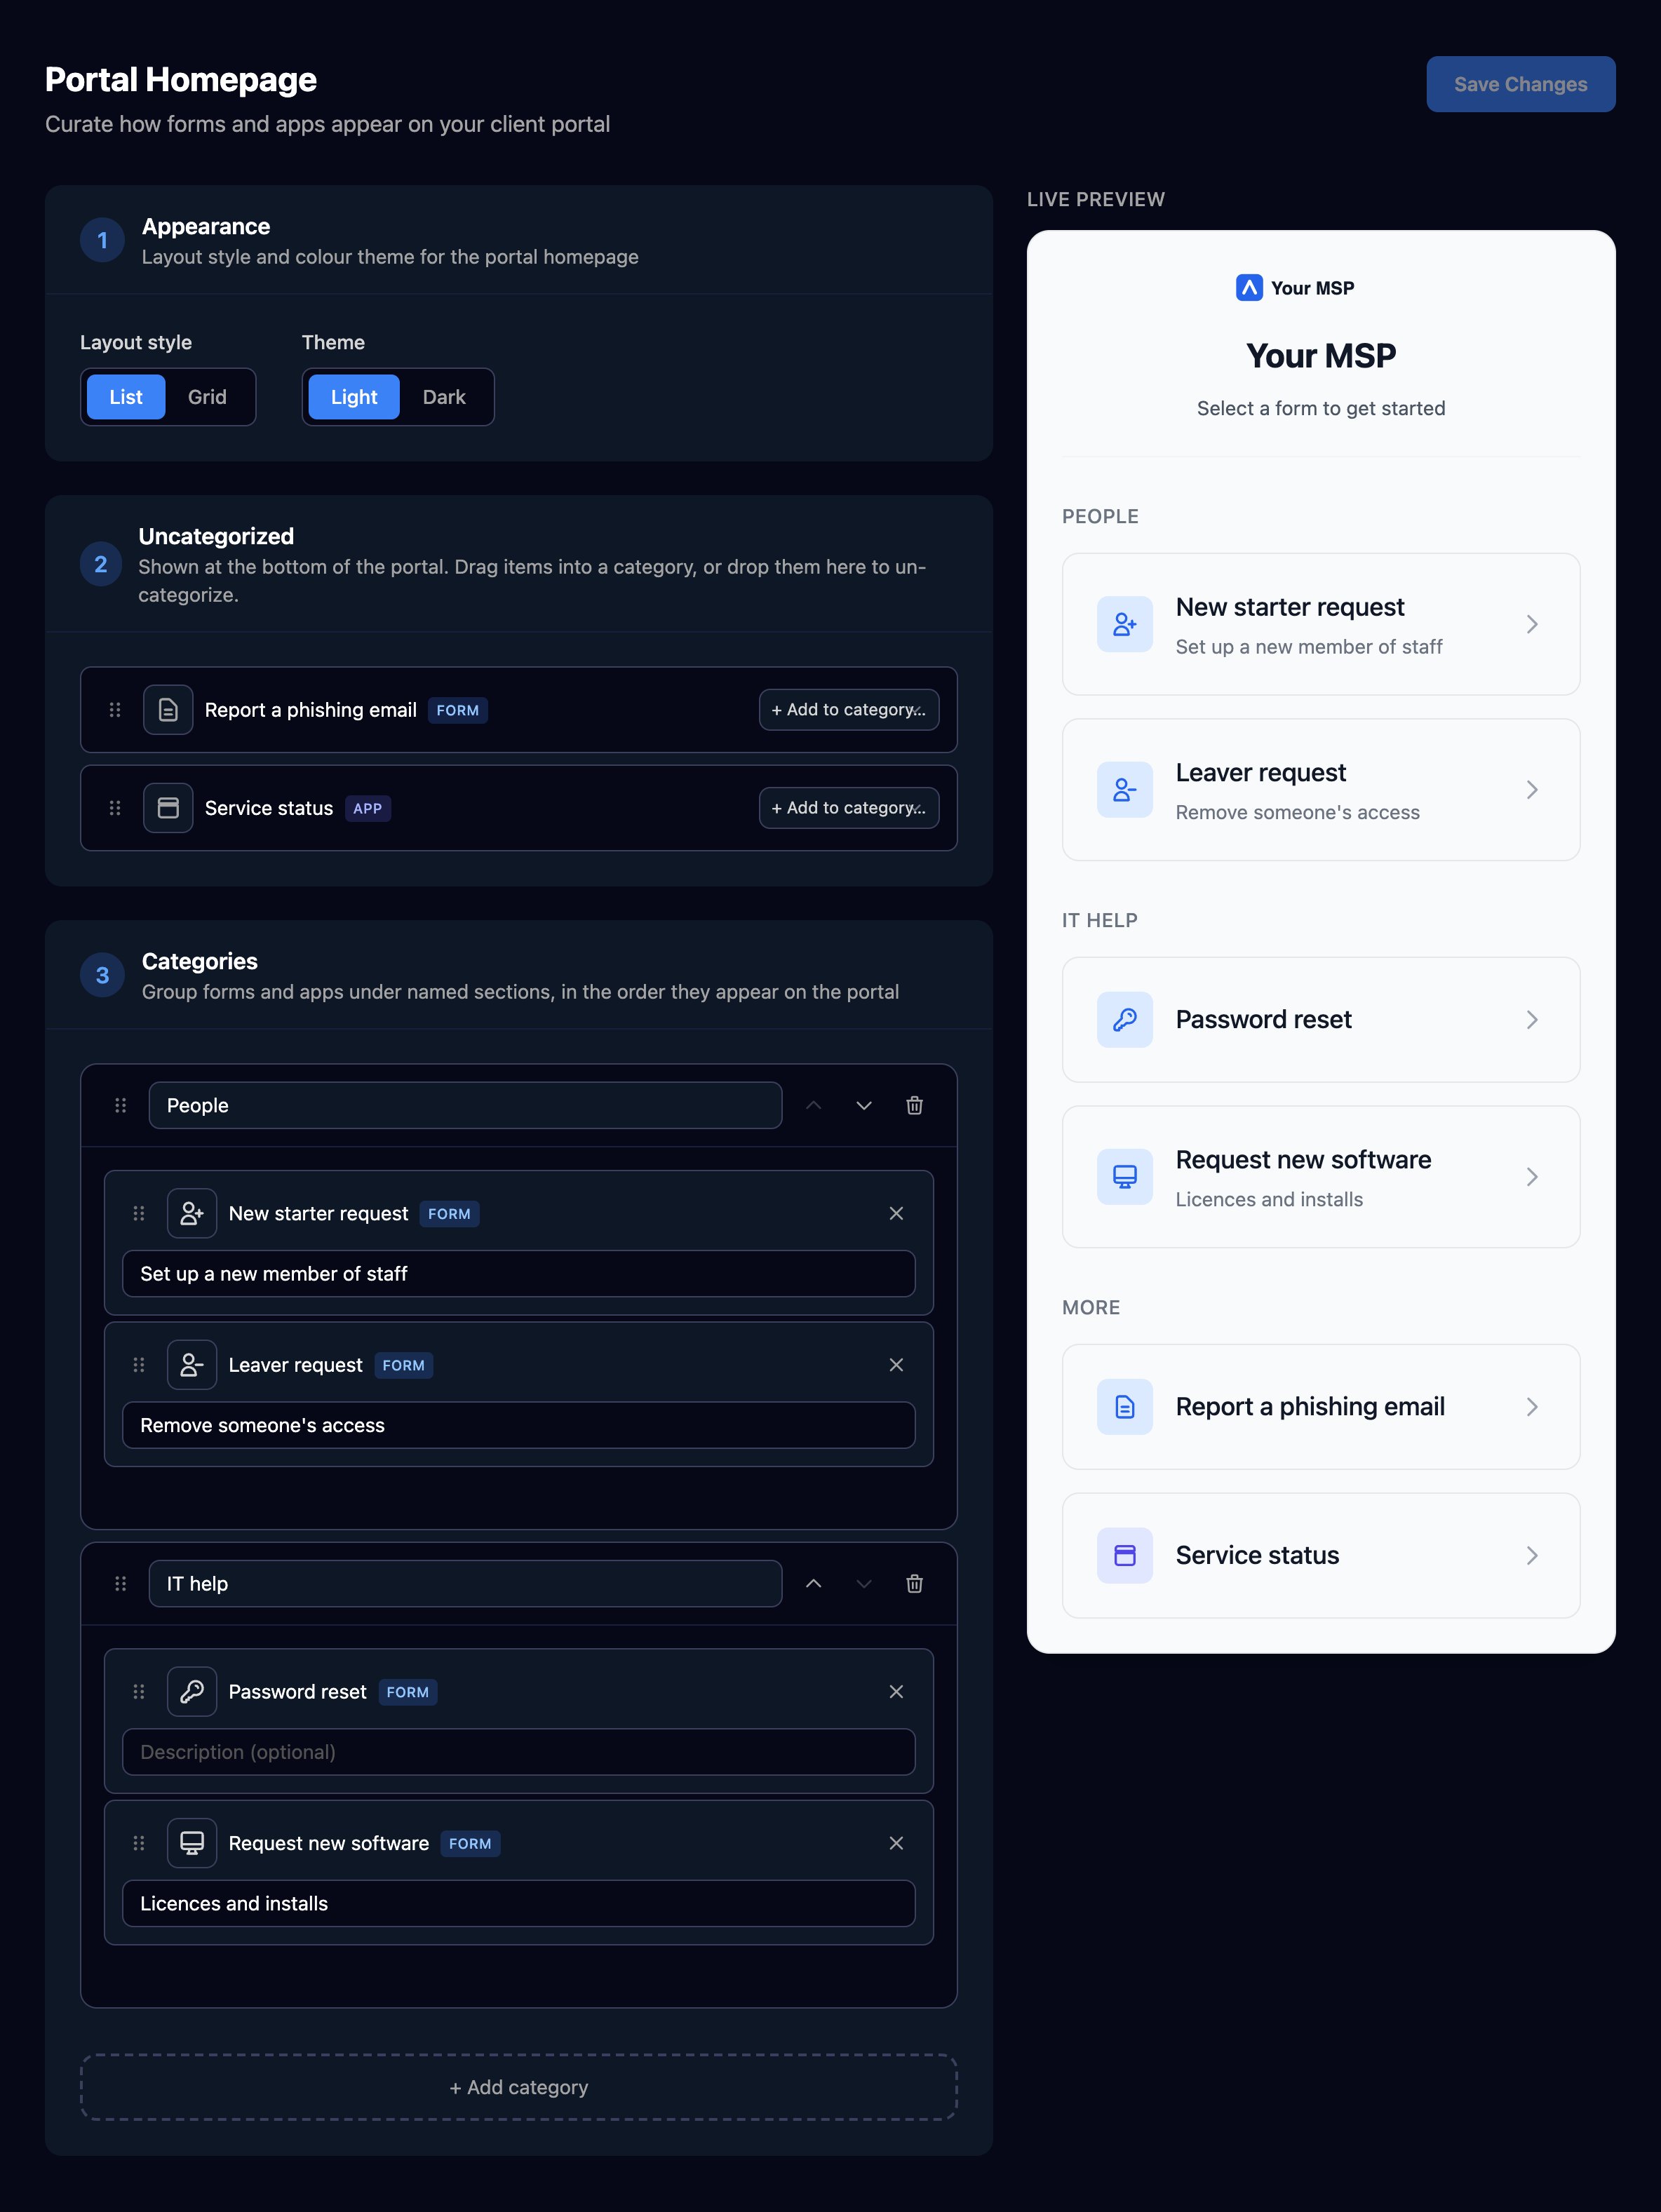
3
Group them into categories
Click + Add category and name it, then drag items in or use + Add to category…; anything left in Uncategorized shows under More. Click an item’s icon to change it.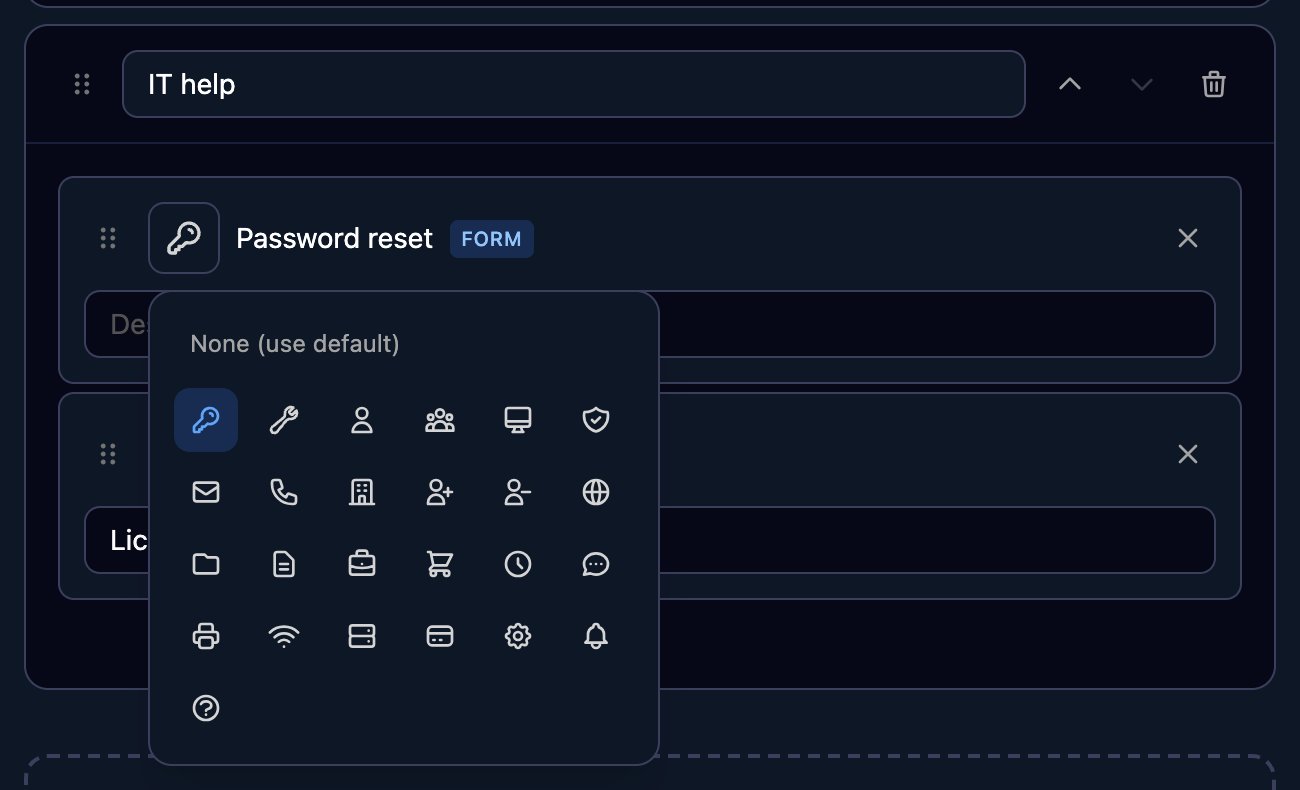
4
Save
Click Save Changes, then open your domain to check it.
Make visitors sign in first
By default anyone can see the homepage and each form asks for its own sign-in. To show each person only what they can open, turn on Authenticate on Telescope homepage under Telescope Authentication on Settings > Branding and click Save Changes. The homepage then lists forms with no sign-in plus the Microsoft forms that person is allowed into. See Form authentication.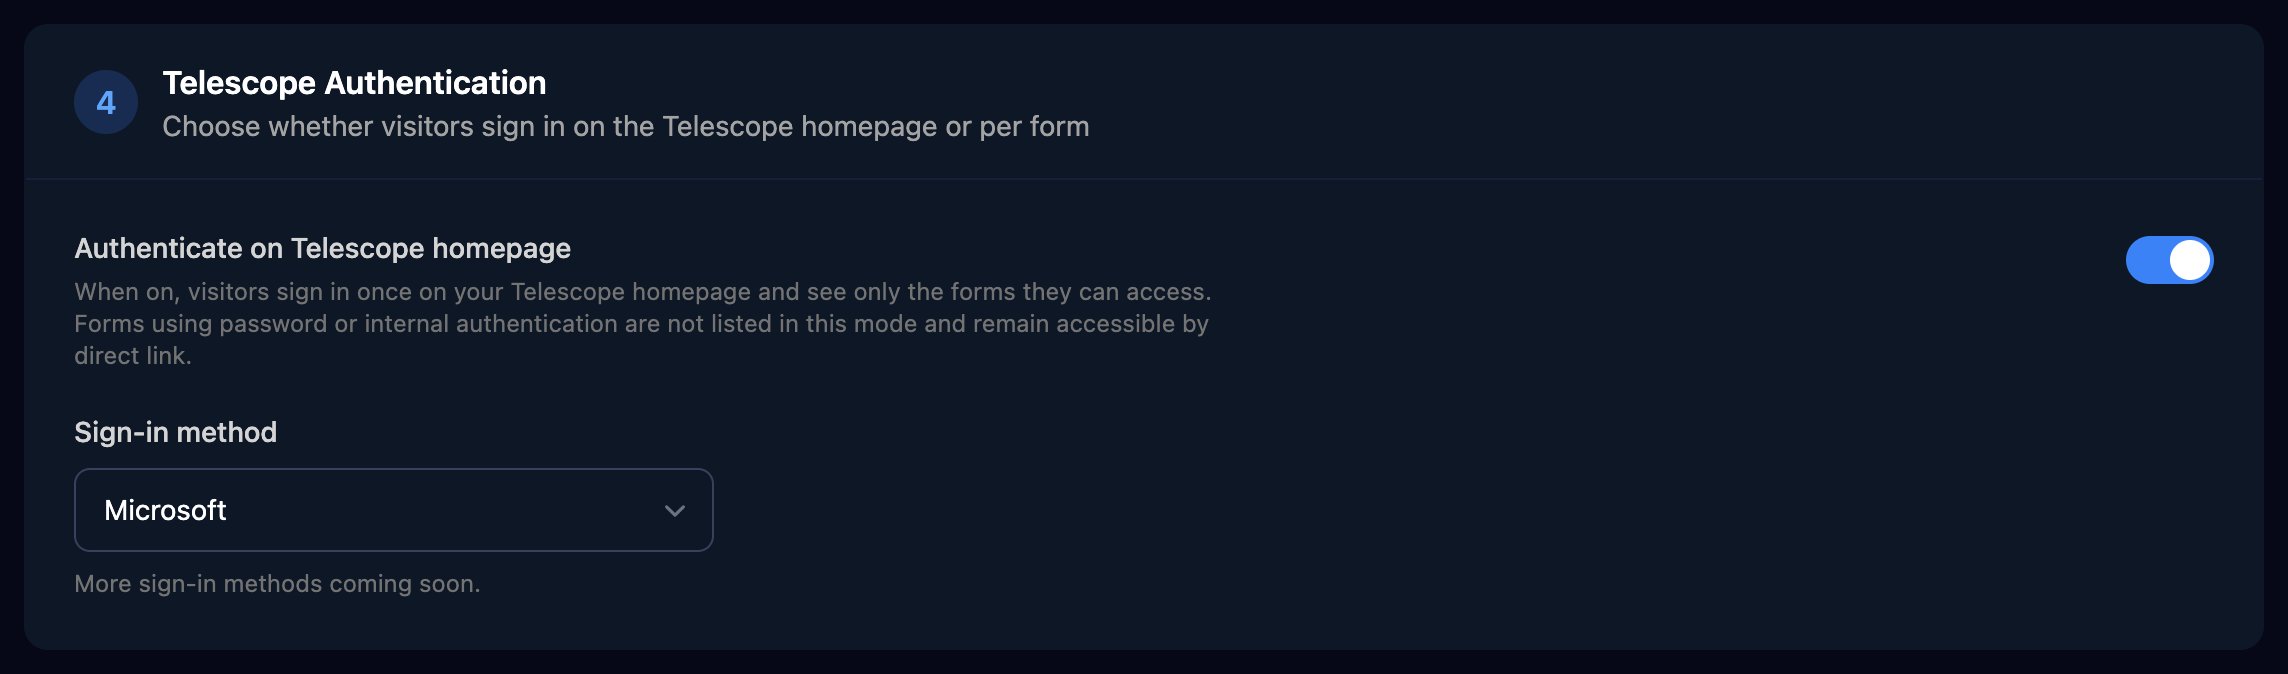
Send technicians straight to an app
Two admin-only pages for your own team rather than clients.Kiosks
A kiosk locks technicians to a few internal apps. In Settings > Kiosks, click New Kiosk, tick the Allowed Apps, choose the Home App and click Create; then click Edit on its row and Add Member.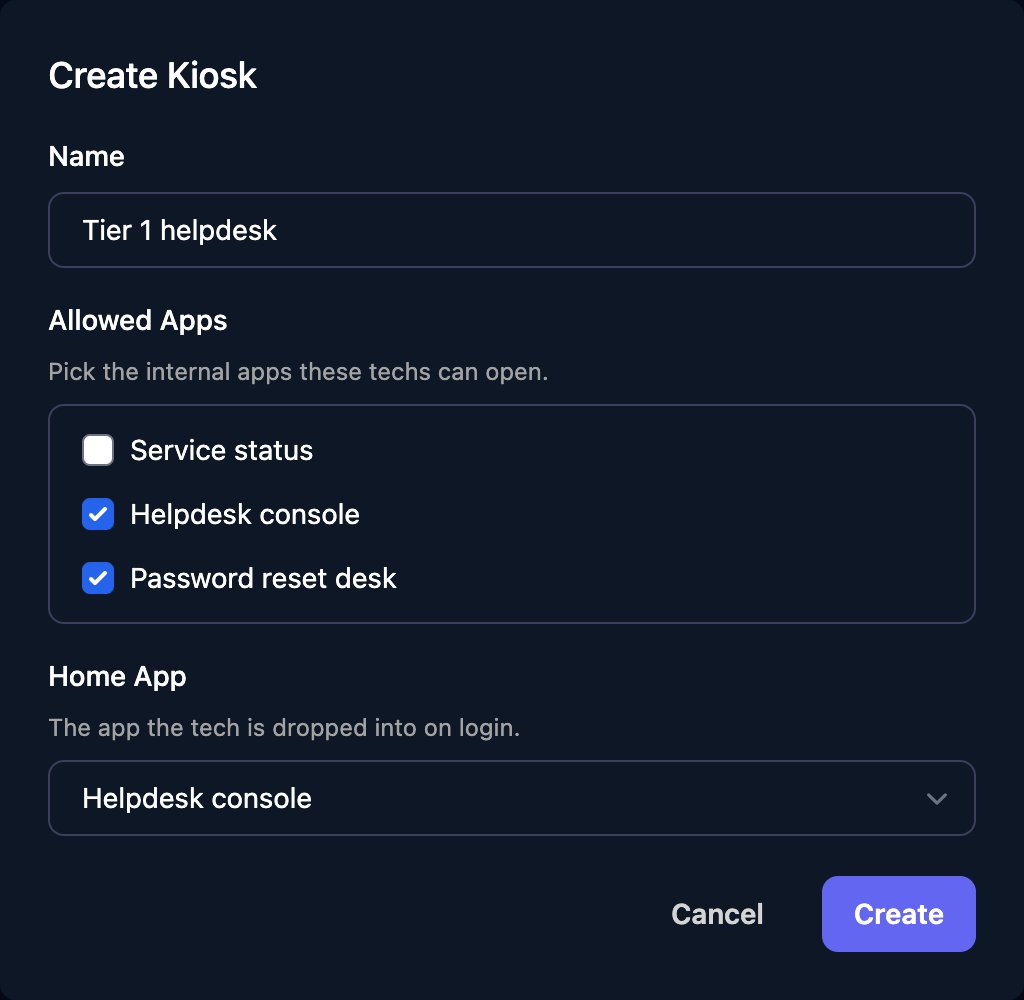
Post-Login Redirect
To send people to an app on sign-in but leave the rest of Studio open, go to Settings > Post-Login Redirect, turn on Redirect techs on login, click Add rule, choose a role (or Everyone) and an app, and click Save Changes. The first matching rule wins, once per browser session.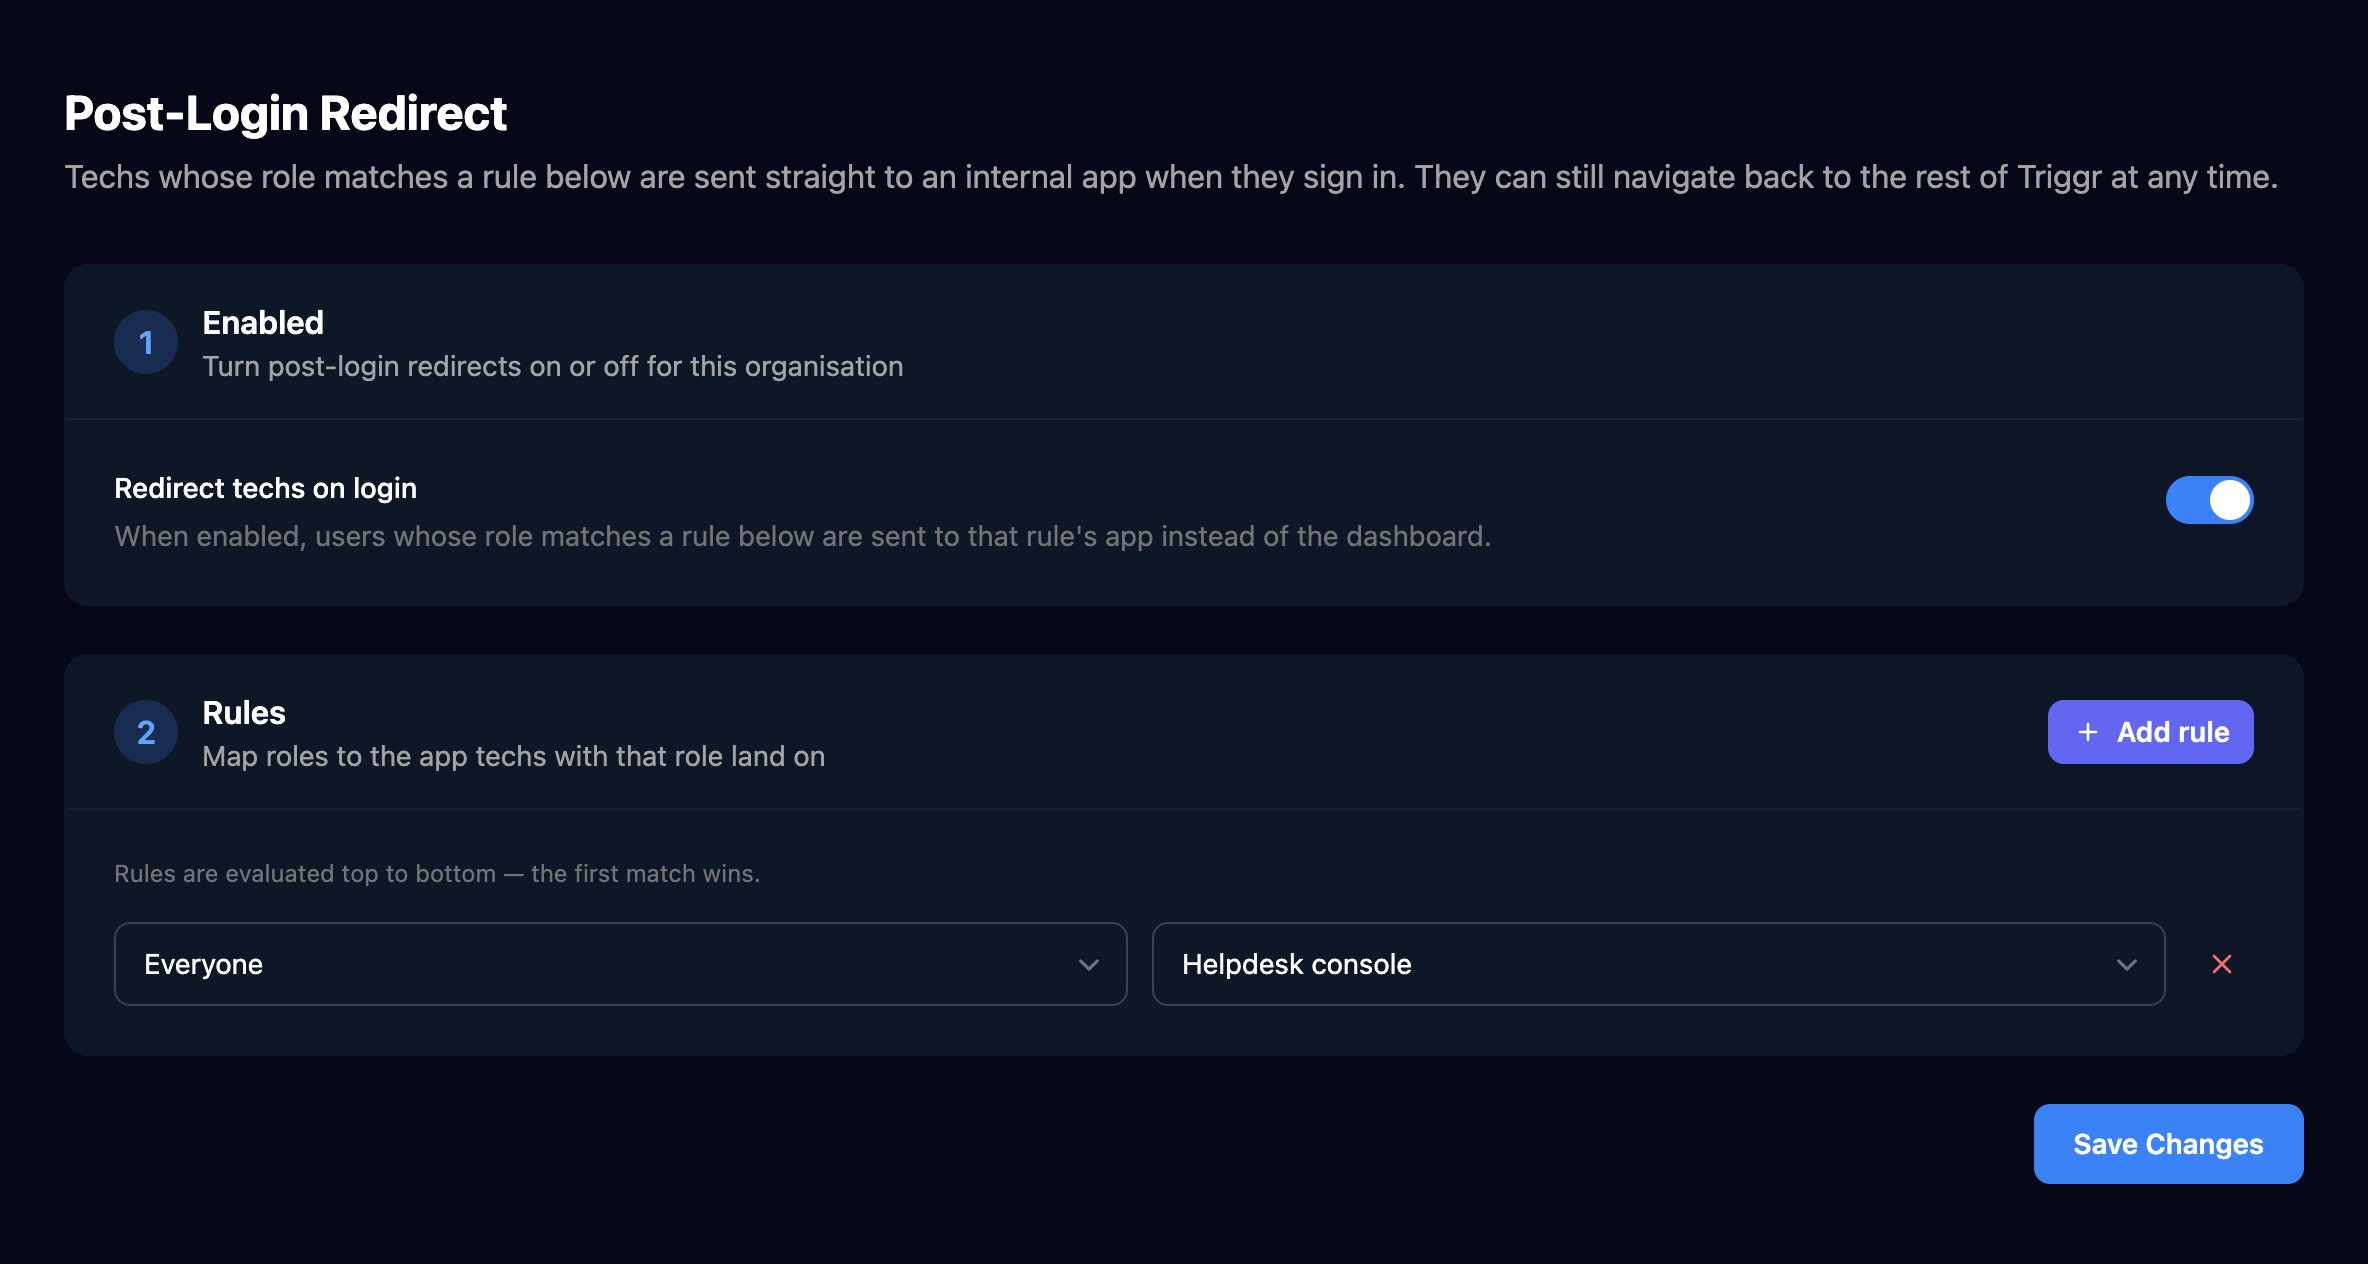
Troubleshooting
“this domain is already configured for another organisation”
“this domain is already configured for another organisation”
Another Triggr organisation uses it. Choose a different subdomain, such as
requests.yourmsp.com.“domain contains invalid characters” or “domain must contain at least a top-level domain (e.g., example.com)”
“domain contains invalid characters” or “domain must contain at least a top-level domain (e.g., example.com)”
Enter only the host name, such as
forms.yourmsp.com.“Domain is misconfigured. Please add the DNS records below.” stays
“Domain is misconfigured. Please add the DNS records below.” stays
Check the record matches the panel exactly. Debug Information lists the nameservers your domain uses: add the record at that provider, wait a few minutes and click Refresh.
Certificate says “No certificate yet. Please wait.”
Certificate says “No certificate yet. Please wait.”
It’s issued after the domain verifies, usually within minutes. If your domain has CAA records, allow
letsencrypt.org.“Image must be less than 2MB” or “Display name cannot be empty”
“Image must be less than 2MB” or “Display name cannot be empty”
Upload a logo under 2 MB, or fill in Display Name For Public Forms, then click Save Changes.
The homepage says “organization not found for this domain”
The homepage says “organization not found for this domain”
The address isn’t your current Custom Forms Domain. Check it on Settings > Branding.
The homepage says “No forms available”
The homepage says “No forms available”
No form or app has List on Homepage on. With homepage sign-in, the person’s Microsoft tenant must also match a client’s
microsoftTenantId variable.“Every category needs a title”
“Every category needs a title”
Name the empty category, or delete it with its bin icon, then click Save Changes.