

Set up Airtable
Register the integration in an Airtable account your team will keep. Whoever authorises it needs Owner or Creator permissions on the bases Triggr should use.1
Register the integration
Go to airtable.com/create/oauth, click Register new OAuth integration, enter a name users will recognise and this redirect URL, then click Register integration:
2
Select the scopes
Under Permission scopes, select all four:
data.records:read, data.records:write, schema.bases:read and schema.bases:write.3
Add your sharing details
Fill in Support email, Privacy policy URL and Terms of service URL, then click Save changes. Without them, only you can authorise the integration.
4
Generate a client secret
Click Generate client secret, then copy the secret and the client ID. Airtable shows the secret only once.
Connect it in Triggr
1
Open the integration
Go to Integrations > Airtable and click Configure on the Base Configuration card.
2
Enter the credentials
Enter the ClientID and ClientSecret, then click Save Configuration. Every client uses these.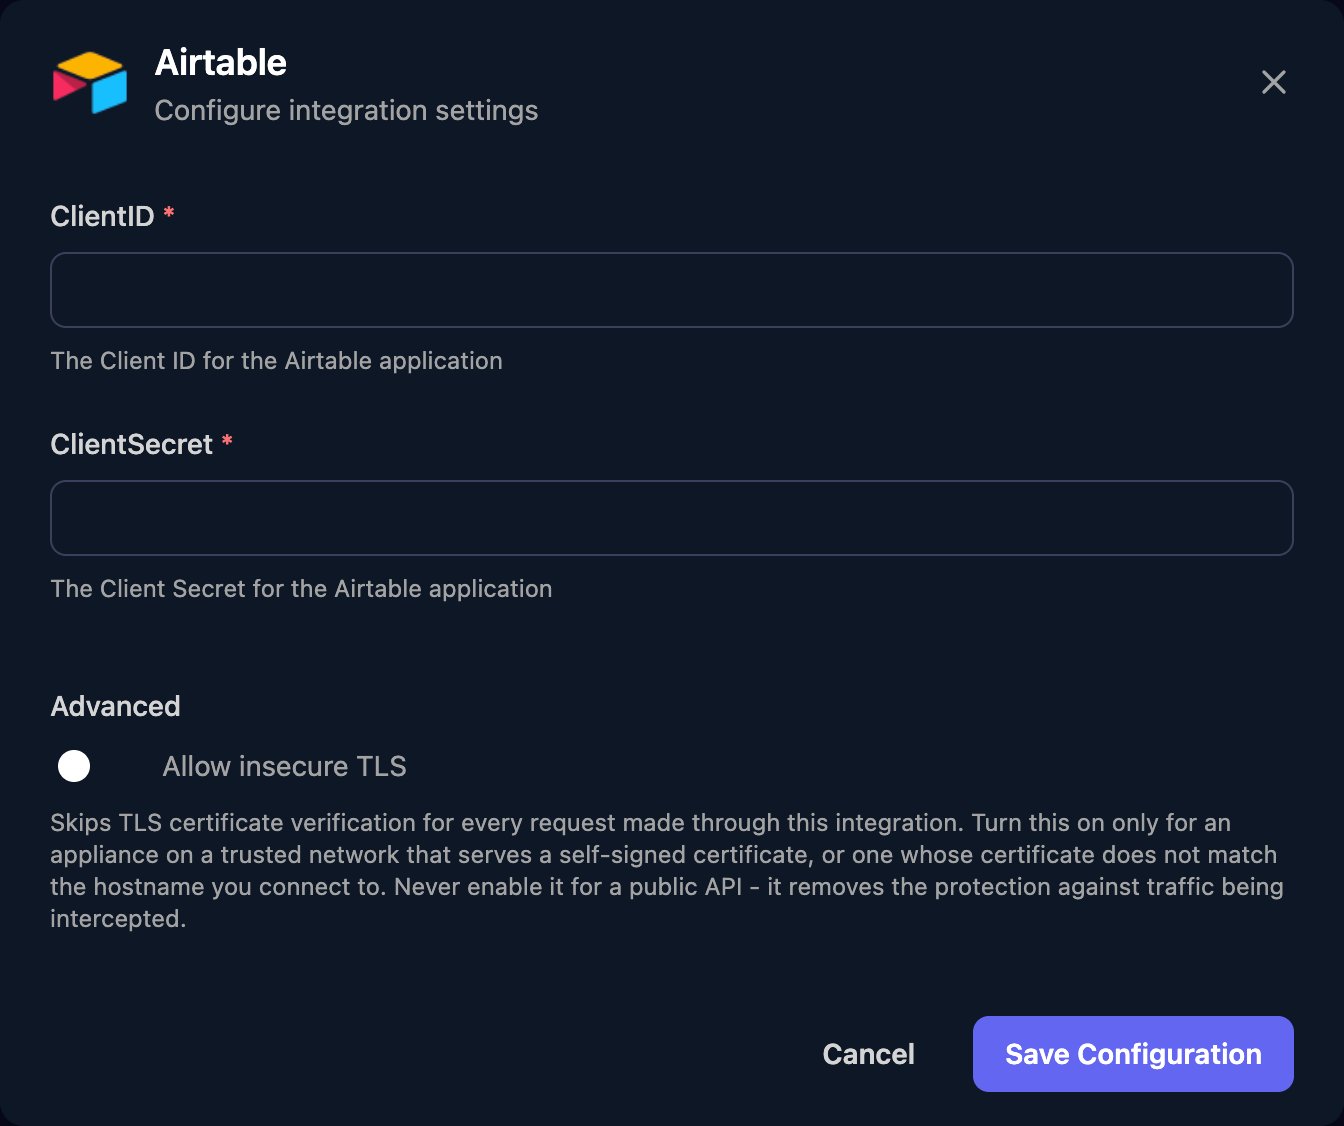
3
Authorize your own account
For workflows that don’t run for a client, click Authorize on the Base Configuration card. In Airtable, click Add a base, choose the bases or workspaces Triggr can reach, then click Authorize.
4
Authorize each client
On the Per-Client Configuration card, click Configure on the client’s row and click Save Configuration (there are no fields). Then click Authorize on the row and grant only that client’s bases or workspaces.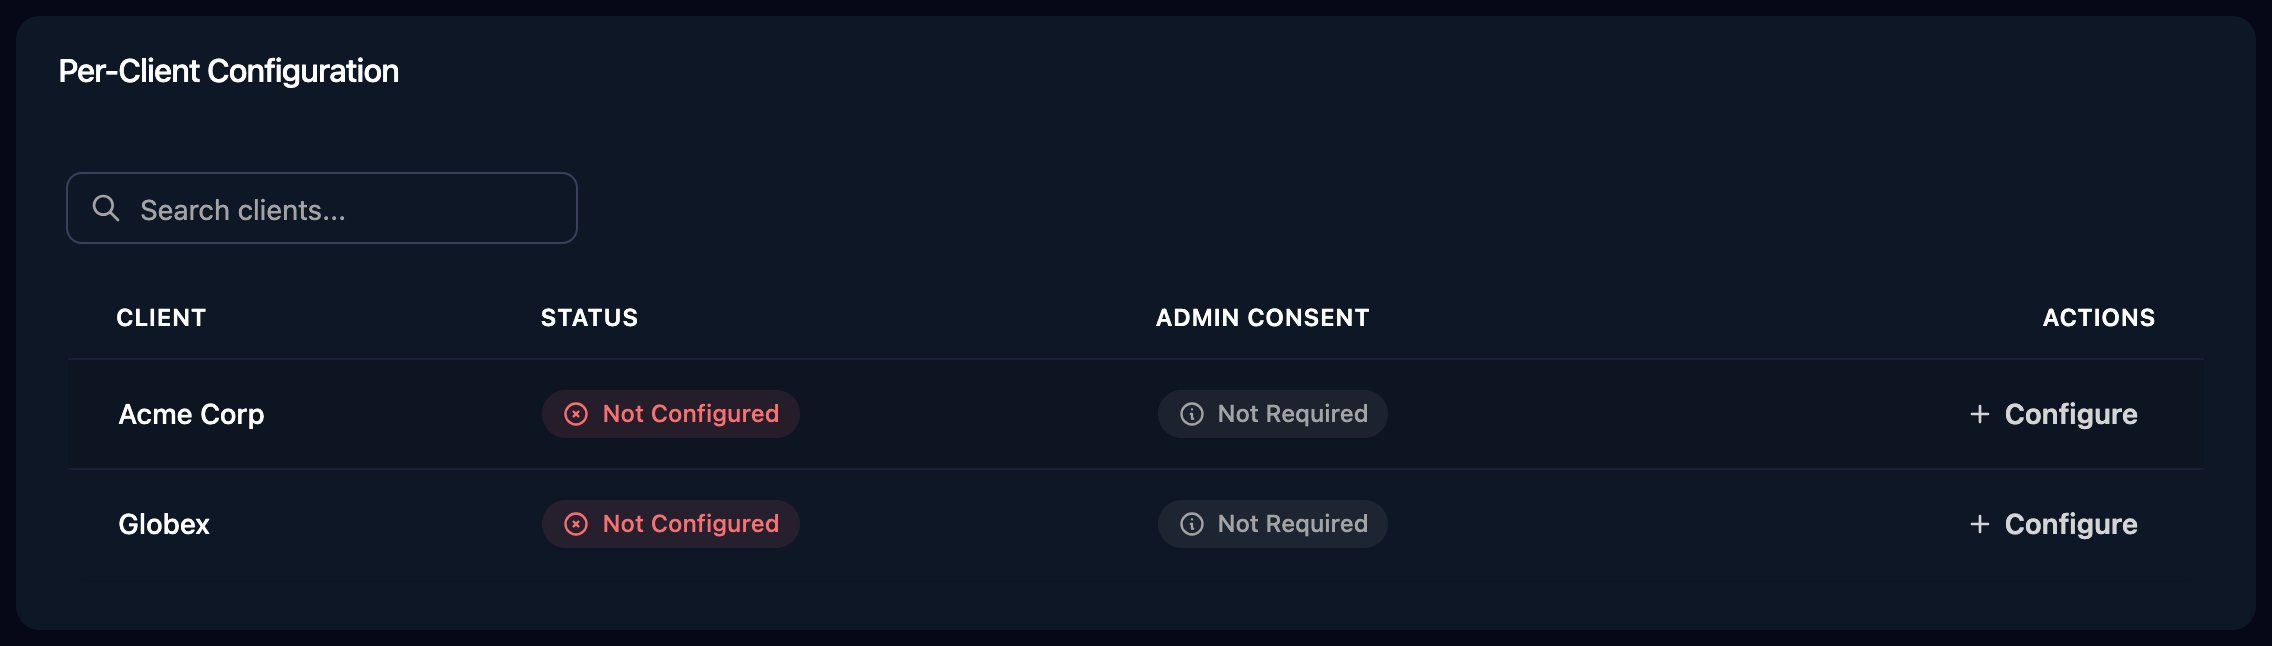
Use Airtable in workflows
The baseId (app…), tableIdOrName (tbl…) and recordId (rec…) are in the browser’s address bar in Airtable. List Records returns up to 100 records; pass the returned offset for the next page. The update actions change only the fields you send; their (Destructive) versions clear every field you leave out.
Troubleshooting
A client has no Airtable integration configured, or no refresh token
A client has no Airtable integration configured, or no refresh token
Configure the client on the Per-Client Configuration card, then click Authorize on its row.
Authentication errors (401)
Authentication errors (401)
The authorisation was revoked in Airtable or went unused for 60 days. Click Authorize again.
Permission errors (403)
Permission errors (403)
Check the baseId and tableIdOrName, and that the base was granted. List Bases shows only the bases Triggr can reach; click Authorize again to add one.