

Set up Level
You need administrator access in Level, or a role with access to Settings.1
Create an API key
Go to Settings > API keys, click + Create API key and enter
Triggr as the Description.2
Choose the access
Choose Read-only if workflows only list devices and groups, or Read and write if they create groups or change anything. You can change this later without changing the key.
3
Copy the key
Click Create key and copy the key.
Connect it in Triggr
1
Open the integration
Go to Integrations > Level and click Configure on the Base Configuration card.
2
Enter the key
Paste the key into API Key, without a 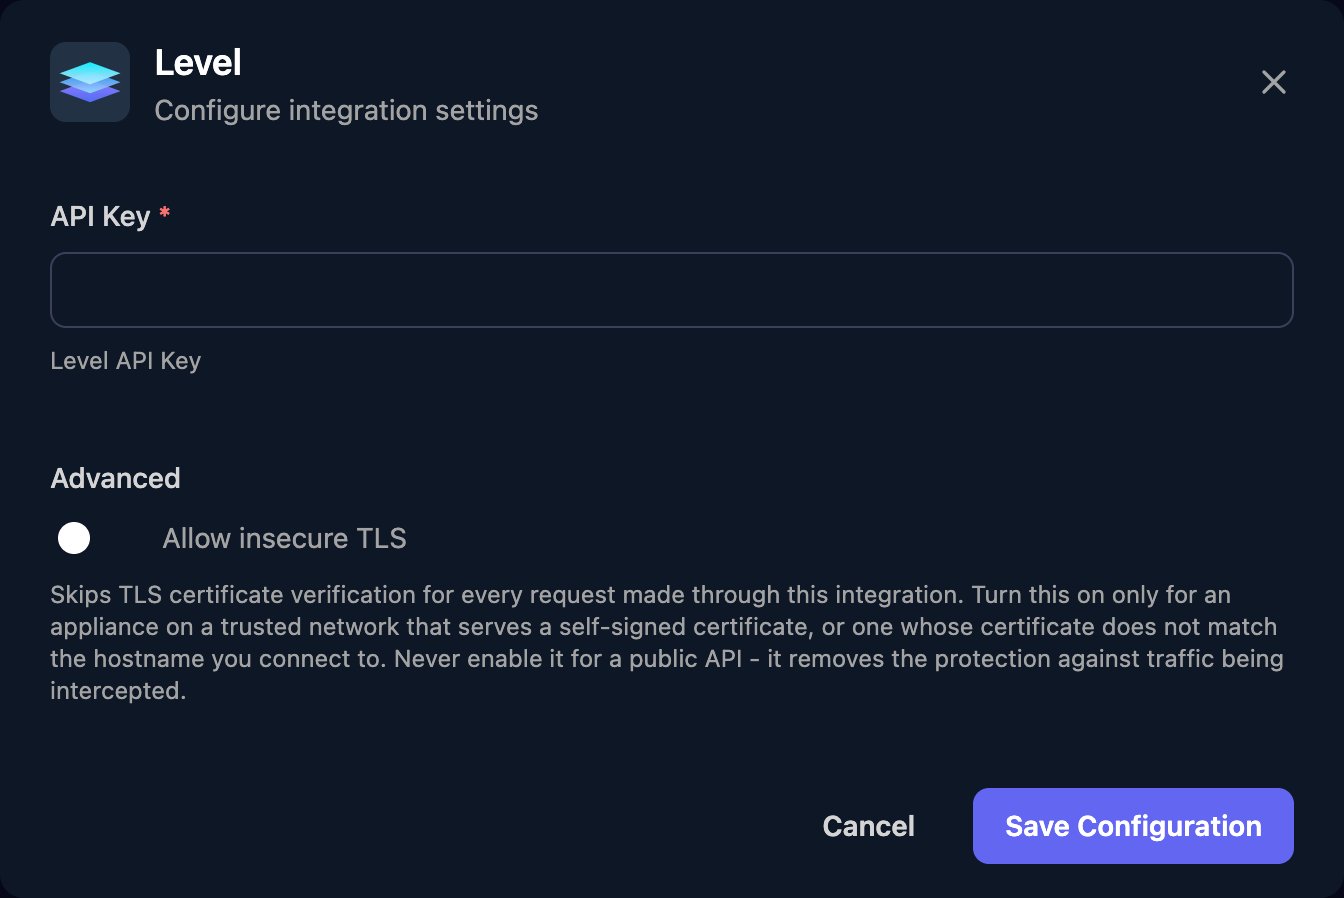
Bearer prefix, and click Save Configuration./v2/tags. See Level’s API reference.
Troubleshooting
Every action fails with 401
Every action fails with 401
Check the key was pasted in full with no
Bearer prefix, and still exists under Settings > API keys. Deleting a key in Level revokes it straight away.Creating a group fails with 403
Creating a group fails with 403
The key is Read-only. Click Edit on the key in Level and change it to Read and write. Nothing changes in Triggr.
Lists stop at 20 records
Lists stop at 20 records
Set the action’s
limit to up to 100. When has_more is true, pass the last record’s ID in startingAfter to get the next page.Requests fail with 429
Requests fail with 429
Level’s rate limit was reached. Spread large workflows out or run them in smaller batches.