

Set up Sherweb
1
Create an API application
In the Sherweb partner portal, go to Security > APIs and create an application named
Triggr. The Account Administrator role has access.2
Copy the keys
Copy the Client ID, Client Secret and Subscription Key. Sherweb shows the client secret only in this dialog.
Connect it in Triggr
1
Open the configuration
Go to Integrations > Sherweb and click Configure on the Base Configuration card.
2
Enter the keys
Enter the ClientID, ClientSecret and SubscriptionKey (the key from Security > APIs, not a product subscription ID), then click Save Configuration.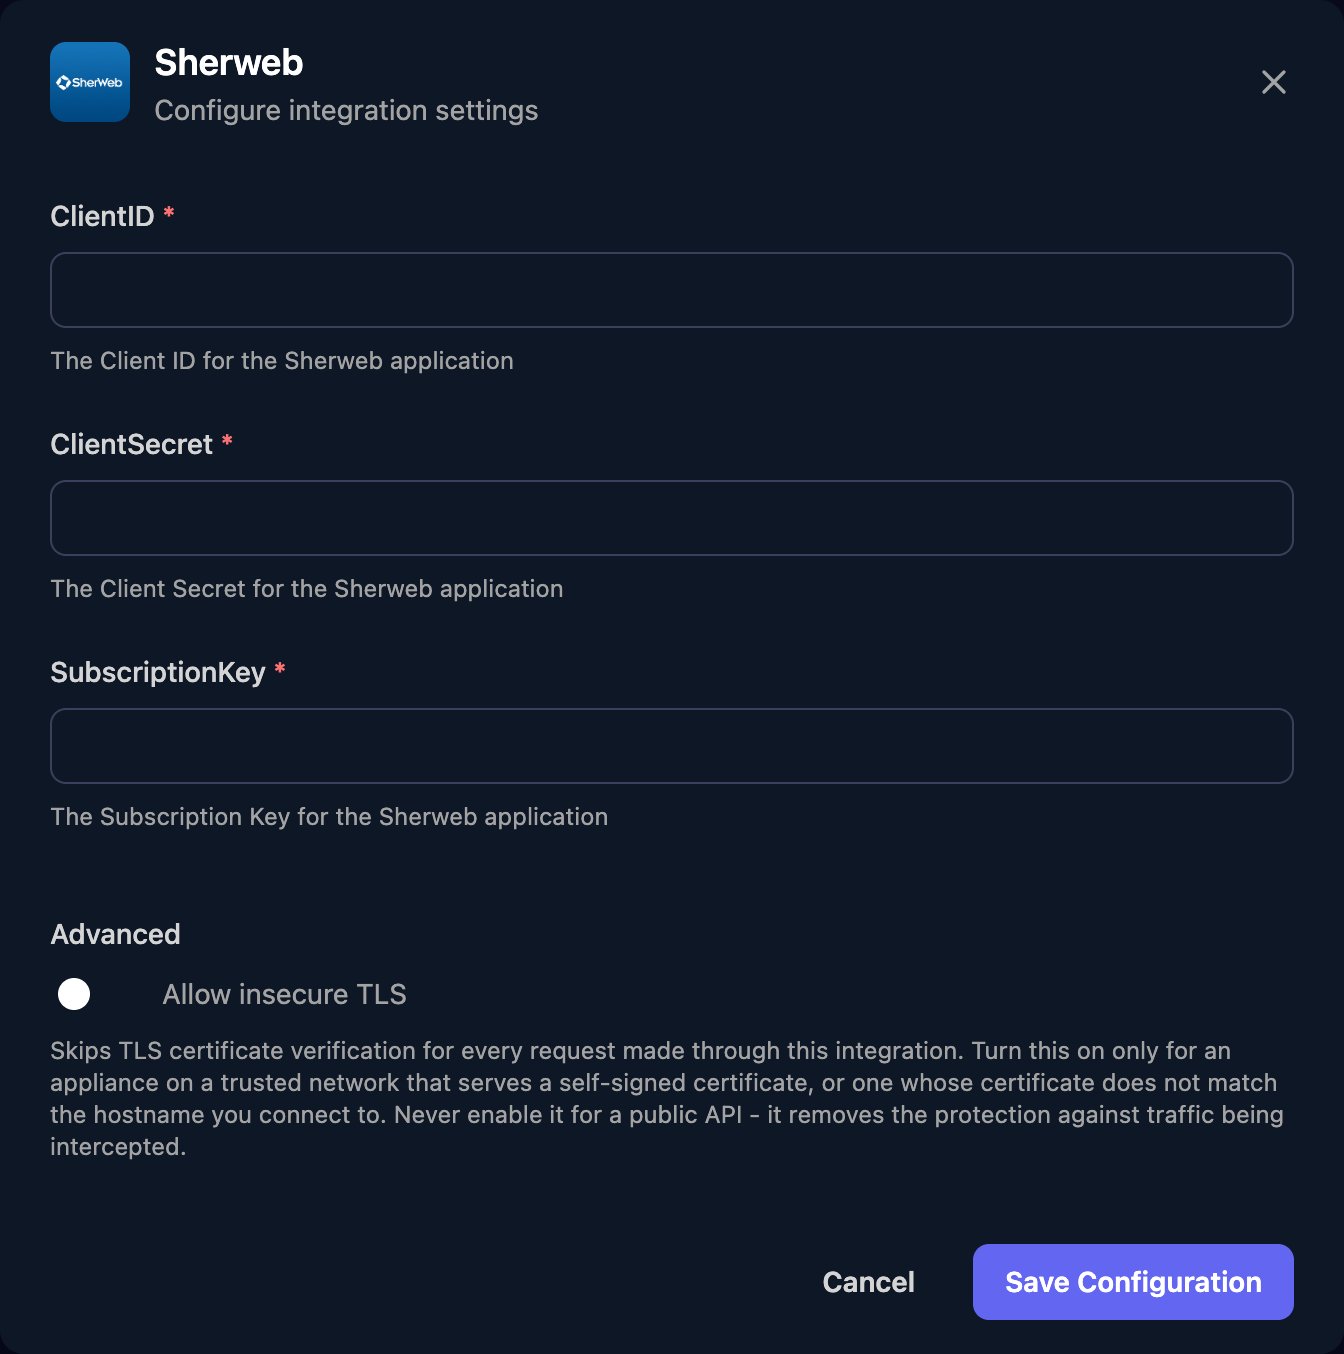
Use it in Triggr Core
Core can buy a licence seat at Sherweb when a new starter has none free. Set Default distributor to Sherweb in Core’s Settings > General, then link each client to its Sherweb customer (saved as the client’ssherwebId variable) and map its licences. See Licences and distributors.
Troubleshooting
401 errors
401 errors
Check all three values were pasted in full and come from the same application, and that it still exists under Security > APIs.
SubscriptionKey is missing from sherweb configuration
SubscriptionKey is missing from sherweb configuration
Core found no complete Sherweb connection. Save the Base Configuration with all three fields, then run the onboarding again.
Client not linked to Sherweb — won't auto-buy
Client not linked to Sherweb — won't auto-buy
In Core, open the client, click Map next to Sherweb under Integrations, pick its Sherweb customer and click Save mapping.
Calls are refused although the keys are correct
Calls are refused although the keys are correct
Ask Sherweb to confirm Service Provider API access is enabled for your partner account.
Lost the client secret
Lost the client secret
Create a new API application, then click Edit on the Base Configuration card and enter all three of its values.
Rate limits
Rate limits
Sherweb allows 3 concurrent requests, 100 a minute and 10,000 a day. Run large workflows in smaller batches. See Sherweb’s Limits.