

Set up Syncro
You need to be a Global Admin, or in a security group with API Tokens - Manage.1
Start a custom token
Go to Admin > API Tokens (Admin is under More if it isn’t in the top bar) and click New Token. Open Custom Permissions, name it
Triggr and leave the expiration date empty unless you want one.2
Choose the permissions
Tick the permissions for the areas your workflows use. You can change them later without a new token.
3
Copy the token
Click Create API Token and copy the token before you click Done. Syncro shows it only once.
Connect it in Triggr
1
Open the configuration
Go to Integrations > Syncro and click Configure on the Base Configuration card.
2
Enter the token and subdomain
Paste the token into apiToken and enter only your subdomain, such as 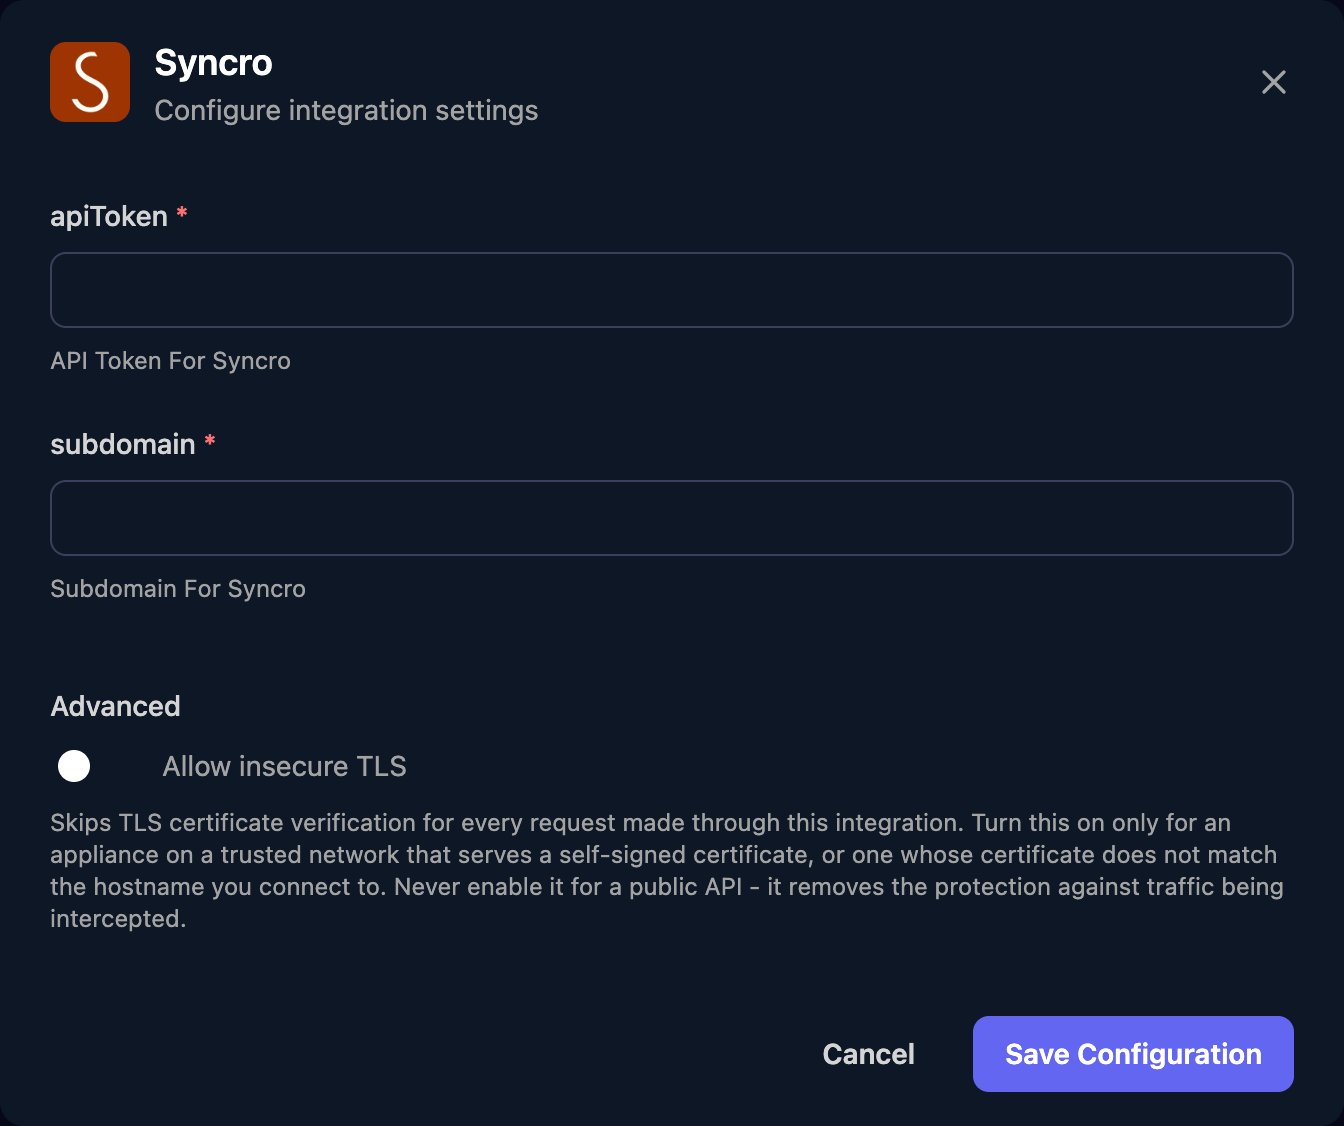
yourcompany for https://yourcompany.syncromsp.com. Click Save Configuration.Troubleshooting
Every action fails
Every action fails
Check subdomain is only the first part of your Syncro address, with no
https://, .syncromsp.com or /.Every action fails with 401
Every action fails with 401
Check the token was pasted in full and is still listed and unexpired in Admin > API Tokens. If it’s gone, create a new one; Syncro can clone a token with its permissions.
Rate limits
Rate limits
Syncro allows 180 requests a minute per IP address. Spread large workflows out or run them in smaller batches.