

Set up IT Glue
You need an IT Glue Enterprise plan and the Administrator role.1
Generate a custom key
Go to Admin > Settings > API Keys. Under Custom API Keys, click Create API Key, name it
Triggr and click Generate API Key.2
Choose password access
Tick Password Access only if workflows need to read or store password values. It lets anyone with the key read every stored password through the API.
3
Copy the key
Copy the key, which starts with
ITG.. IT Glue shows it only once.Connect it in Triggr
1
Open the integration
Go to Integrations > IT Glue and click Configure on the Base Configuration card.
2
Enter the key and data centre
Paste the key into ApiKey. Leave Hostname as 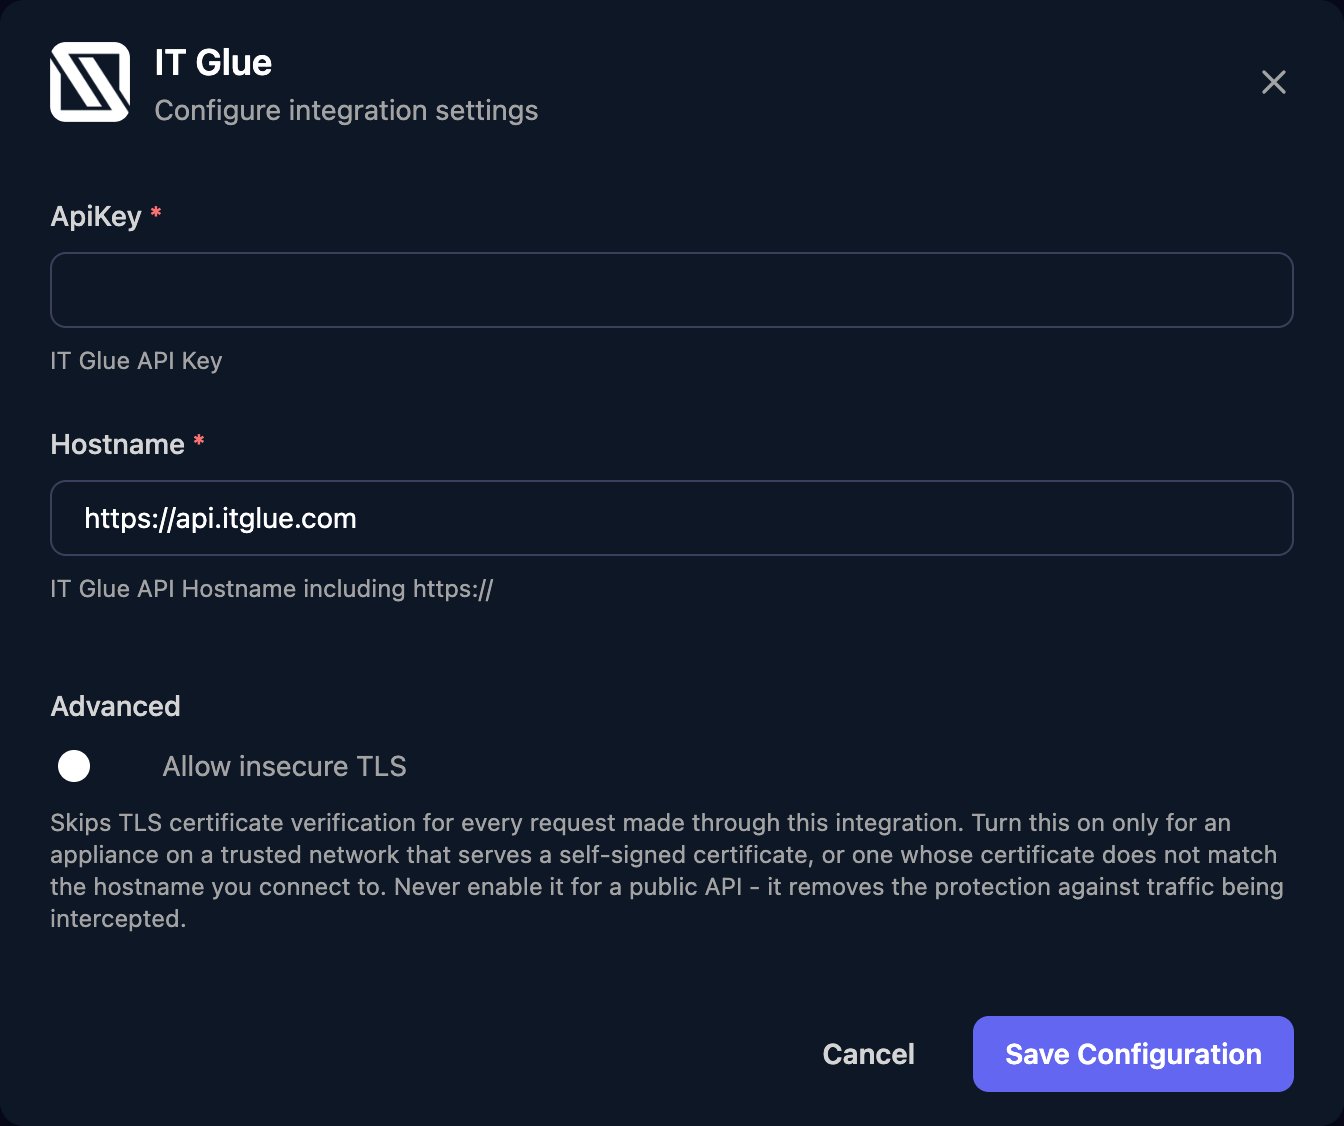
https://api.itglue.com, or enter https://api.eu.itglue.com (EU) or https://api.au.itglue.com (Australia) for your data centre, then click Save Configuration.Troubleshooting
403 Forbidden on every request
403 Forbidden on every request
Paste the key again in full, check it’s active (not paused) under Admin > Settings > API Keys, and check Hostname starts with
https:// and matches your data centre. If Admin > Settings > IP Access Control is set to Allow specific IP addresses, add Triggr’s IP addresses.Key stopped working after a quiet period
Key stopped working after a quiet period
IT Glue revokes keys unused for 90 days. Generate a new key and paste it into ApiKey.
Password values missing or not saved
Password values missing or not saved
Tick Password Access on Triggr’s key, then rerun the workflow.
Updating an organisation fails
Updating an organisation fails
IT Glue rejects API updates to an organisation that’s syncing with your PSA.