

Set up CIPP
If you self-host CIPP and first deployed it before v7.1, give the Function App the Contributor role first. See CIPP’s Pre Version 7.1 Self-Hosted Deployments.1
Create the client
In CIPP, go to CIPP > Integrations, click CIPP-API, then on the Function Authentication card click Actions > Create New Client.
2
Fill in the client
Set App Name to
Triggr (CIPP rate-limits each client separately) and Select Role to admin, or a narrower role that covers your workflows; readonly blocks every change. Leave Enter IP Ranges empty or include Triggr’s IP addresses, turn on Enable this client and leave MCP Access Allowed off.3
Submit and copy the secret
CIPP shows the application secret only once. If you lose it, choose Reset Application Secret from the three dots in the client’s Actions column.
4
Save to Azure
Click Actions > Save to Azure and confirm. CIPP rejects the client until you do, and can take up to 60 seconds to apply it.
5
Copy the connection details
Copy API Url and Token URL from the Function Authentication card, and the client’s ID from its row in CIPP-API Clients, then choose Copy API Scope from the three dots in its Actions column. Token URL can read Not Available for 5 to 15 minutes after your first client.
Connect it in Triggr
1
Open the integration
Go to Integrations > CIPP and click Configure on the Base Configuration card.
2
Enter the connection details
Enter the API Url as cippApiUrl, without 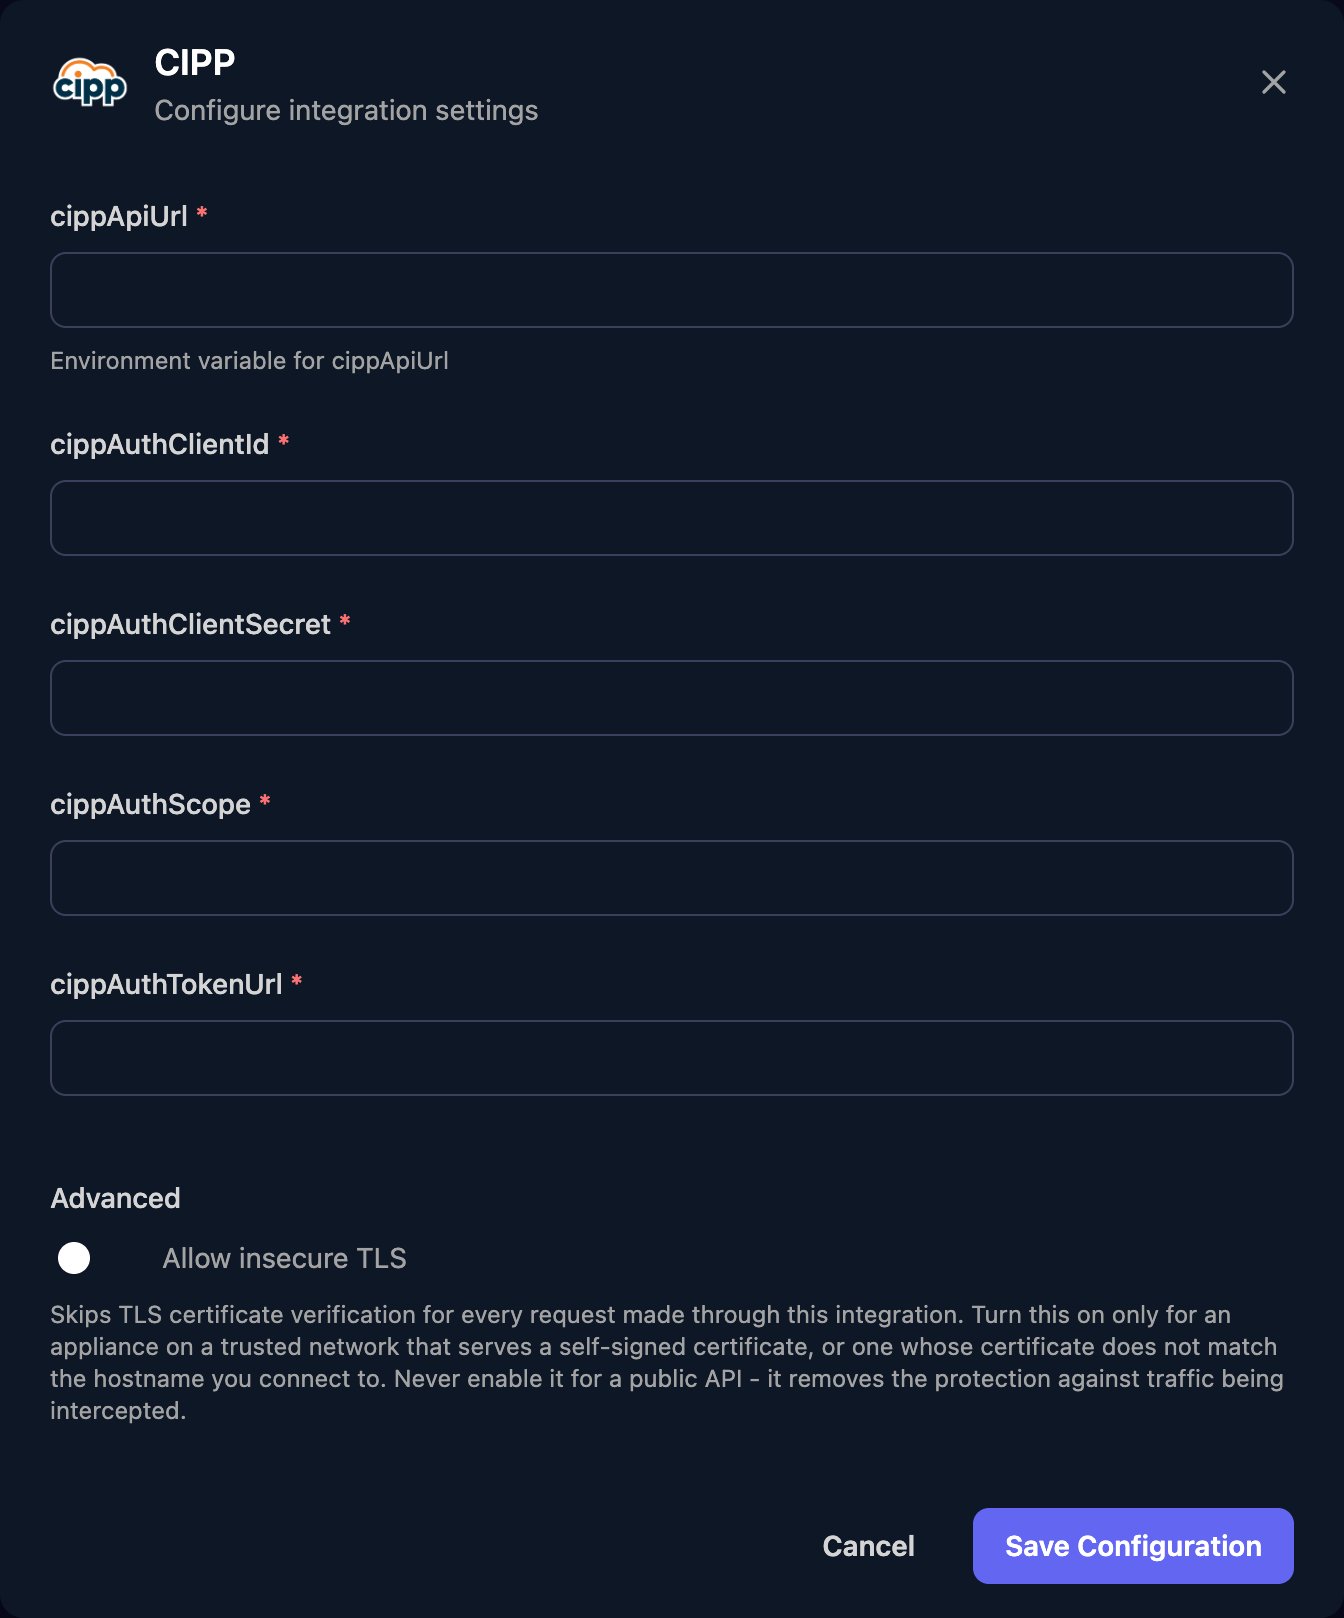
/api or a trailing slash, then the client’s ID, secret, API scope (api://<client-id>/.default) and Token URL in the other four fields. Click Save Configuration.Run Microsoft 365 steps through CIPP
Go to Settings > Org Variables, click Setup Wizard and click CIPP under Preferred Microsoft Connection Method. Microsoft steps with Connection Type set to Automatic then use CIPP; to use CIPP for a single step, set its Connection Type to CIPP.Link each client to its Microsoft tenant
There’s no client mapping: CIPP works in the tenant in the client’smicrosoftTenantId variable. To add it, open the client in Clients, click Manage Variables on the Variables card, then New Variable. In your own workflows and forms, set a CIPP action’s tenantFilter to {{ ctx.client.microsoftTenantId }}.
Troubleshooting
Triggr can't get an access token
Triggr can't get an access token
cippAuthTokenUrl must use the tenant CIPP runs in, not a client’s, and the ID in cippAuthScope must match cippAuthClientId. If Microsoft returns 400, add an Application ID URI under Expose an API on the client’s app registration in Microsoft Entra.
CIPP rejects requests (401 or 403)
CIPP rejects requests (401 or 403)
Check Enable this client and Microsoft Authentication Enabled are on, then click Save to Azure and wait 60 seconds. Check the client’s IP ranges include Triggr’s addresses and its role allows the action.
CIPP shows a permission error when creating the client
CIPP shows a permission error when creating the client
CIPP’s CIPP-SAM application is missing the Microsoft Graph permissions named in the error. Add them to CIPP-SAM with admin consent, then try again.
Requests return 404 or a response Triggr can't parse
Requests return 404 or a response Triggr can't parse
cippApiUrl must be the API Url from CIPP, not the web portal’s address, without
/api.microsoftTenantId not found in tenant metadata
microsoftTenantId not found in tenant metadata
Add the client’s
microsoftTenantId variable.