

Set up Microsoft 365
You need an account that can create users and register apps in your tenant. See Microsoft’s guide to registering an app.1
Create the service account
Create a user such as
triggr-teams@yourdomain.com with a licence that includes Microsoft Teams. Recipients see messages from this account.2
Register an app
In the Microsoft Entra admin center, go to Entra ID > App registrations > New registration, choose Single tenant only, click Register and copy the Application (client) ID and Directory (tenant) ID from Overview.
3
Add Triggr's redirect URI
Under Authentication, click Add Redirect URI (or Add a platform), choose Web, enter
https://app.triggr-app.com/oauth/callback and click Configure.4
Add the Teams permissions
Go to API permissions > Add a permission > Microsoft Graph > Delegated permissions, tick
Chat.Create and ChatMessage.Send, and click Add permissions.5
Create a client secret
Under Certificates & secrets > Client secrets, click New client secret and copy its Value, not its Secret ID. Note when it expires.
Connect it in Triggr
1
Open the integration
Go to Integrations > Microsoft Teams (Delegated) and click Configure on the Base Configuration card.
2
Enter your app
Enter the Application (client) ID as ClientID, the secret’s Value as ClientSecret and the Directory (tenant) ID as TenantID, then click Save Configuration.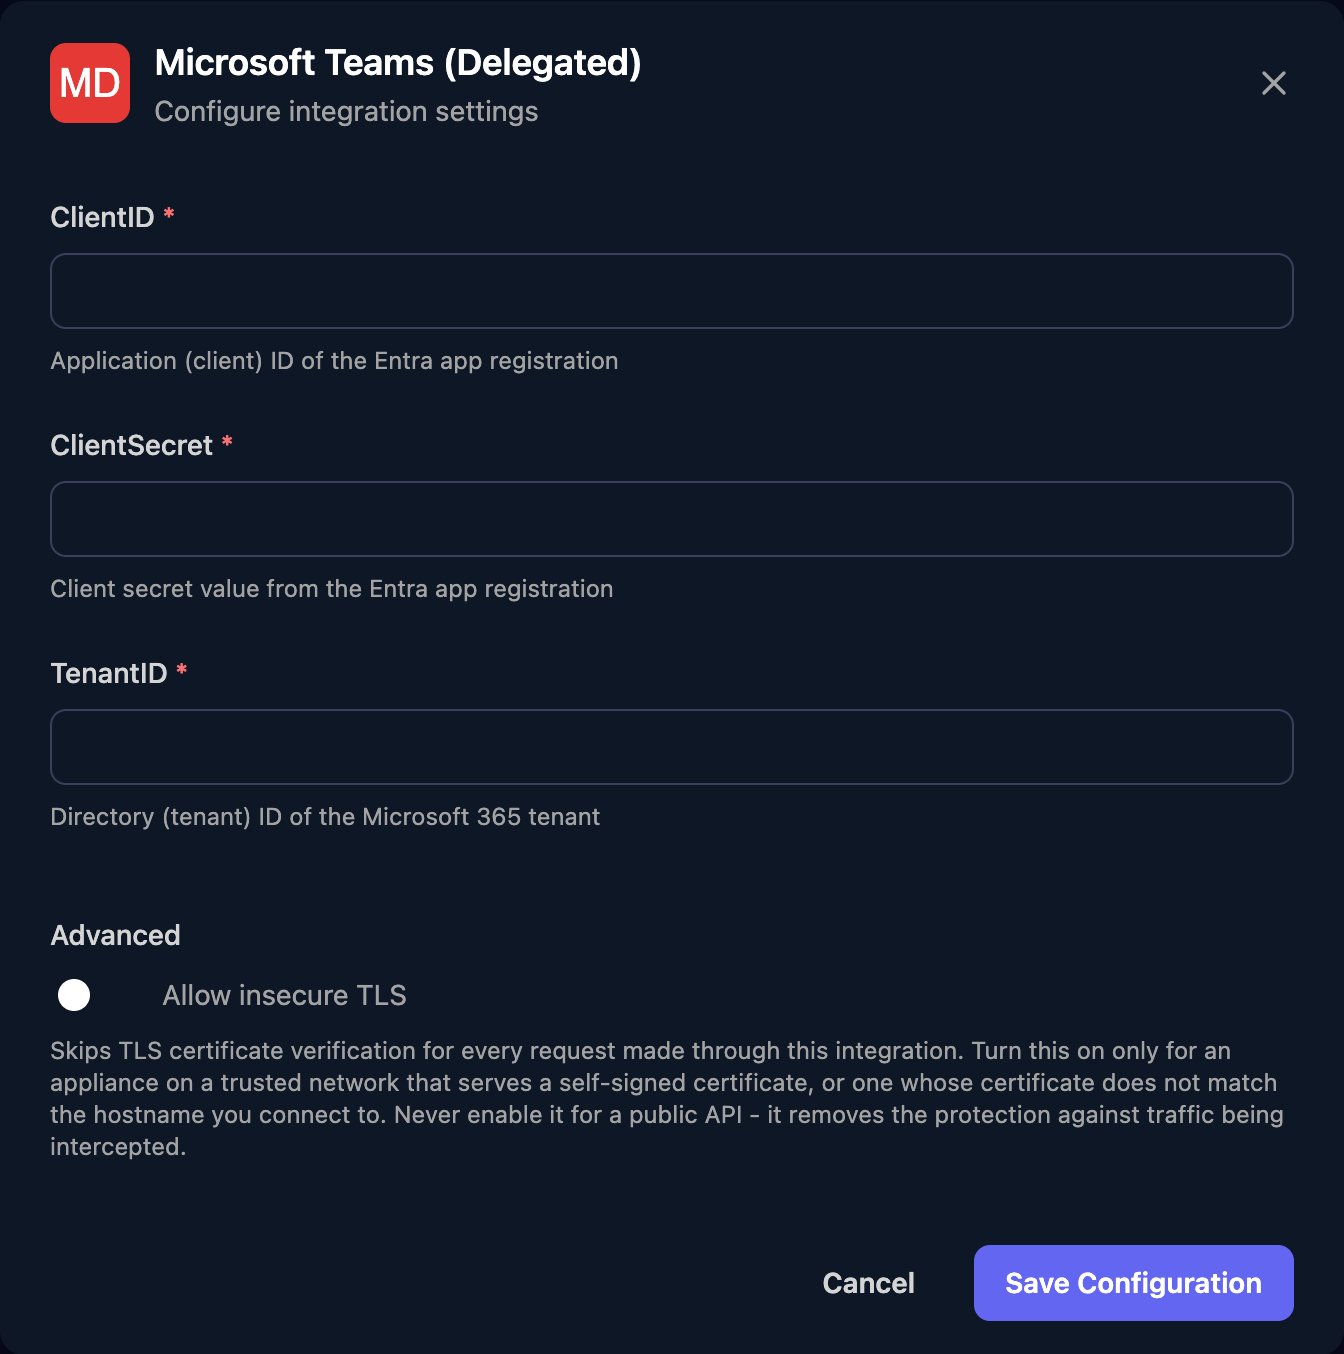
3
Authorize as the service account
Click Authorize on the Base Configuration card, sign in as the service account, not as yourself, and click Accept. Last Authorized shows when it happened.
Send a message
Use two Generic Integration Action steps with Integration set to Microsoft Teams (Delegated) and URL Type set to Relative to base URL (https://graph.microsoft.com/v1.0).
1
Open the chat
Add a step named If the two already have a chat, Microsoft returns it instead of creating another.
Open chat with Method POST, URL /chats, Body Type JSON and this body, which reads the recipient’s user principal name from a form field with Field ID email:2
Send the message
Add a step with Method POST, URL
/chats/{{ ctx.steps['Open chat'].body.id }}/messages, Body Type JSON and the body {"body": {"content": {{ ctx.params.message | json }}}}, which reads the text from a form field with Field ID message.Troubleshooting
access token expired and no refresh token available
access token expired and no refresh token available
The integration hasn’t been authorized. Click Authorize and sign in as the service account.
no access token in refresh response
no access token in refresh response
Microsoft stopped renewing the sign-in, for example after a password reset or an expired client secret. Replace ClientSecret if it expired, then click Authorize again.
integration request failed with status code: 403
integration request failed with status code: 403
The app is missing
Chat.Create or ChatMessage.Send. Add it, then click Authorize again so the service account accepts it.