

Set up ClickSend
1
Copy your API credentials
In the ClickSend Dashboard, go to Developers > API Credentials and copy the Username and API Key. Your dashboard password won’t work.
2
Choose a sender
Set the sender per message in
from, or leave it out to use your account’s default sender for the recipient’s country.- Dedicated number: bought from ClickSend, in E.164 format such as
+447700900123. - Alpha tag: your business name, 3 to 11 letters, numbers or
+, not all numbers. ClickSend reviews it first, recipients can’t reply, and only some countries support it. - Own number: a mobile number you’ve verified in ClickSend. Not available in the US and Canada.
3
Enable the countries you text
To text numbers outside your home country, enable them on the Global Sending page. In the US and Canada, carriers require a registered 10DLC number, a verified toll-free number or a short code; see ClickSend’s United States of America (+1) guide.
Connect it in Triggr
1
Open the integration
Go to Integrations > ClickSend and click Configure on the Base Configuration card. One connection serves every client.
2
Enter the credentials
Enter the API Key and the Username as API Username, then click Save Configuration.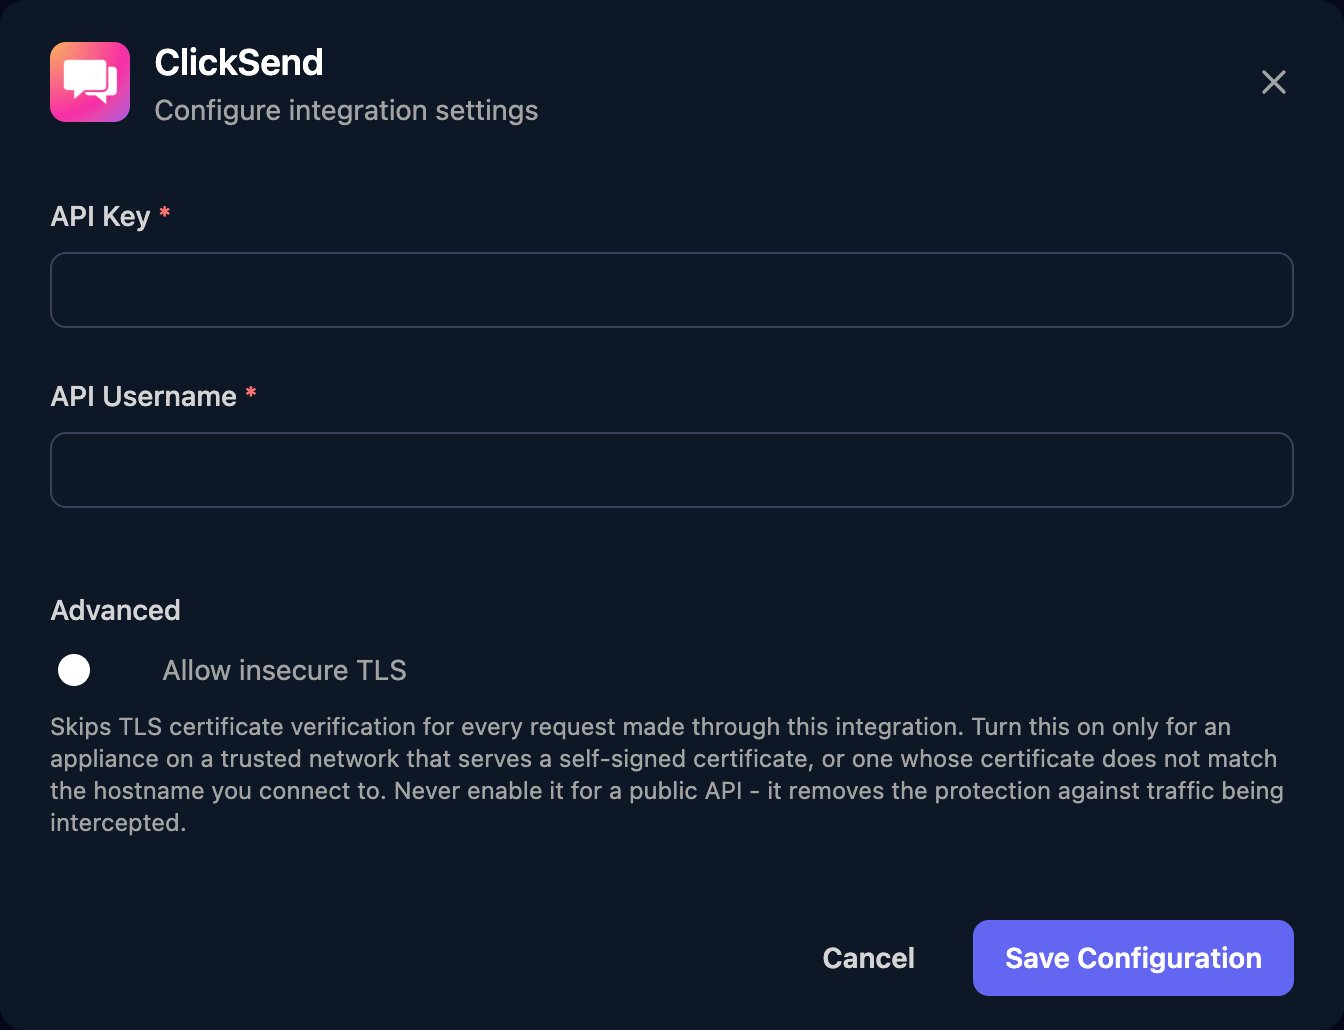
Send SMS from workflows
Send SMS takes a ClickSend Send SMS body injsonBody, with one object in messages per recipient:
from to choose the sender, and schedule as a Unix timestamp in seconds to send later. A message was queued only if its status in the response is SUCCESS. To test without sending, use a ClickSend test number such as +447777777777.
ClickSend pauses messages containing links for new customers; ask ClickSend support to approve your account for URL messaging.
Troubleshooting
A message's status isn't SUCCESS
A message's status isn't SUCCESS
The message was queued but never arrived
The message was queued but never arrived
Check the sender is allowed in the recipient’s country, and that your account is approved for messages with links.