

Set up QuickBooks Online
1
Create an Intuit app
In the Intuit Developer Portal, go to My Hub > App dashboard, select the card with a +, name the app
Triggr and select the com.intuit.quickbooks.accounting scope.2
Get production keys
In Keys and credentials > Production, fill in App Details and complete the Compliance questionnaire. Intuit releases the keys once it approves the questionnaire.
3
Add Triggr's redirect URI
In Settings > Redirect URIs, select Production, click Add URI and enter
https://app.triggr-app.com/oauth/callback exactly.4
Copy the credentials
In Keys and credentials > Production, turn on Show credentials and copy the Client ID and Client secret.
5
Find each company ID
In each company, select the Settings gear, then Additional info, and copy the company ID (digits only).
Connect it in Triggr
1
Open the configuration
Go to Integrations > QuickBooks Online and click Configure on the Base Configuration card.
2
Enter the app and company
Enter the production Client ID and Client Secret and the Company ID (realm ID), then click Save Configuration.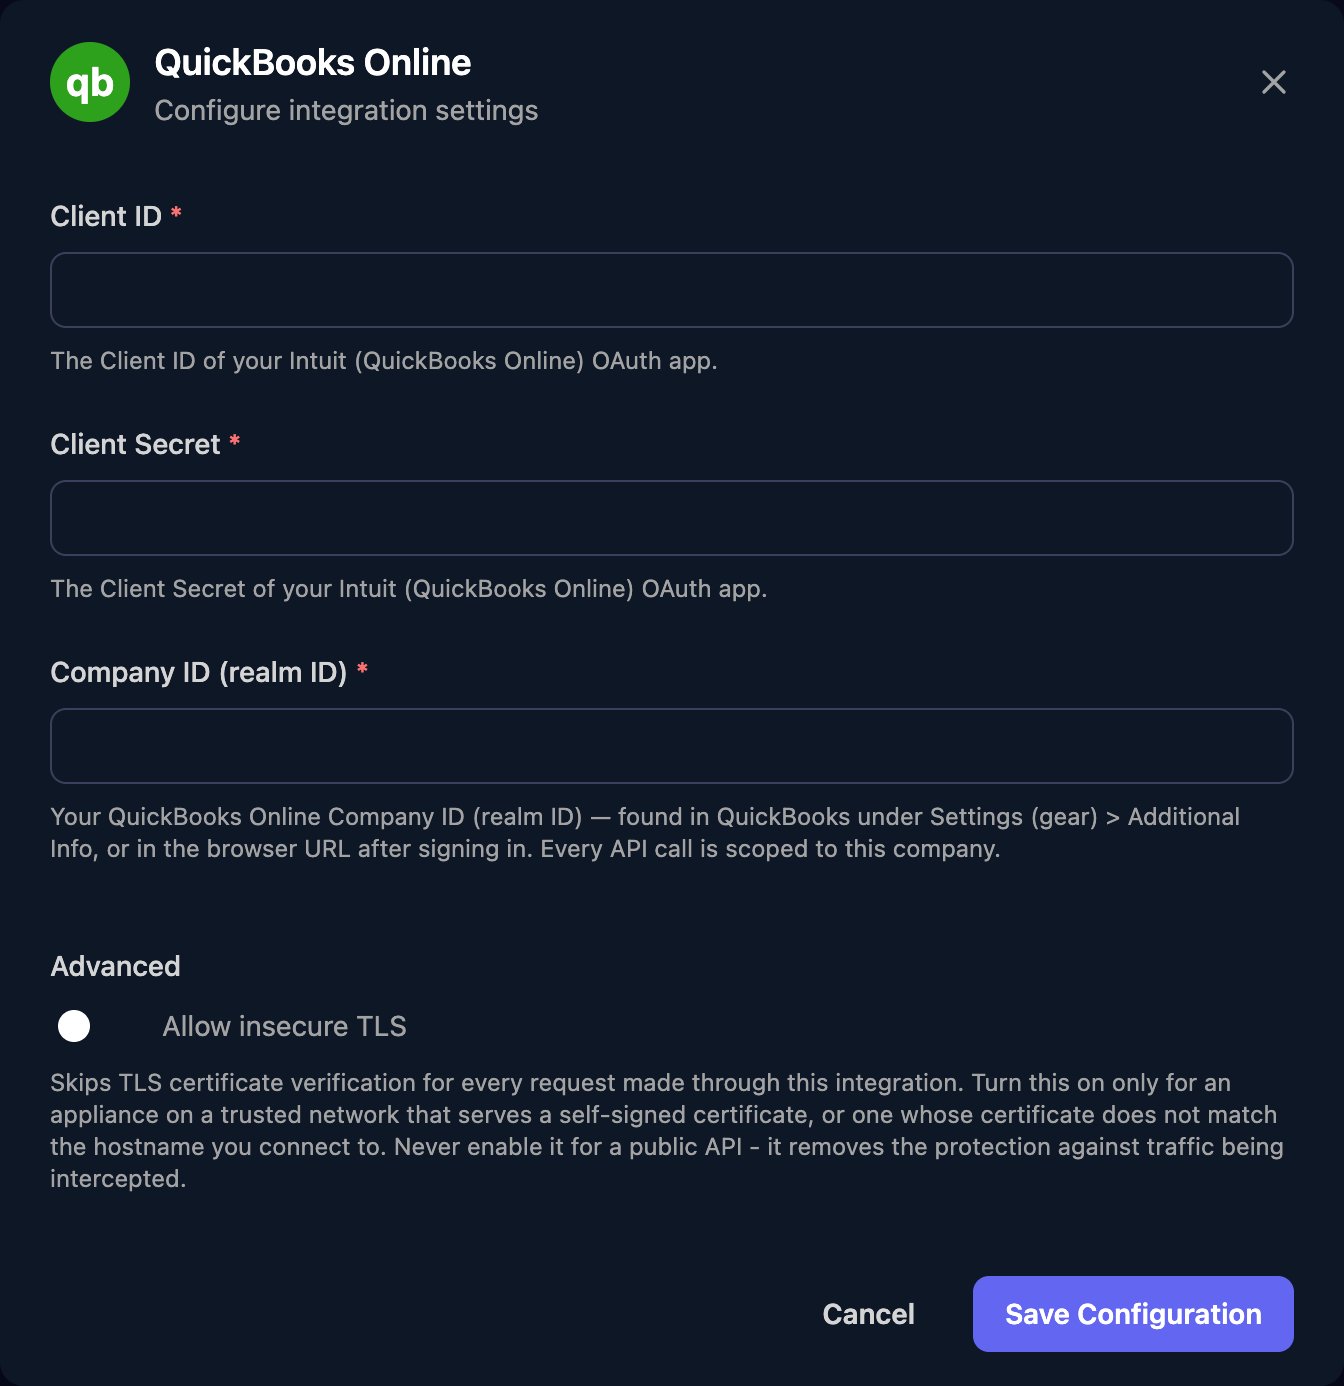
3
Authorize
Click Authorize, sign in to Intuit as a primary admin or company admin, choose the company whose ID you entered and approve.
Set up each client
Per-client integrations never fall back to the Base Configuration. On the Per-Client Configuration card, click Configure on the client’s row, enter the same app credentials with that client’s company ID, save, then click Authorize on the row.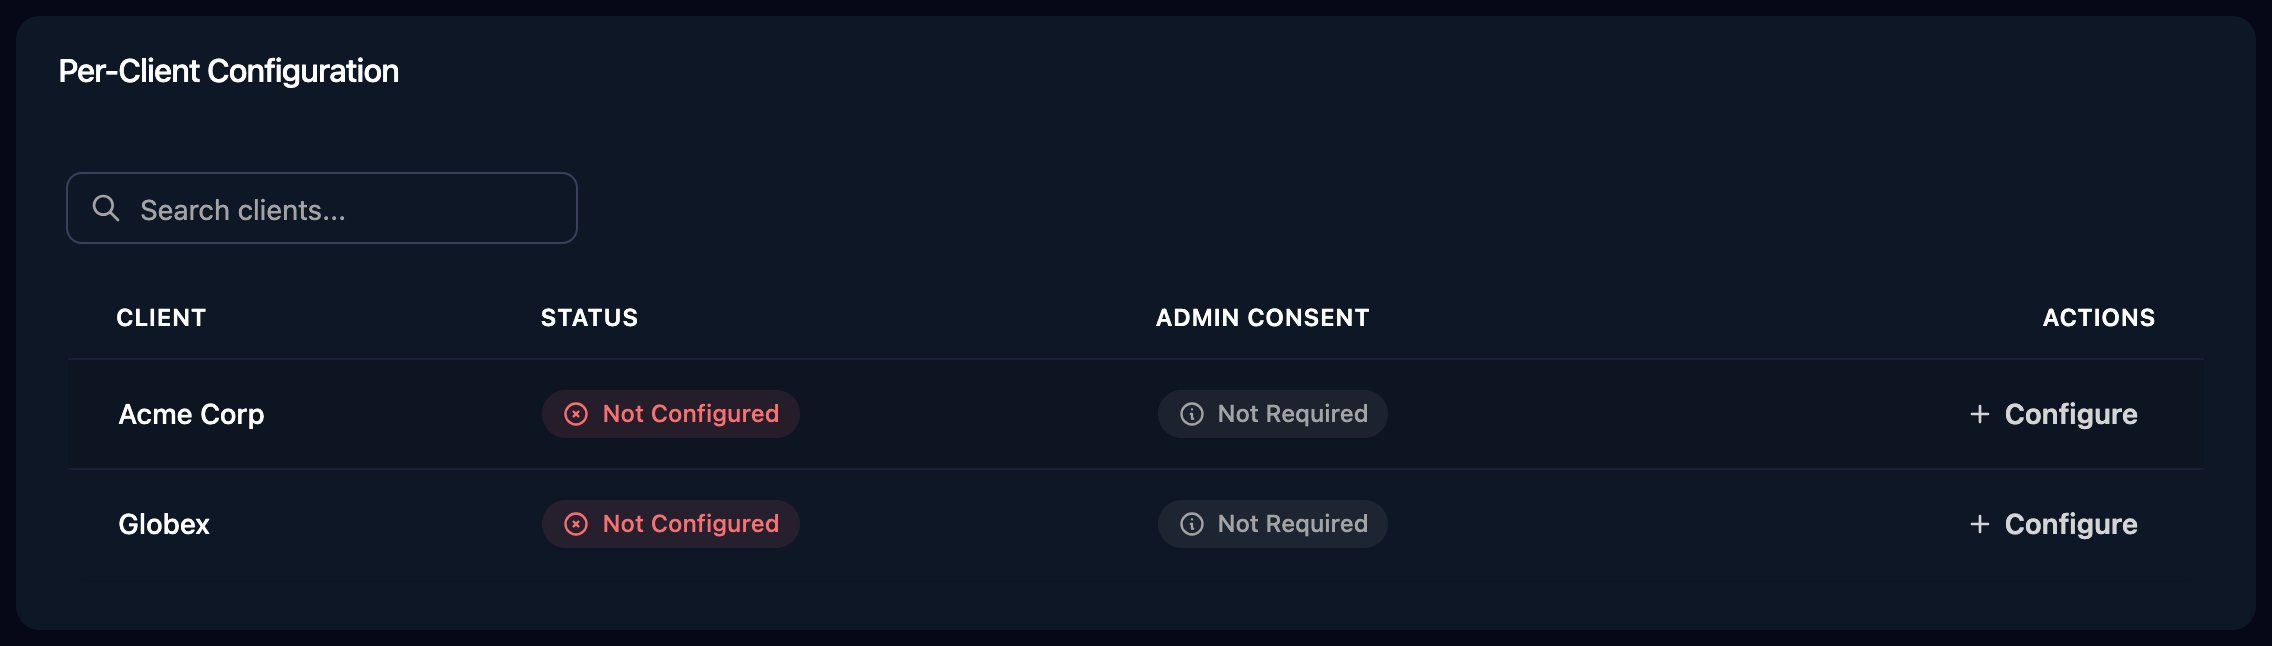
Use it in workflows
- Run Query lists any type of record with a QuickBooks query, such as
select * from Customer where Active = true. - Update Customer and Update Invoice need the record’s
Id, its currentSyncTokenand"sparse": trueinjsonBody. Read the record first with Get Customer or Get Invoice.
Troubleshooting
Intuit shows a redirect URI error
Intuit shows a redirect URI error
Add
https://app.triggr-app.com/oauth/callback under Production in Settings > Redirect URIs, exactly as shown, then click Authorize again.no QuickBooks Online integration is configured for this client
no QuickBooks Online integration is configured for this client
Configure and authorize the client on the Per-Client Configuration card.
Update fails with a Stale Object error (5010)
Update fails with a Stale Object error (5010)
Run Get Customer or Get Invoice again and use the
SyncToken it returns.