

Set up Employment Hero
1
Add an application
In Employment Hero, click your profile name, select Developer Portal and click Add Application. Set the redirect URI to exactly
https://app.triggr-app.com/oauth/callback.2
Choose the scopes
Select the read scope for each area your workflows use: organisations, employing entities, work locations, cost centres, employees, employment history, custom fields, certifications, emergency contacts, teams and leave. Always include organisations (
urn:mainapp:organisations:read), as other actions need an organisation ID.3
Copy the credentials
Create the application and copy the Client ID and Client Secret.
Connect it in Triggr
1
Open the integration
Go to Integrations > Employment Hero and click Configure on the Base Configuration card.
2
Enter the credentials
Enter the Client ID and Client Secret, then click Save Configuration.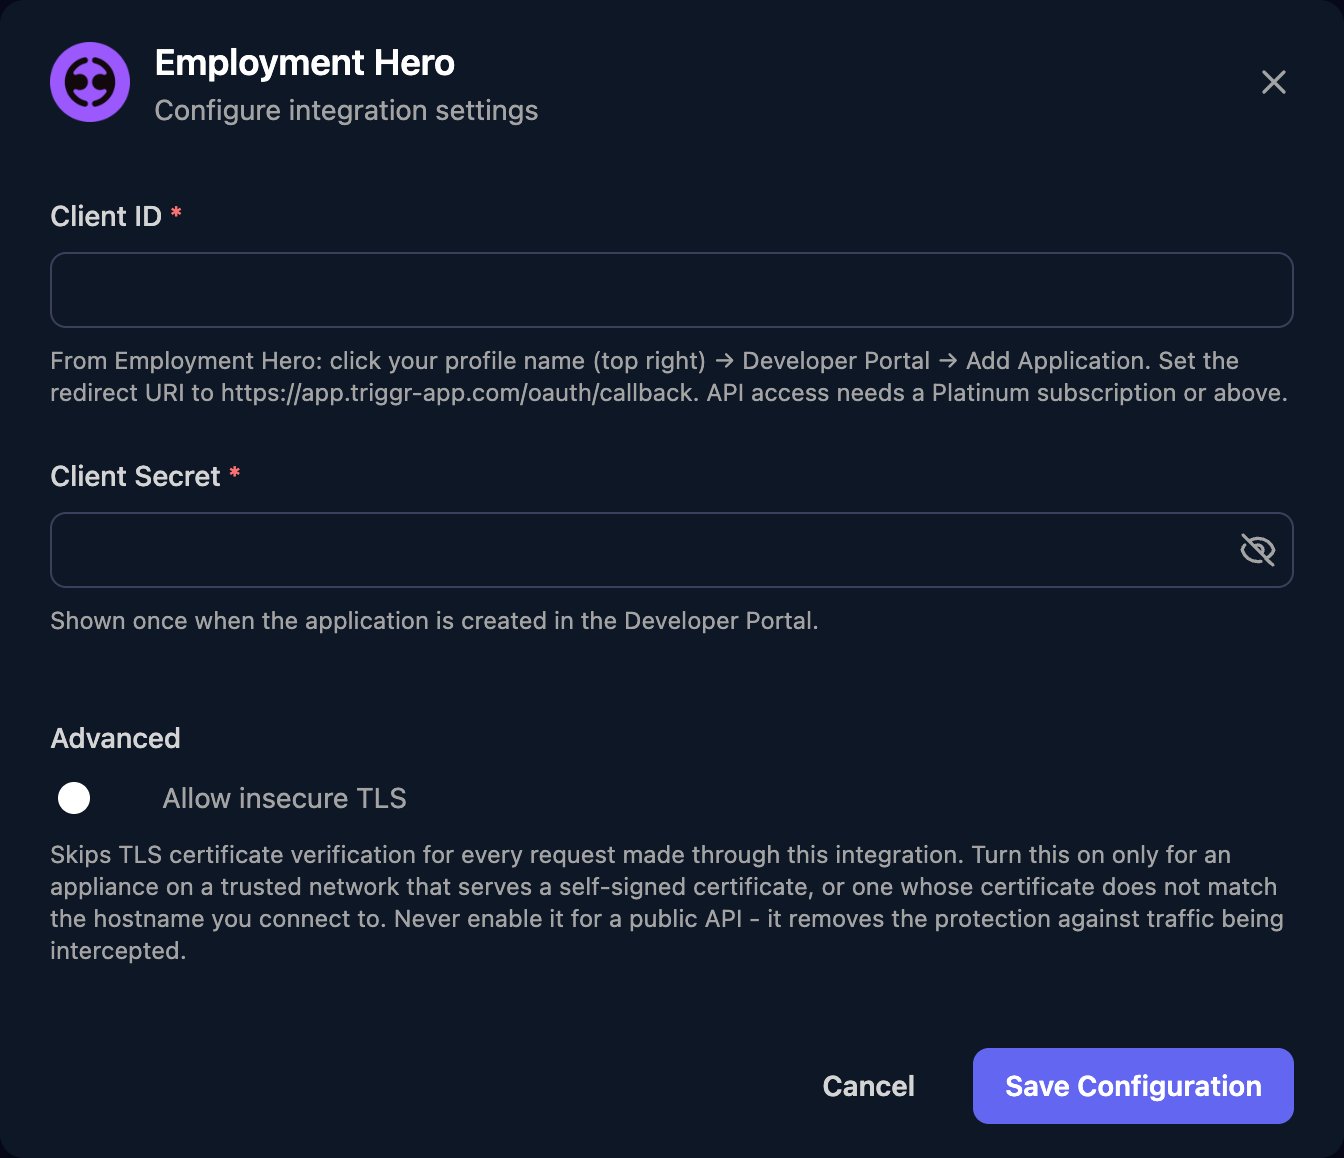
3
Authorize
Click Authorize on the Base Configuration card and sign in as an Employment Hero user, such as an admin, who can see the organisations and employees your workflows need. Click Authorize again whenever you change the credentials.
organisation_id most actions need.
Troubleshooting
Employment Hero shows an error instead of the sign-in page
Employment Hero shows an error instead of the sign-in page
Check the application’s redirect URI is exactly
https://app.triggr-app.com/oauth/callback with no trailing slash, and that the Client ID in Triggr belongs to it.Steps fail with 401
Steps fail with 401
Re-enter the Client ID and Client Secret with no spaces, click Save Configuration, then Authorize again.
Steps fail with 403, or an organisation is missing
Steps fail with 403, or an organisation is missing
The authorising user can’t see that data, or the application lacks its read scope. Authorize as a user who can, or register a new application with the scope.
Rate limited (429)
Rate limited (429)
Employment Hero allows 20 requests per second and 100 per minute. Spread large workflows out, or fetch up to 100 items per page.