

Set up Field Effect
1
Choose the user
The key has the access of the user who creates it, so use a user in your partner organisation, ideally a dedicated one for Triggr. A user invited to a client organisation can only reach that client.
To change a level, an Admin goes to Administration > User Management on the partner view and clicks Edit user Permissions in the user’s menu. See Field Effect’s How to Edit User Permissions.
2
Create an API key
Signed in to
my.fieldeffect.net as that user, go to Account Settings > Sign in & Security and click Create API Key in the API Keys card. Name it, click Create and copy the key. Field Effect shows it only once.Connect it in Triggr
1
Open the integration
Go to Integrations > Field Effect and click Configure on the Base Configuration card.
2
Paste the key
Paste it into API Key without 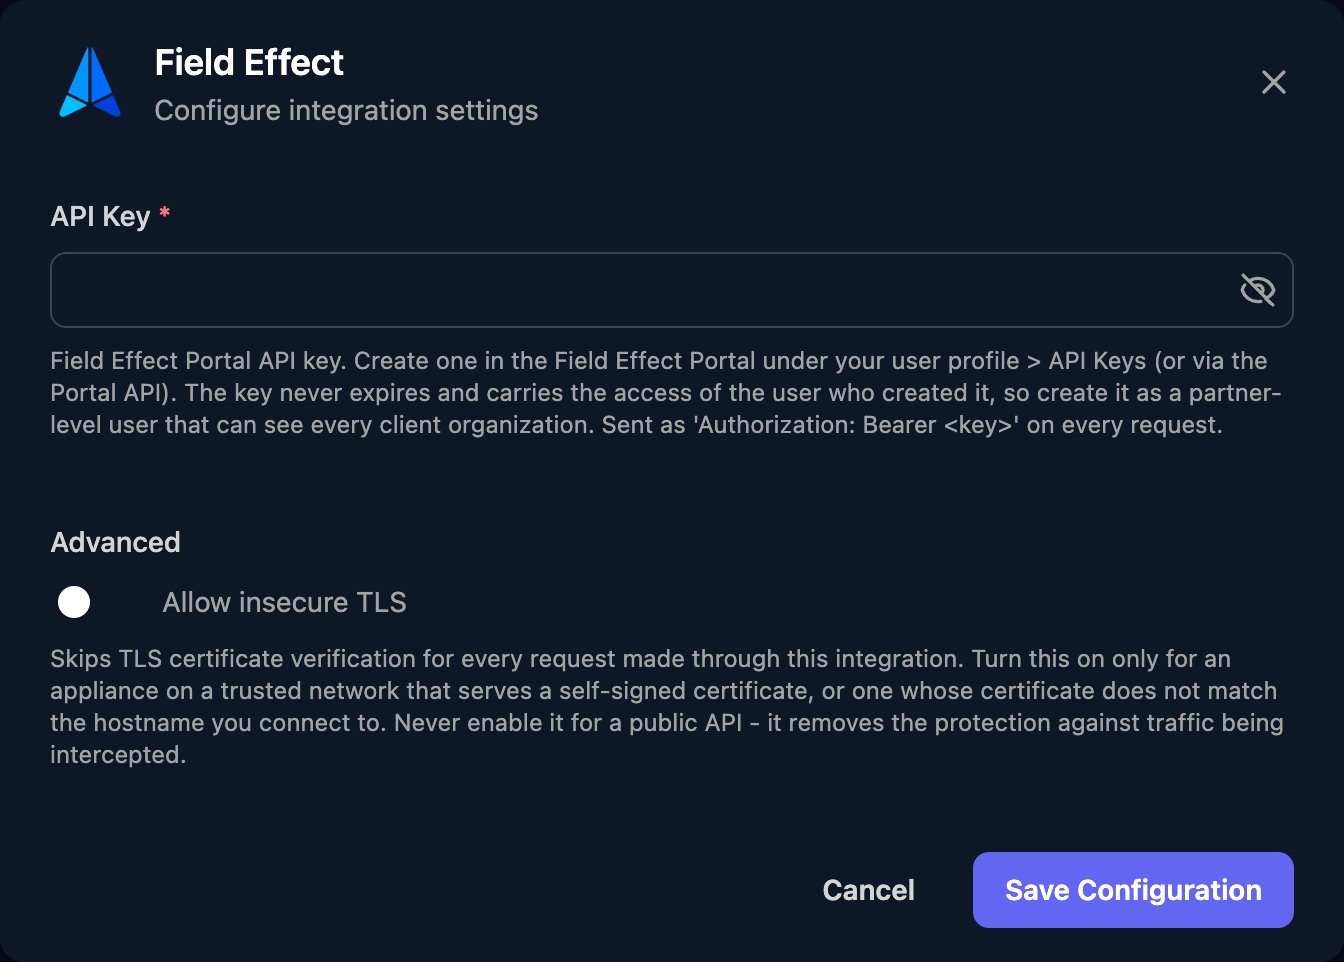
Bearer in front, then click Save Configuration.Map your clients
On the Client Mapping card, click Apply 100% Matches, then choose the Field Effect organisation in Mapped to for anyone left. Triggr saves each match as the client’sfieldEffectOrganizationId variable, so pass {{ ctx.client.fieldEffectOrganizationId }} to any action that asks for organization_id.
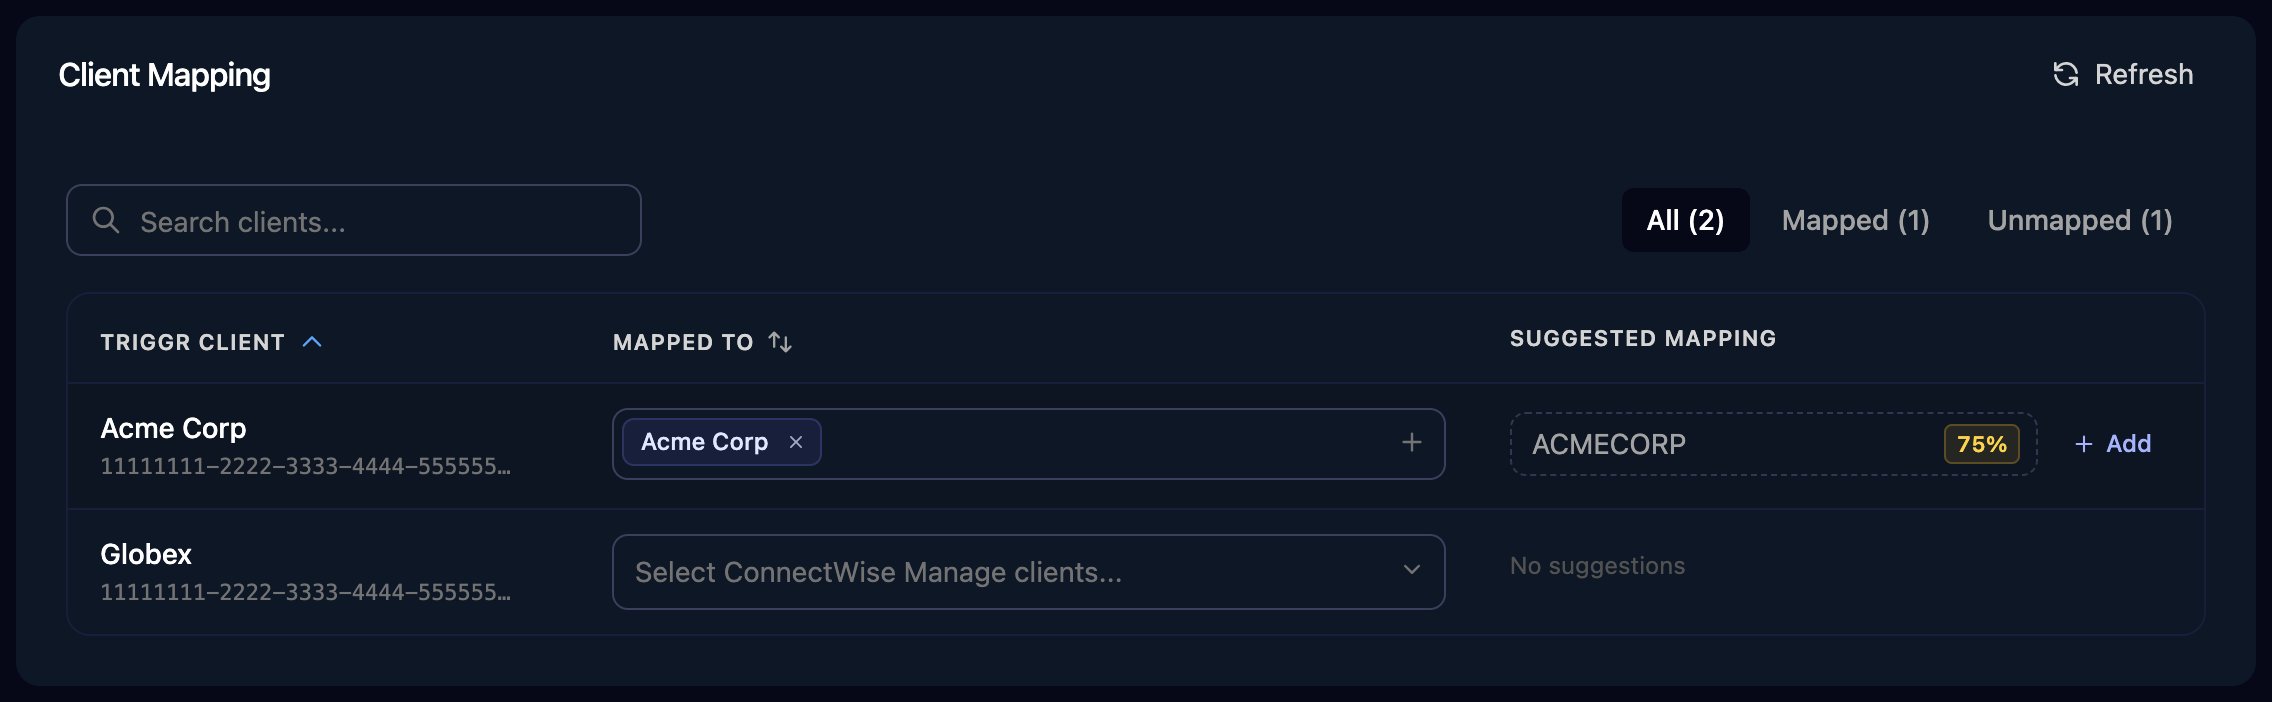
The Client Mapping card, shown here for ConnectWise Manage as an example.
Troubleshooting
Every action fails with an authentication error
Every action fails with an authentication error
Check API Key has no
Bearer or spaces, and that the key is still switched on in the user’s API Keys card.Organisations are missing from Client Mapping
Organisations are missing from Client Mapping
The key belongs to a client organisation user. Create one as a partner organisation user, replace it in Triggr, then click Refresh.
Changes fail while reads work
Changes fail while reads work
Raise the key’s user to Edit or Admin in Administration > User Management.
Replace the key
Replace the key
Create a new key as the same user, click Edit on the Base Configuration card to paste it, then delete or switch off the old key in API Keys.