

Register your own app
Skip this to use Triggr’s app, whose details come pre-filled in Triggr. Register your own to choose its permissions and manage its secret; you need an account that can register apps, such as a Cloud Application Administrator.1
Register a multitenant app
In the Microsoft Entra admin centre, go to Entra ID > App registrations > New registration, choose Multiple Entra ID tenants (older versions: Accounts in any organizational directory), click Register and copy the Application (client) ID.
2
Add Triggr's redirect URI
Under Authentication, click Add Redirect URI (or Add a platform), choose Web, enter
https://app.triggr-app.com/oauth/admin-consent-callback and click Configure.3
Create a client secret
Under Certificates & secrets > Client secrets, click New client secret and copy its Value, not its Secret ID. Every client uses this secret, so note when it expires: Triggr can’t sign in to any client’s tenant until you replace it.
4
Add application permissions
Go to API permissions > Add a permission > Microsoft Graph > Application permissions and add what your workflows need from the table below. Skip Grant admin consent here; each client consents from Triggr.
Microsoft Graph permissions
Add these only if your workflows use them:
Mail.Read (reading mail), Sites.Read.All (SharePoint sites, drives and lists), Files.ReadWrite.All (creating and sharing folders), RoleManagement.ReadWrite.Directory (directory roles), and Application.ReadWrite.All with AppRoleAssignment.ReadWrite.All (applications, service principals and app role assignments). If you add permissions later, each client must grant admin consent again.
Connect it in Triggr
1
Open the integration
Go to Integrations > Microsoft Graph (SAM) and click Configure on the Base Configuration card.
2
Enter your app and tenant
Keep the pre-filled ClientID and ClientSecret or enter your app’s, enter your own tenant ID in TenantID (or use Lookup By Domain) and click Save Configuration. There’s no Authorize step, and Admin Consent on this card consents in your own tenant only, for workflows that run without a client.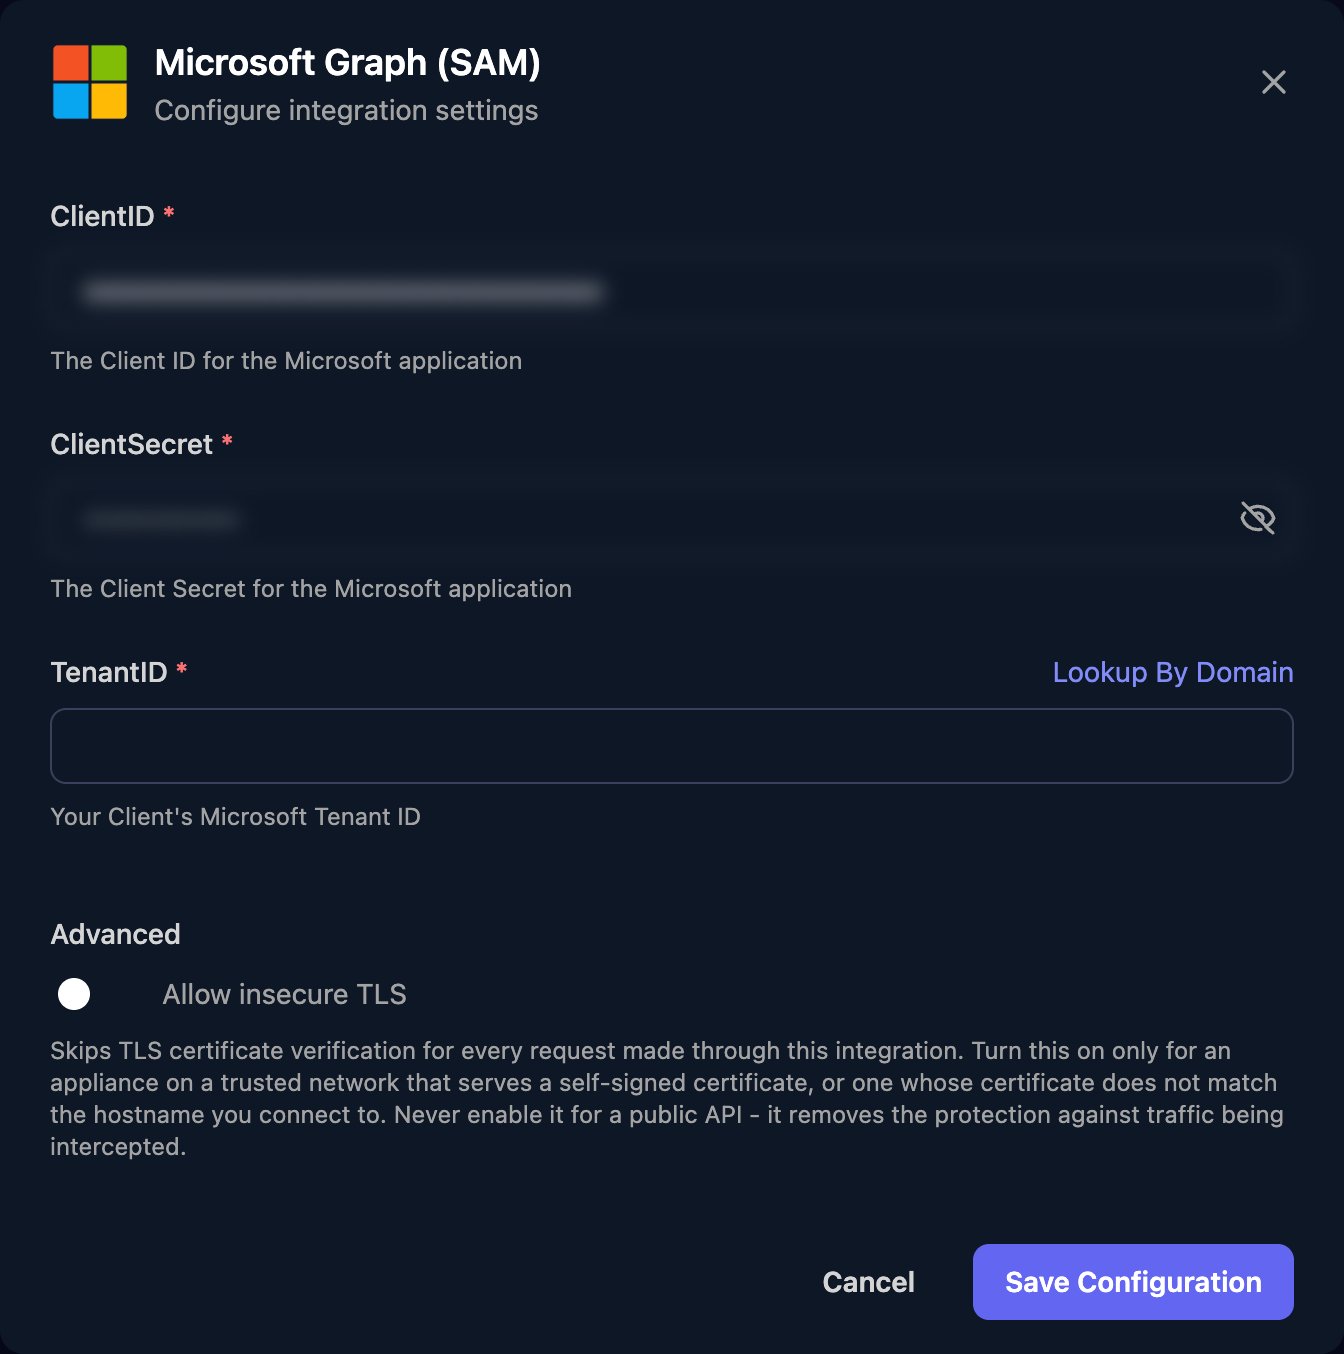
Connect each client
Per-client integrations never fall back to the Base Configuration, so each client needs its own tenant ID and admin consent.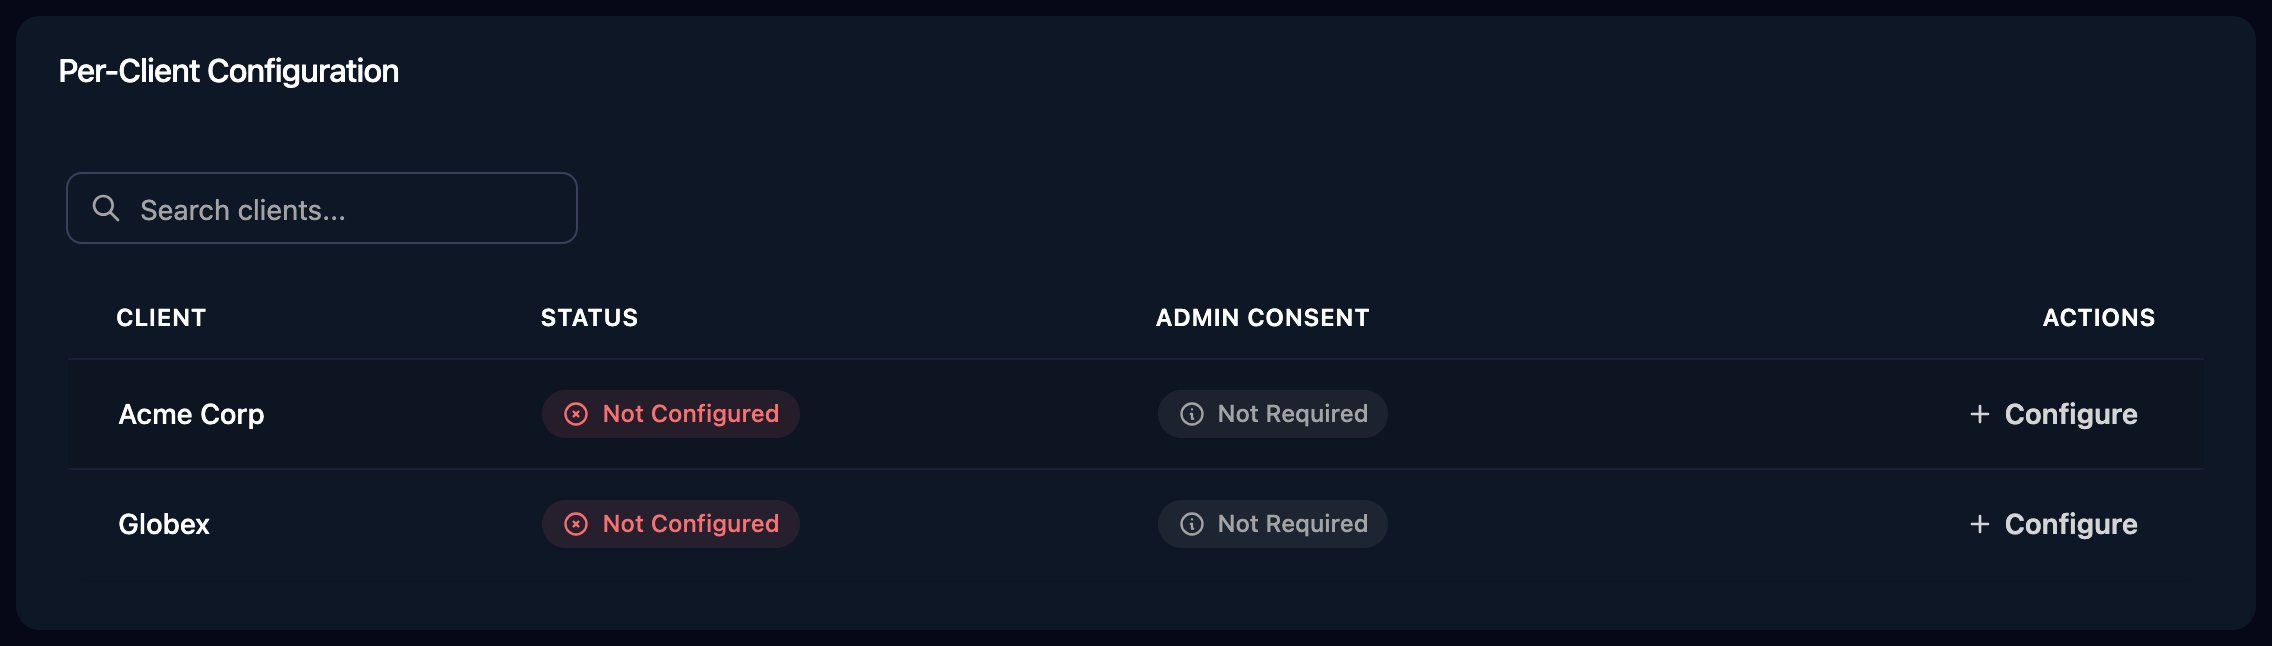
1
Add the client's tenant ID
Click Configure on the client’s row, enter its TenantID (or use Lookup By Domain) and click Save Configuration. Triggr saves it as the client’s
microsoftTenantId variable. For many clients, click Automap, then Approve All.2
Grant admin consent
Click Admin Consent on the client’s row and have an administrator of the client’s tenant sign in and click Accept. The Admin Consent column shows Granted.
To reset passwords, the app also needs at least User Administrator in the client’s tenant, and a more privileged role to change or delete admin accounts. Assign it to the app’s enterprise application there. See Microsoft’s Who can perform sensitive actions.
Make SAM your default Microsoft connection
In Settings > Org Variables, click Setup Wizard and choose Individual Enterprise Apps under Preferred Microsoft Connection Method. For one step only, set its Connection Type to Microsoft Graph (SAM).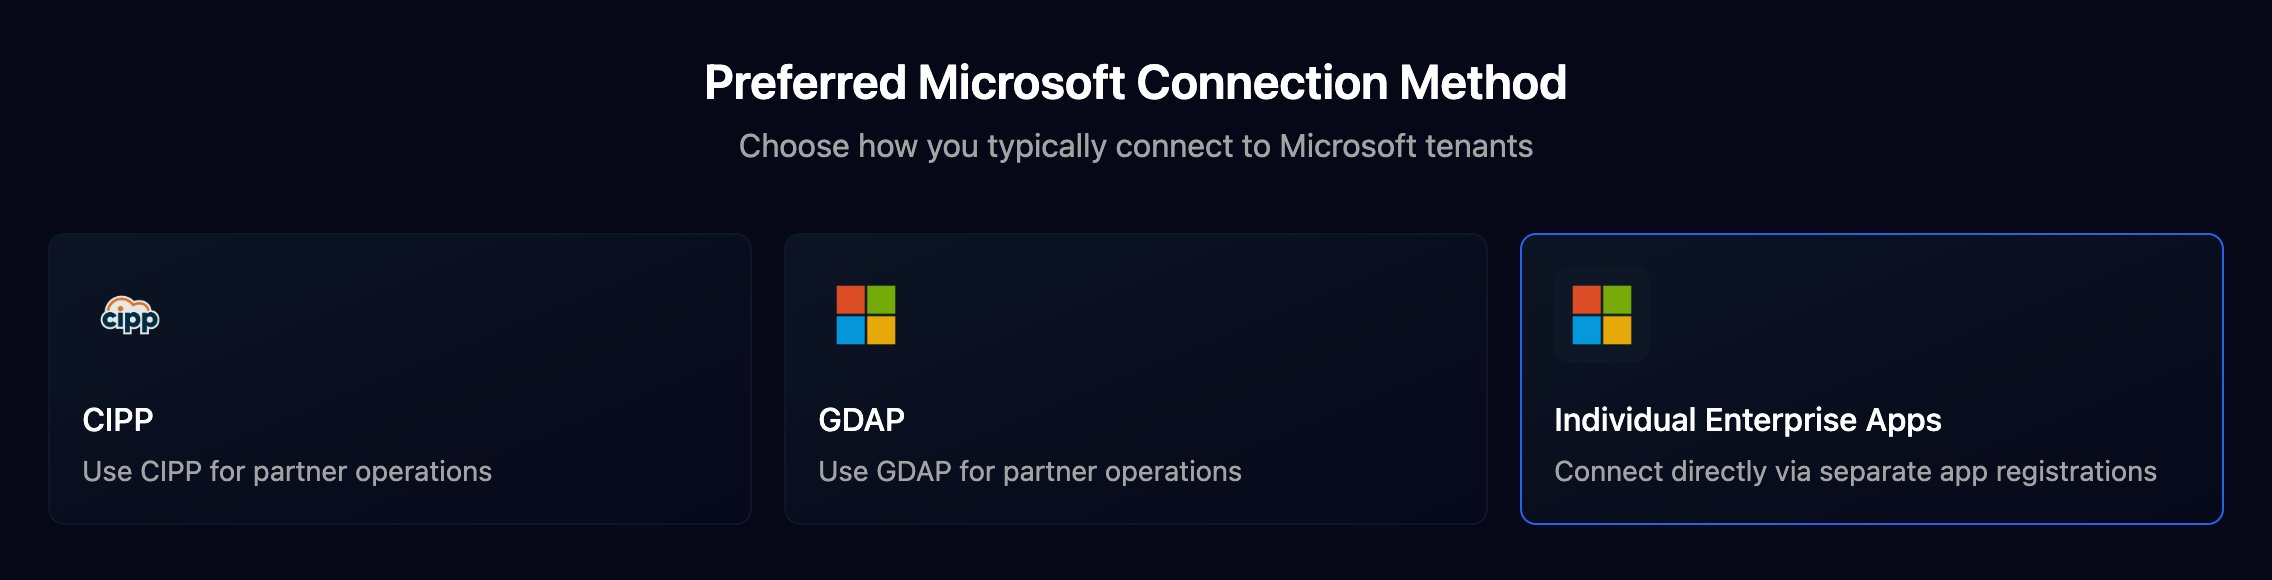
Troubleshooting
The client isn't configured
The client isn't configured
Steps report
is not configured for tenant or no Microsoft Graph (SAM) integration is configured for this client. Add the client’s tenant ID, or use Automap.failed to get token
failed to get token
Check the client’s administrator granted consent and its TenantID is its own. With your own app, check ClientSecret is the secret’s Value and hasn’t expired.
The consent pop-up shows an error
The consent pop-up shows an error
AADSTS50011: add the redirect URI to your app. App not found: set Multiple Entra ID tenants. Can’t consent: sign in as an administrator of the client’s tenant. Missing required admin consent parameters: click Admin Consent again.Lookup By Domain can't find the tenant
Lookup By Domain can't find the tenant
Enter a domain verified in the client’s tenant, such as its
.onmicrosoft.com domain, or paste the Tenant ID from Entra ID > Overview in that tenant.