

app.ninjarmm.com.
Set up NinjaOne
1
Add a client app
In NinjaOne, go to Administration > Apps > API, open Client App IDs and click Add. Set Application Platform to API Services (machine-to-machine) and Name to
Triggr, and leave Redirect URIs empty.2
Choose scopes and grant type
Under Scopes, tick Monitoring (read-only) and Management (changing devices and organisations, and running scripts); add Control only for remote access. Under Allowed Grant Types, tick Client Credentials.
3
Copy the credentials
Save the app and copy the client secret from the confirmation dialog, the only place NinjaOne shows it. Then copy the Client ID from Client App IDs.
Connect it in Triggr
1
Open the integration
Go to Integrations > NinjaOne 2.0 and click Configure on the Base Configuration card.
2
Enter the app
Enter the ClientID and ClientSecret, and the scopes you ticked in Scopes, in lower case and separated by spaces (for example 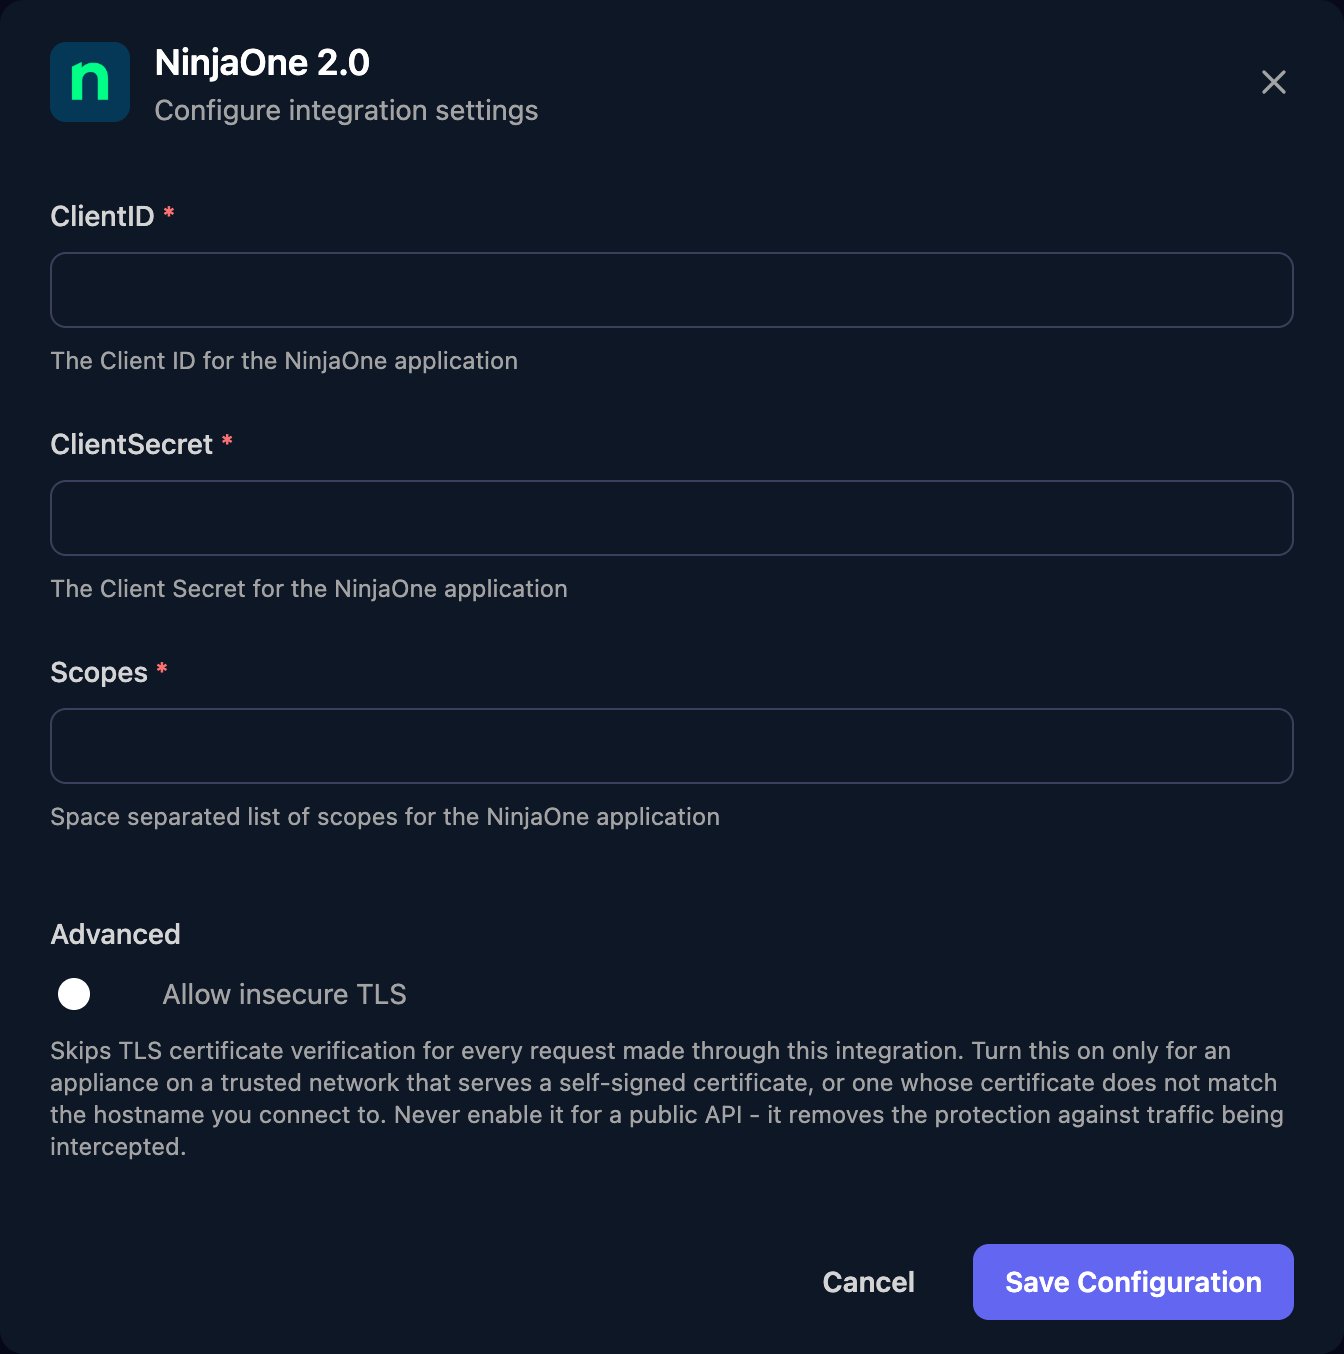
monitoring management), then click Save Configuration.Troubleshooting
Every action fails
Every action fails
Often with
no access token in response. Check ClientID and ClientSecret have no extra spaces, the app still has Client Credentials ticked, Scopes uses spaces (not commas) and only monitoring, management or control, and the app was created in the NinjaOne account you sign in to at app.ninjarmm.com.Read actions work but changes fail
Read actions work but changes fail
Tick Management on the app in NinjaOne, then add
management to Scopes in Triggr.The client secret was lost
The client secret was lost
Create a new client app, enter its details with Edit on the Base Configuration card, then delete the old app.