

93d55b6f-8b1c-41c6-845d-0bd579b3e68b). Admin consent gives the app Mail.Send across your tenant, which you can limit to one mailbox.
Set up Microsoft 365
Create a dedicated mailbox in the tenant, such asnotifications@yourdomain.com: a shared mailbox (no licence needed under 50 GB) or a user mailbox licensed for Exchange Online.
Connect it in Triggr
You need a Global Administrator or Privileged Role Administrator in the tenant.1
Open the integration
Go to Integrations > Microsoft Email and click Configure on the Base Configuration card.
2
Enter your tenant ID
Enter your TenantID, or click Lookup By Domain to find it, leave ClientID and ClientSecret as they are and click Save Configuration.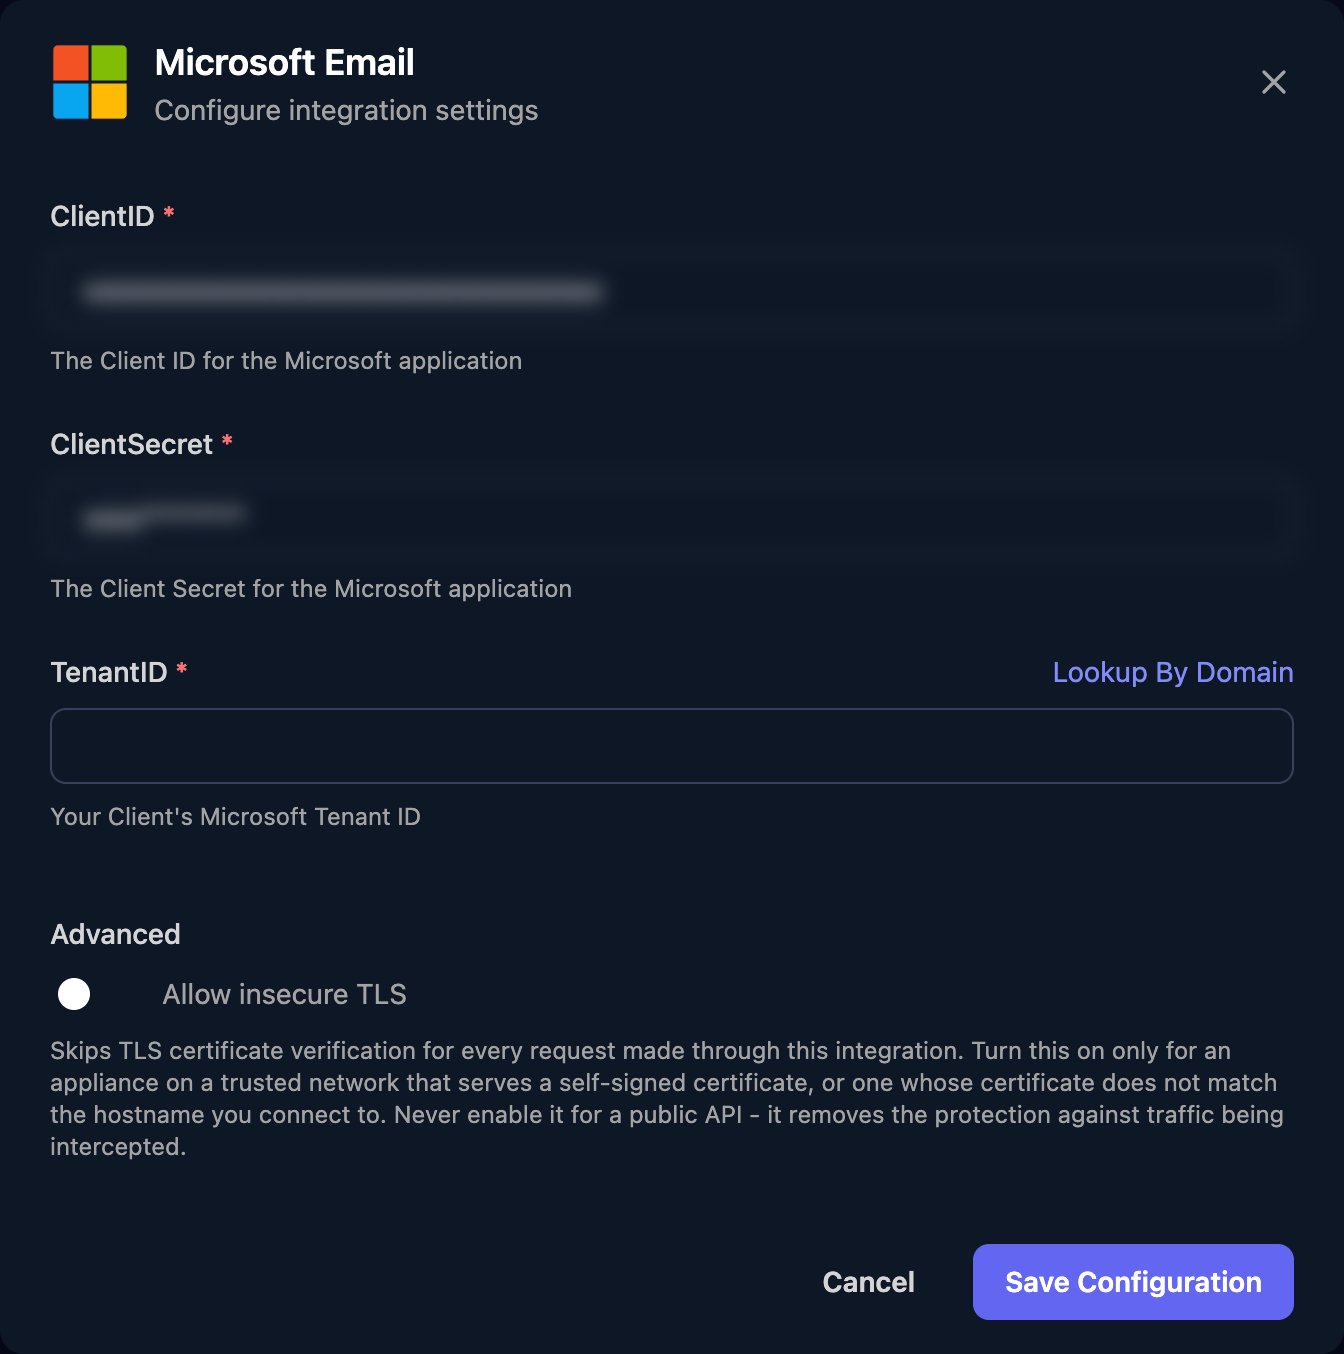
3
Grant admin consent
Click Admin Consent on the card, sign in as an administrator of the same tenant and select Accept. The card’s Admin Consent status changes to Granted.
Create a sending profile
Go to Settings > Sending Profiles, click New Profile, set Profile Type to Microsoft, enter a unique Name (up to 50 characters) and the mailbox as From Email, then click Create Profile.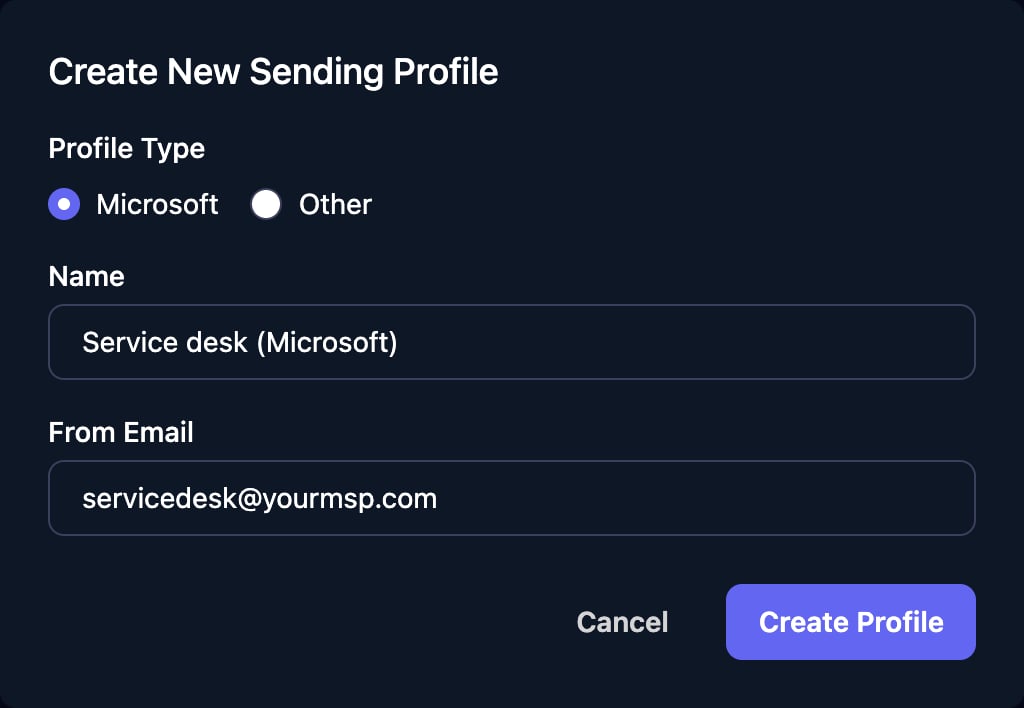
app@triggr-app.com. See Sending profiles.
Limit the app to the sending mailbox
This uses RBAC for Applications in Exchange Online and needs the Exchange Online PowerShell module and the Organization Management role group. Grant admin consent first.1
Find the app's object ID
In the Microsoft Entra admin center, go to Entra ID > Enterprise apps > All applications (not App registrations), search for
93d55b6f-8b1c-41c6-845d-0bd579b3e68b and copy its Object ID.2
Grant Mail.Send for the mailbox only
3
Check the assignment
True, and False for any other mailbox.4
Remove the tenant-wide permission
Open the app under Enterprise apps and select Permissions. On the Admin consent tab, select … next to Mail.Send, then Revoke permission. This needs at least Cloud Application Administrator.
Set-ManagementScope. Clicking Admin Consent again grants Mail.Send tenant-wide again, so revoke it afterwards.
Troubleshooting
Lookup By Domain can't find the tenant
Lookup By Domain can't find the tenant
Use a domain verified in your tenant, such as your
.onmicrosoft.com domain, or paste the Tenant ID from Entra ID > Overview into TenantID.Admin consent fails
Admin consent fails
Sign in as a Global Administrator or Privileged Role Administrator of the tenant in TenantID. Application and Cloud Application Administrators can’t consent.
Sending fails with "failed to get Microsoft OAuth access token"
Sending fails with "failed to get Microsoft OAuth access token"
Check TenantID and that Admin Consent shows Granted. If ClientID or ClientSecret were changed, click Unlink, configure again and grant consent again.
Sending fails with ErrorAccessDenied
Sending fails with ErrorAccessDenied
The app can’t send as the From Email mailbox. Check it’s in the management scope with
Test-ServicePrincipalAuthorization, and allow up to 2 hours for changes.Sending fails for one mailbox
Sending fails for one mailbox
From Email must match a mailbox in the connected tenant exactly: a shared mailbox, or a user mailbox licensed for Exchange Online.
Emails go to junk
Emails go to junk
Set up SPF, DKIM and DMARC for Exchange Online. See Microsoft’s email authentication guidance.