

Set up ImmyBot
You need an ImmyBot account that can add users and assign roles, and the Application Developer role or higher in the Microsoft tenant you sign in to ImmyBot with.1
Register an app in Microsoft Entra
In the Microsoft Entra admin center, go to Entra ID > App registrations > New registration, name it
Triggr ImmyBot, leave the defaults, click Register and copy the Application (client) ID and Directory (tenant) ID. It needs no API permissions or redirect URI.2
Create a client secret
In Certificates & secrets > Client secrets, click New client secret and copy its Value (not the Secret ID). Note when it expires: Triggr can’t sign in after that.
3
Copy the enterprise app's object ID
On the app’s Overview page, click the link next to Managed application in local directory and copy that enterprise application’s Object ID, not the app registration’s own Object ID.
4
Add the app to ImmyBot as a user
In ImmyBot, go to Show More > Users & Roles, click Add New User and open the Manually tab. Select your MSP tenant, enter a name and an unused email on your domain, paste the object ID into Azure Object ID and click Create.
5
Give the user a role
Edit the user, click Direct Role Assignment, select System Administrator (Legacy), set Scope Category to Owner, choose Allow and click Assign. A custom role also works if it has the View permissions each feature depends on; see ImmyBot’s Role-Based Access Control.
Connect it in Triggr
1
Open the integration
Go to Integrations > ImmyBot and click Configure on the Base Configuration card.
2
Enter the app and instance
Enter the ClientID and ClientSecret, your own tenant’s Directory (tenant) ID as TenantID (or click Lookup By Domain), and only the part of your ImmyBot address before 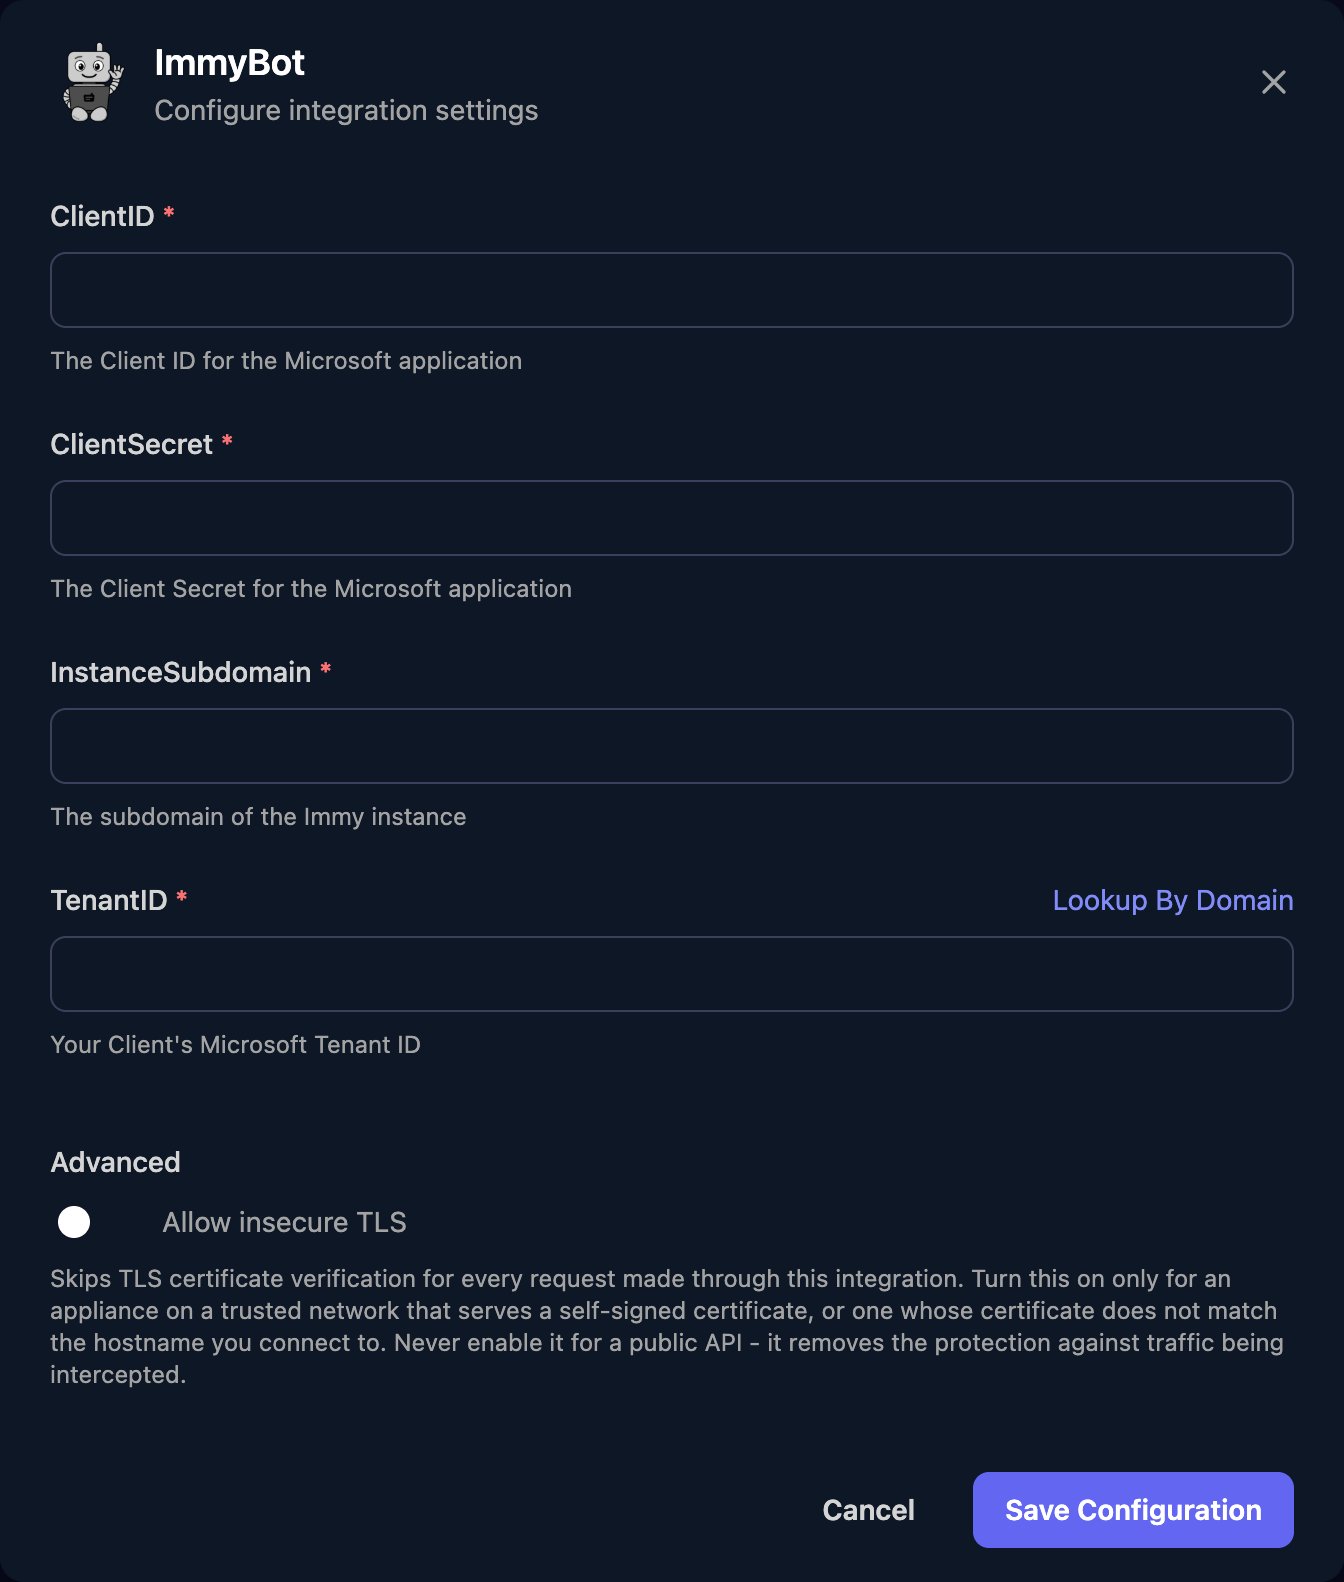
.immy.bot, such as contoso, as InstanceSubdomain. Click Save Configuration.https://<subdomain>.immy.bot/swagger.
Troubleshooting
Triggr can't get an access token
Triggr can't get an access token
Check ClientID and TenantID match the app, ClientSecret is the secret’s Value and hasn’t expired, and InstanceSubdomain is only the subdomain, such as
contoso.ImmyBot returns 403 Forbidden
ImmyBot returns 403 Forbidden
Check the user’s role assignment has Allow and covers the tenant. For a custom role, add the missing permission and the View permissions it depends on. The user’s Check Access tab shows what grants or denies it.