

Prepare the service account
1
Create the service account
Follow Create the service account and keep Global Administrator on it until you finish this page: only a Global Administrator who is also an Admin Agent can consent to a partner app.
2
Check it's an Admin Agent
In Partner Center, go to Account settings > User management, open the service account and make sure Admin Agent is selected. Changes made in Microsoft Entra take up to an hour to show here.
3
Enforce MFA
Require Microsoft MFA on every sign-in for the account (see Conditional Access). Partner Center rejects requests without it.
Connect it in Triggr
1
Open the integration
Go to Integrations > Microsoft CSP and click Configure on the Base Configuration card.
2
Enter your partner tenant
Leave Use default config selected, enter your own partner tenant’s ID in TenantID (not a client’s) or use Lookup By Domain, and click Save Configuration.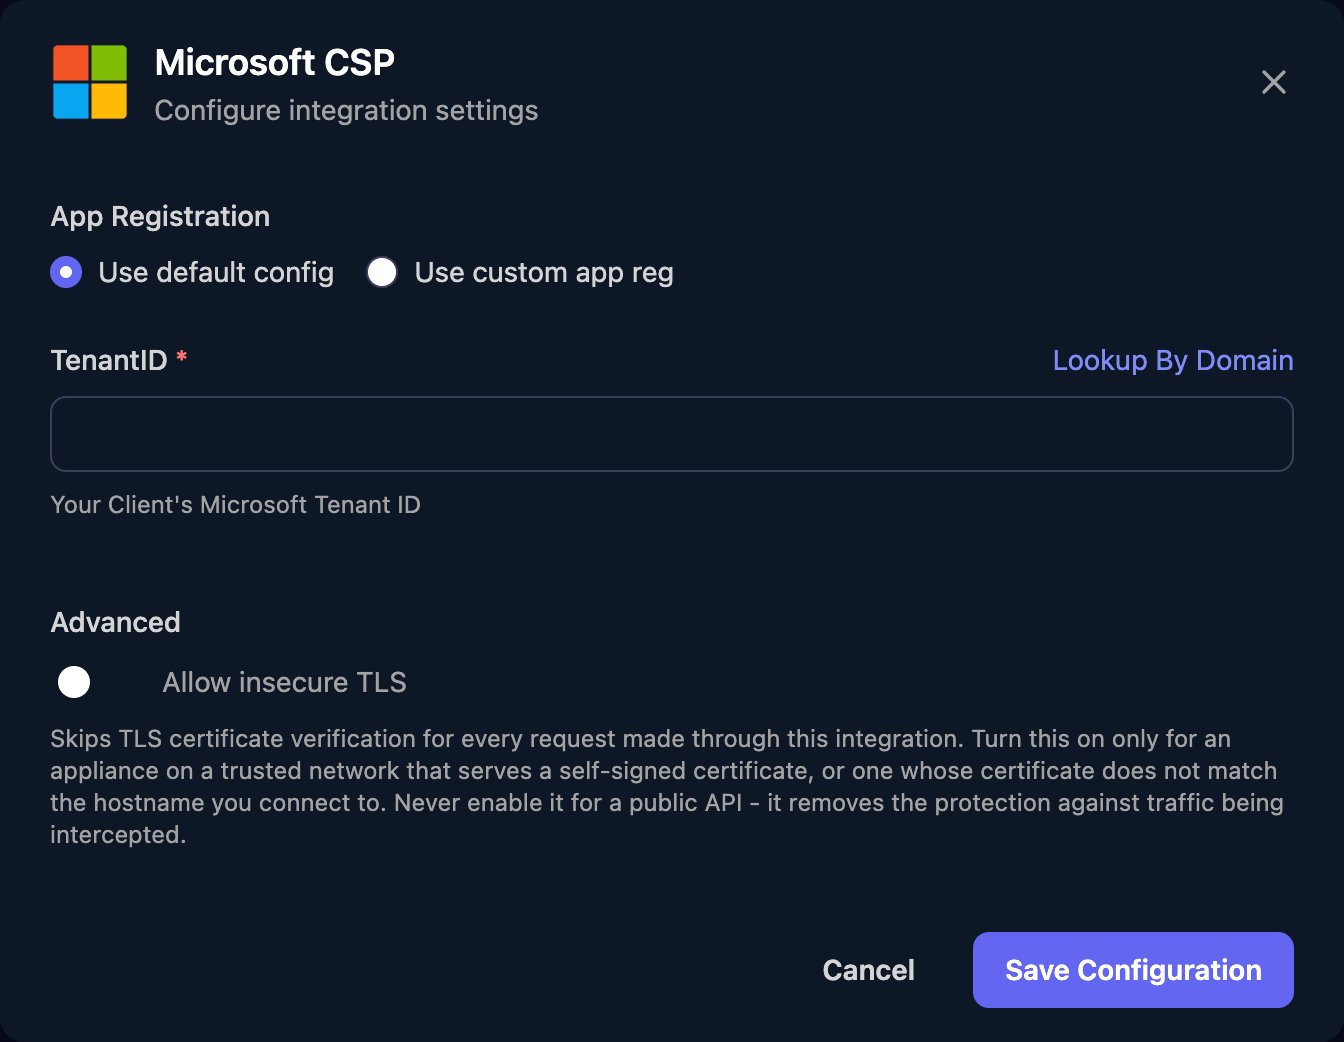
3
Grant admin consent and authorize
Click Admin Consent and accept as the service account, then click Authorize and sign in as the service account with MFA.
Use your own app registration
Only do this if your policies require an app registered in your own tenant. See Microsoft’s Secure partner application.1
Register the app
In the Microsoft Entra admin centre, go to Entra ID > App registrations > New registration, choose Multiple Entra ID tenants, add the Web redirect URI
https://app.triggr-app.com/oauth/callback, select Register and copy the Application (client) ID.2
Add the admin consent redirect URI
Under Manage > Authentication, add a second Web redirect URI,
https://app.triggr-app.com/oauth/admin-consent-callback.3
Add delegated permissions
Under Manage > API permissions, add only the Delegated permissions
user_impersonation on Microsoft Partner Center (under APIs my organization uses) and offline_access on Microsoft Graph.4
Create a client secret
Under Manage > Certificates & secrets, select New client secret and copy its Value. Microsoft shows it only once.
5
Enter it in Triggr
Select Use custom app reg, fill in ClientID, ClientSecret and TenantID, then click Save Configuration, Admin Consent and Authorize. Replace the secret here before it expires.
Troubleshooting
Your organisation isn't connected to Microsoft Partner Center
Your organisation isn't connected to Microsoft Partner Center
Check Status is Configured and TenantID is your partner tenant’s ID, then click Authorize and sign in again as the service account.
401 MFA required
401 MFA required
Enforce Microsoft MFA on every sign-in for the service account, then click Authorize again.
Partner Center rejected Triggr's sign-in for this consent change
Partner Center rejected Triggr's sign-in for this consent change
Partner Center answered
Unable to initialize the authorization context. Check the client’s GDAP relationship is active and the service account is still in AdminAgents, then click Authorize again and retry.Customer not found in Partner Center
Customer not found in Partner Center
The client’s tenant ID in Microsoft Graph (GDAP) doesn’t match a Partner Center customer with a relationship to you (No relationship to partner (none)). Check the ID, then the customer’s relationship in Customers.
The sign-in window asks for administrator approval
The sign-in window asks for administrator approval
Admin consent hasn’t been granted for the app. Click Admin Consent and sign in as the service account while it’s still a Global Administrator, then click Authorize again.