

Set up SonicWall
- Cloud NSM
- NSM On-Prem
1
Generate a MySonicWall API key
Sign in to MySonicWall as the user Triggr should act as, go to My Workspace | User Groups > User list and click Generate My API Key. Enter a Description, leave Source IP Address blank, set Validity (one year at most) and click Confirm. Copy the key before you close the window.If Generate My API Key is missing, raise a Customer Service Request with SonicWall. See SonicWall’s guide to generating a key.
2
Find your NSM region
Open NSM from MySonicWall and note the host, such as
nsm-uswest.sonicwall.com or nsm-eucentral.sonicwall.com.Connect it in Triggr
1
Open the configuration
Go to Integrations > SonicWall NSM and click Configure on the Base Configuration card.
2
Enter the endpoint and sign-in
Enter the NSM Endpoint URL with 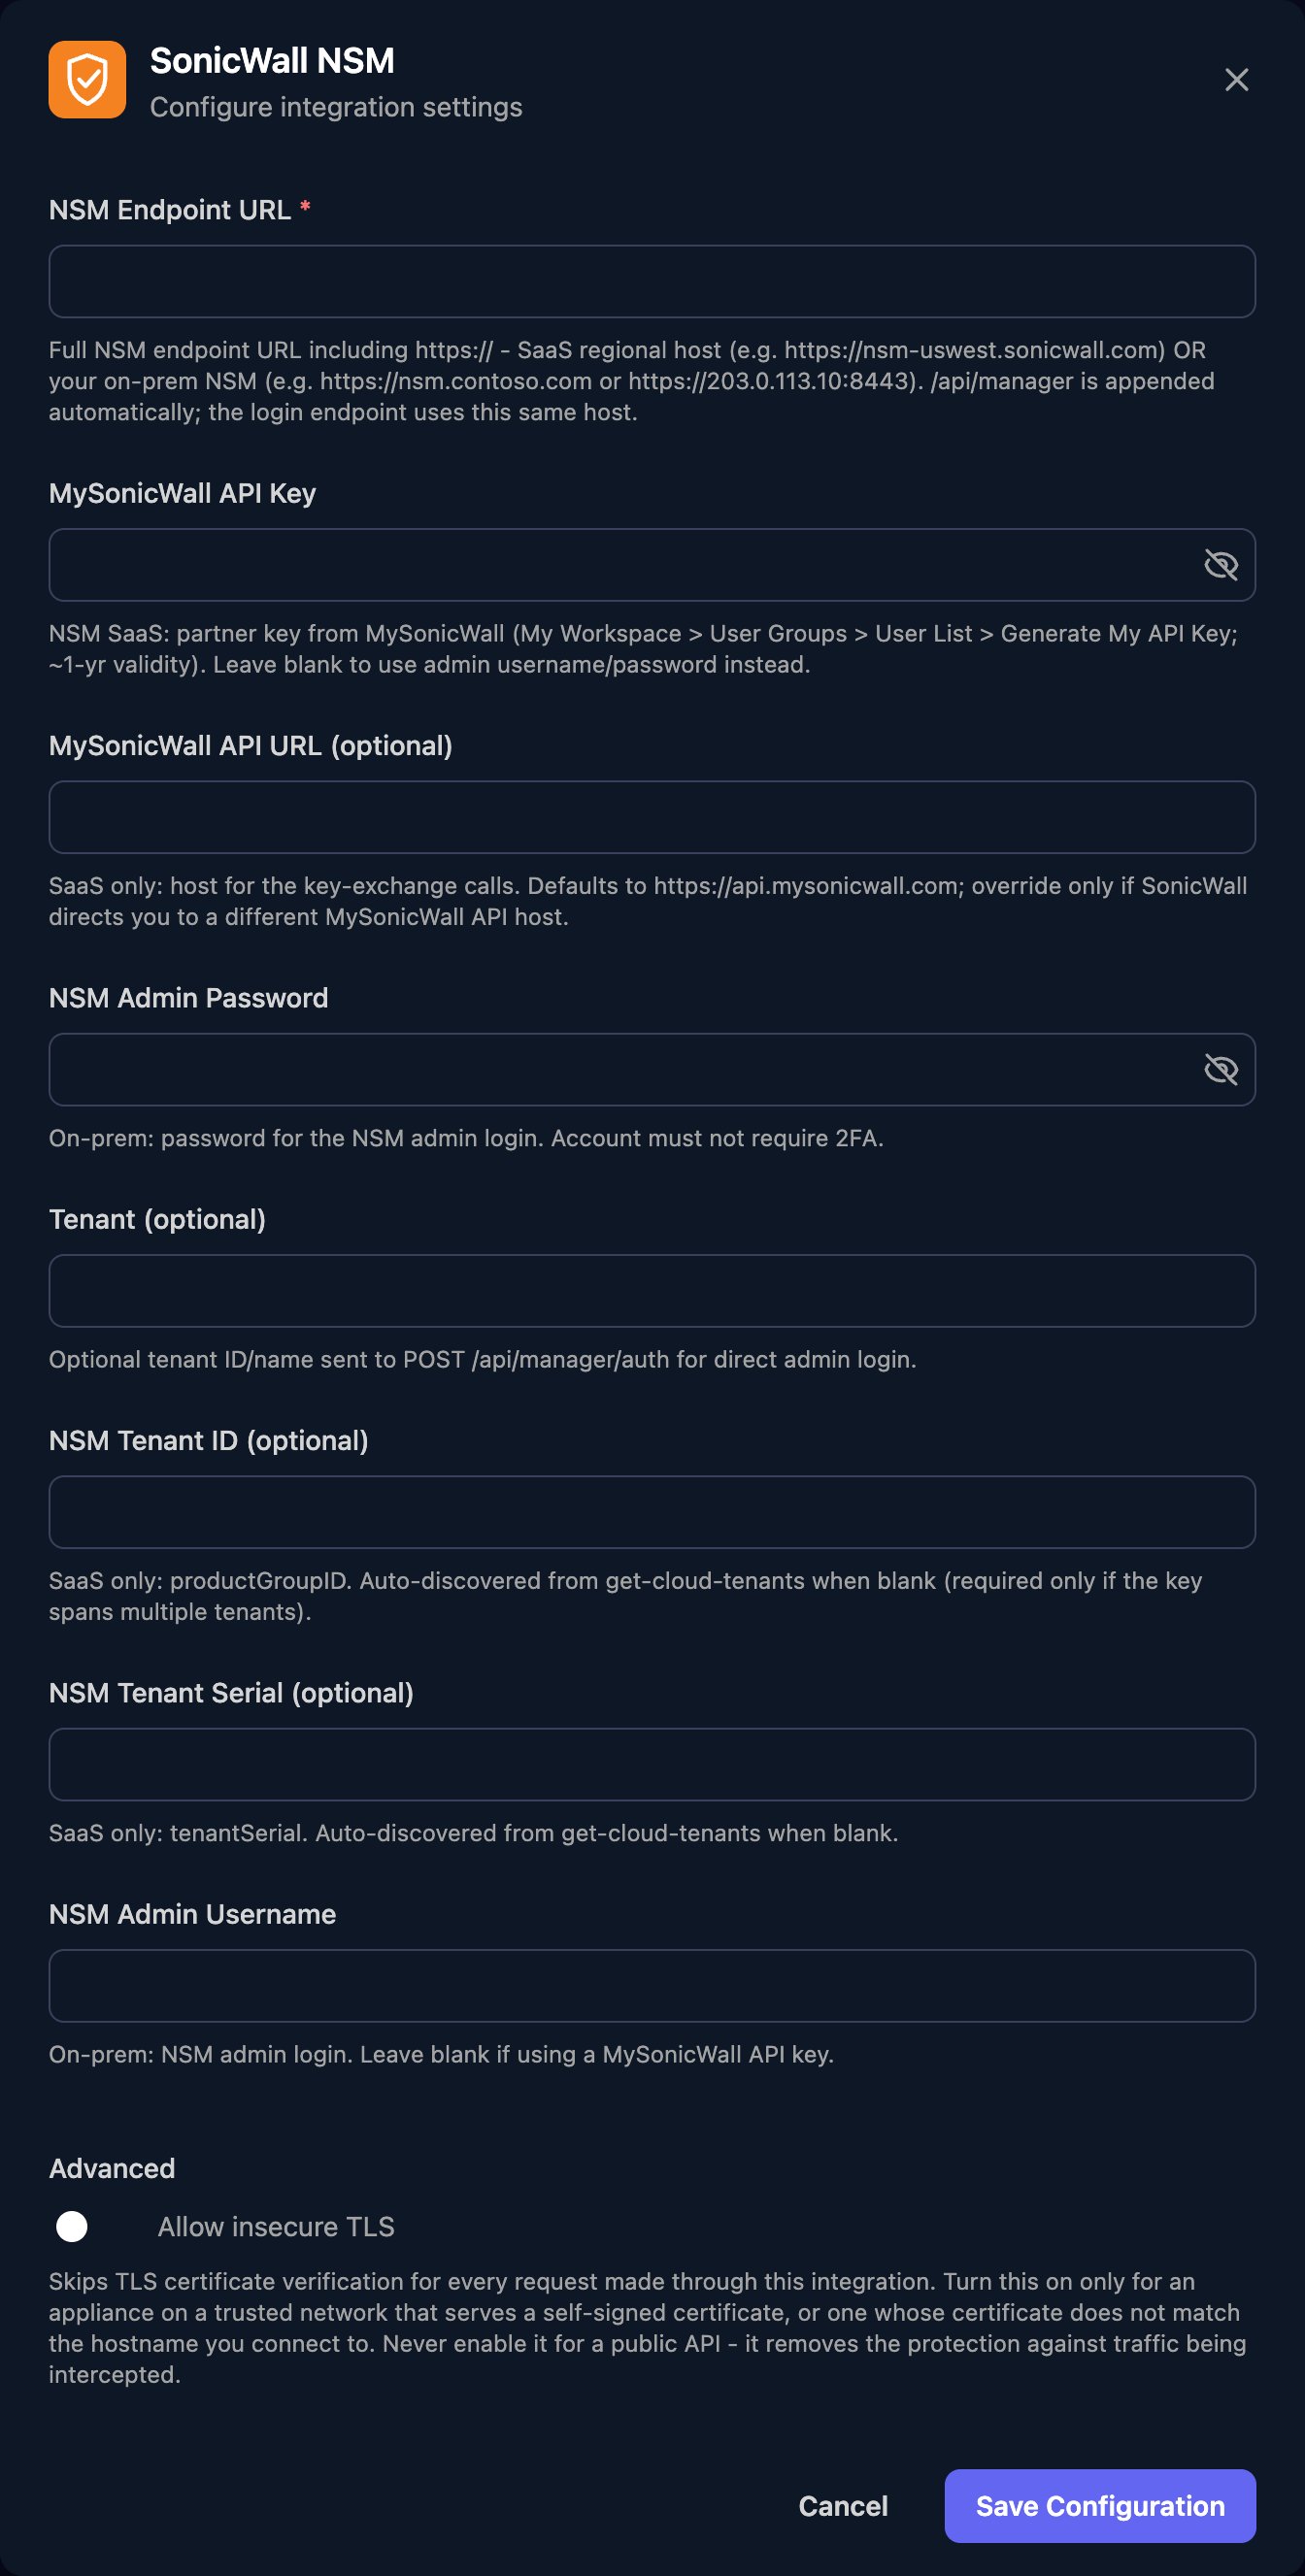
https:// and no path: your region’s host, such as https://nsm-uswest.sonicwall.com, or your NSM server’s public address with its port if it isn’t 443. For cloud NSM, enter the MySonicWall API Key and leave the rest blank; for NSM On-Prem, enter NSM Admin Username and NSM Admin Password instead. Click Save Configuration.Set up each client
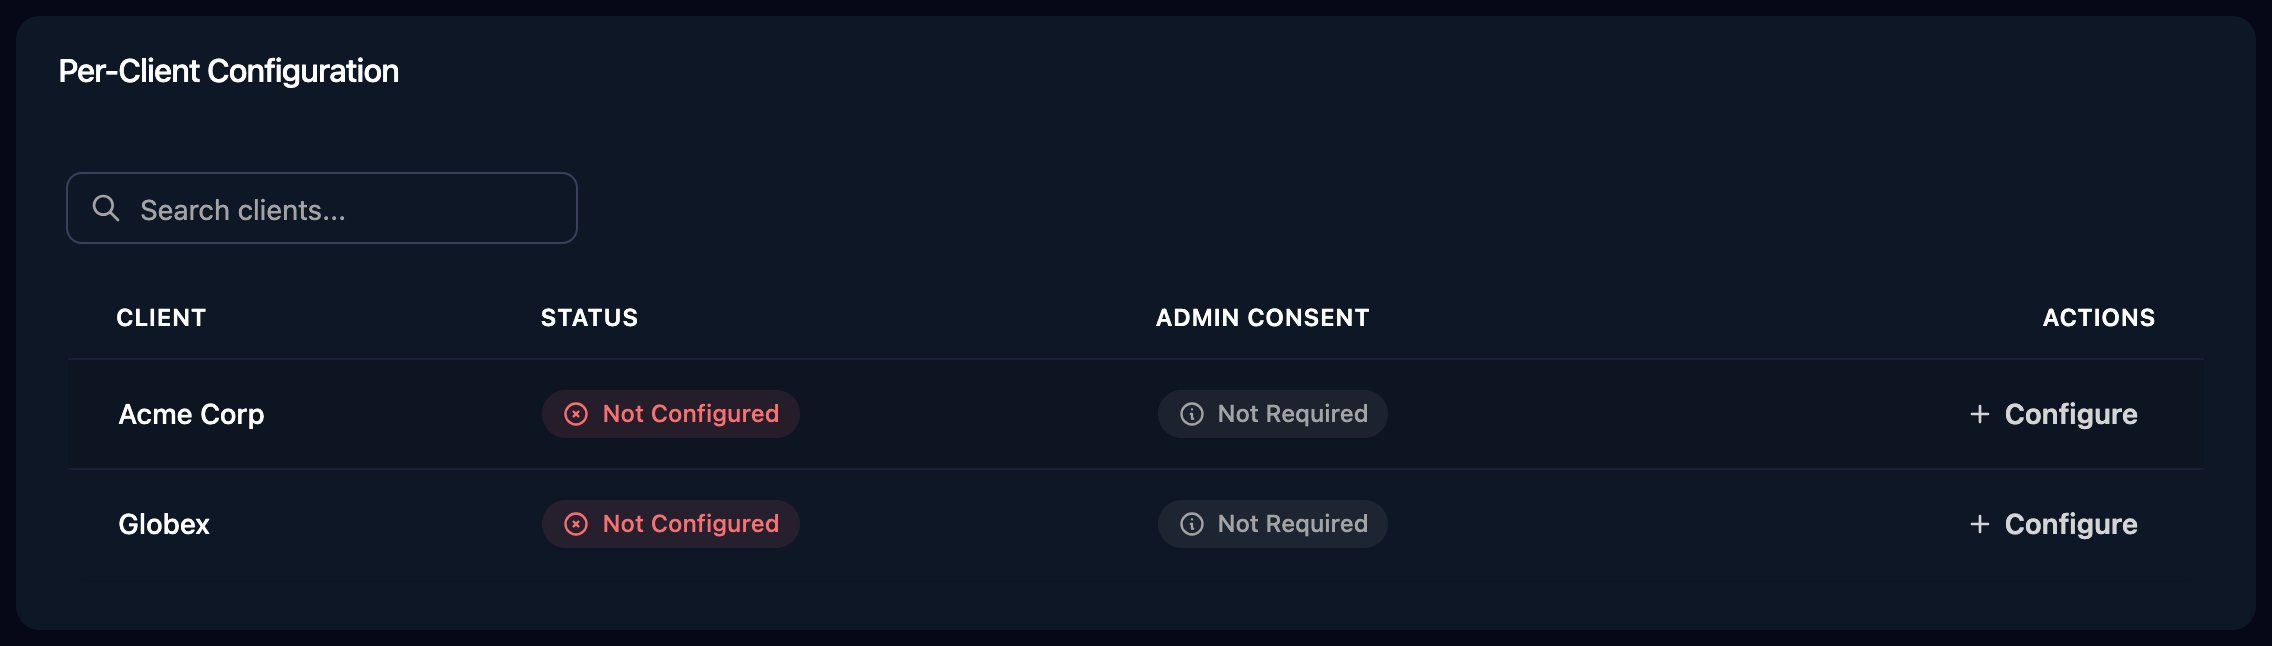
Per-client integrations never fall back to the Base Configuration, so click Configure on each client’s row and fill in a complete configuration. With cloud NSM, use the same key and NSM Endpoint URL for every client and set NSM Tenant ID (optional) to the client’s tenant: run Get Cloud Tenants (MySonicWall) to list the tenants the key reaches, each one’sproductGroupID being its tenant ID.
Troubleshooting
configure a MySonicWall API key (mswApiKey), or a username and password
configure a MySonicWall API key (mswApiKey), or a username and password
The configuration the workflow used has neither a MySonicWall API Key nor both NSM Admin Username and NSM Admin Password. If the workflow ran for a client, check that client’s configuration.
multiple NSM tenants for this MySonicWall key
multiple NSM tenants for this MySonicWall key
Enter the right tenant’s ID, from the list in the error, in NSM Tenant ID (optional).
no matching NSM tenant for this MySonicWall key
no matching NSM tenant for this MySonicWall key
The NSM Tenant ID (optional) or NSM Tenant Serial (optional) isn’t one the key reaches. Check it against Get Cloud Tenants (MySonicWall) and the MySonicWall user’s tenant access.
… has no NSM tenant serial
… has no NSM tenant serial
NSM isn’t active on that MySonicWall tenant. Check in MySonicWall that the tenant has NSM and its firewalls are managed through it.
no SonicWall NSM integration is configured for this client
no SonicWall NSM integration is configured for this client
Configure the client on the Per-Client Configuration card.
401 or 403 from MySonicWall
401 or 403 from MySonicWall
Check the key was pasted in full and hasn’t expired or been revoked. If the error mentions
IPBLOCKED, generate a key with Source IP Address blank, or ask SonicWall Support to allow Triggr’s IP addresses.SonicWall rejected the request
SonicWall rejected the request
NSM refused the sign-in. With cloud NSM, check NSM Endpoint URL is your tenant’s region and the MySonicWall user has access to the tenant in NSM.
NSM On-Prem sign-in fails
NSM On-Prem sign-in fails
Check the username and password, that two-factor authentication is off, that NSM Endpoint URL is the public address with its port, and that NSM’s certificate matches the hostname.